
Planning a trip to Tokyo, the capital city of the land of the rising sun? Come on to see my tips to discover how to visit most of the city and its surroundings in 4 days.
ITINERARY - JAPAN: here is the full itinerary for a tour of Japan.
Tokyo Metropolis combines cultural visits and urban walks. In addition, not too far from the city you can find Nikko National Park, the town of Kamakura and Enoshima Island.
Moreover, it’s pretty easy to explore Tokyo thanks to the well-developed subway network which is both cheap and easy to use.
With that being said, let’s go to see the details of the schedule:
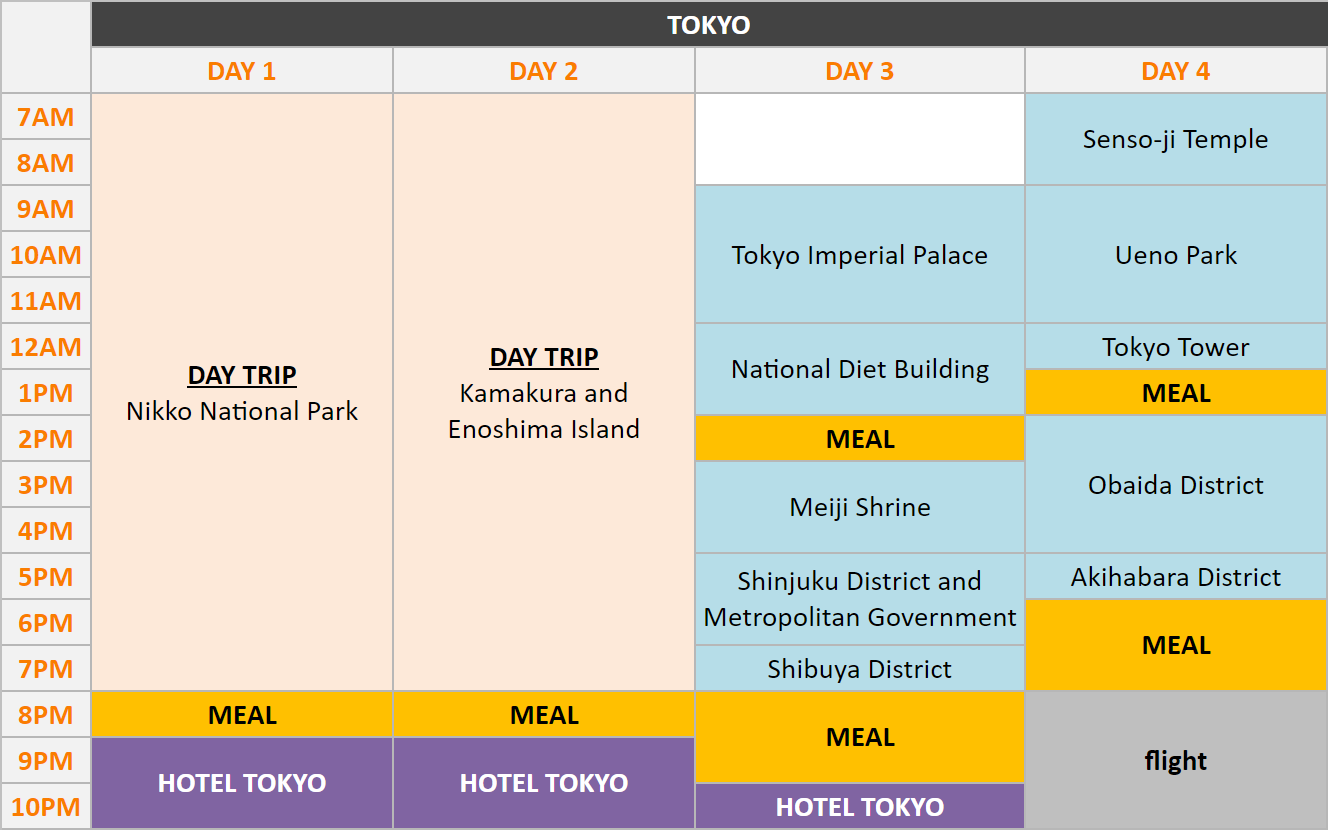
Day 1: Nikko National Park
For this first day in Tokyo, because it left me 1 day on my JR Pass, I decided to go to Nikko in order to explore the national park. As two hours separate Tokyo from Nikko, I recommend leaving pretty early. The 7.46 a.m.or 8.34 a.m. Shinkansens from Ueno Station (6 minutes earlier if you leave from Tokyo Station) will respectively arrive at 9.23 a.m. and 10:14 a.m. With the JR Pass, the fastest way to go is to take the Shinkansen and then the JR Nikko Line (you’ll need to change train at Utsunomiya Station), but without the JR Pass, the cheapest way to go is to take the Tobu Line (a single trip costs about ¥1,500 versus ¥2,600 by Shinkansen and JR train).
Tip: don’t forget to visit hyperdia.com to plan your trips. The website provides accurate information, such as timetables, type of trains, journey time, platform number, etc.
More details in the « Tips » section, at the end of the post.
When you arrive at Nikko Station, don’t forget to go to the tourist office, they’ll give you a map and show you the places to visit. Afterwards, in order to reach the national park, you can:
- walk there: it takes about twenty minutes
- take a bus: it drops you off, either at the entrance to the national park at the sacred bridge, or close to the temples
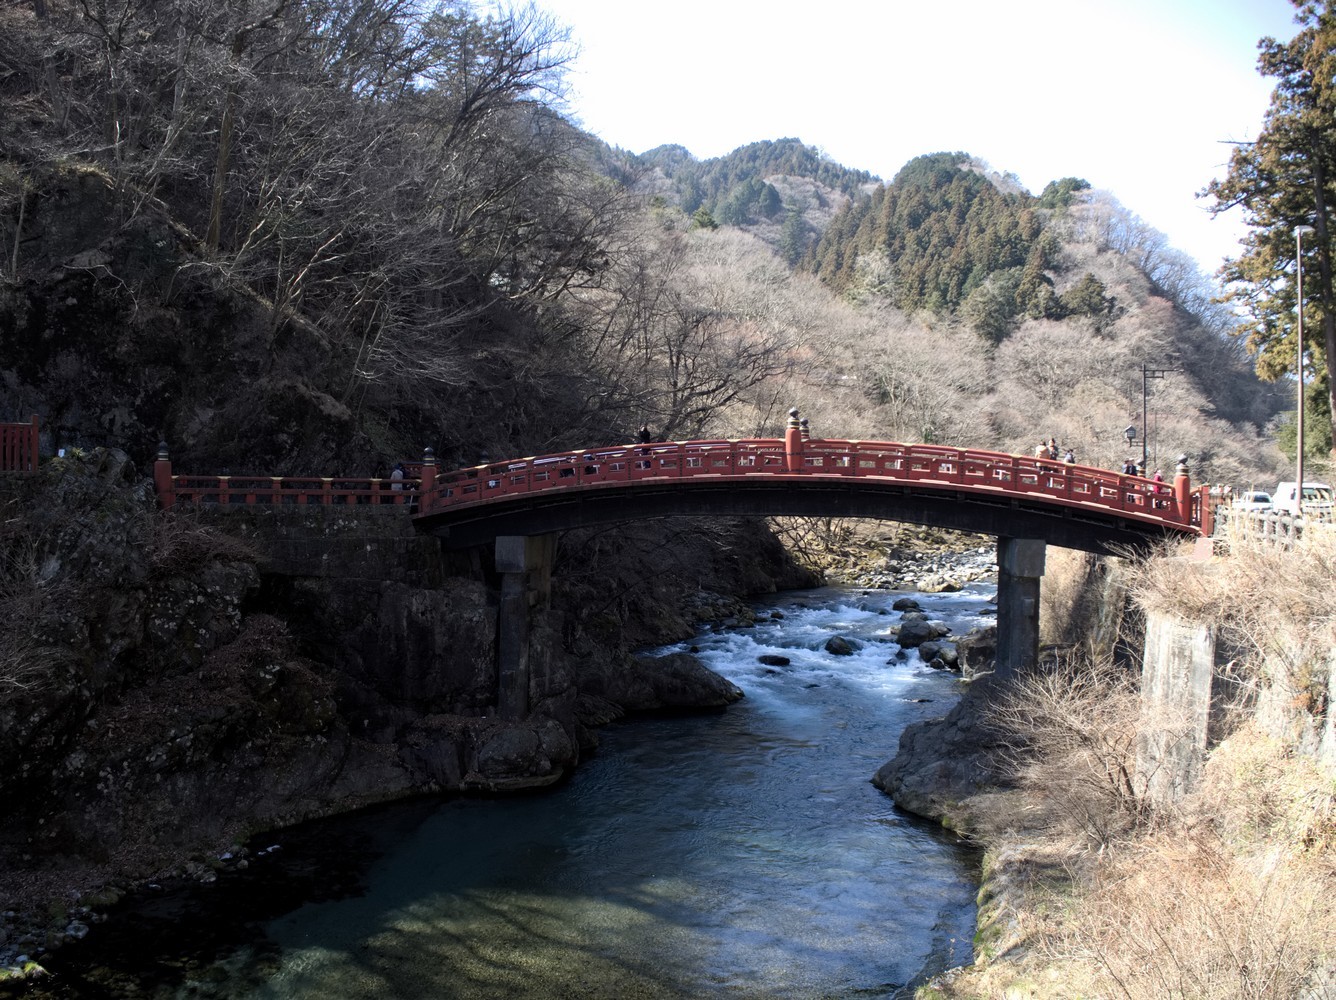
If you decide to walk there, the first thing you’ll spot on the way is the Sacred Shinkyo Bridge which is located right at the entrance to the national park. To walk over it, you have to pay ¥300 but it’s nothing special, especially since there’s another bridge located just in front of it, that is not only free but also allows you to see it better. Then take the stone stairs located across the street and follow the path. At the end of it, you should come across the Rinnoji Temple and you can even visit it if you feel like it.
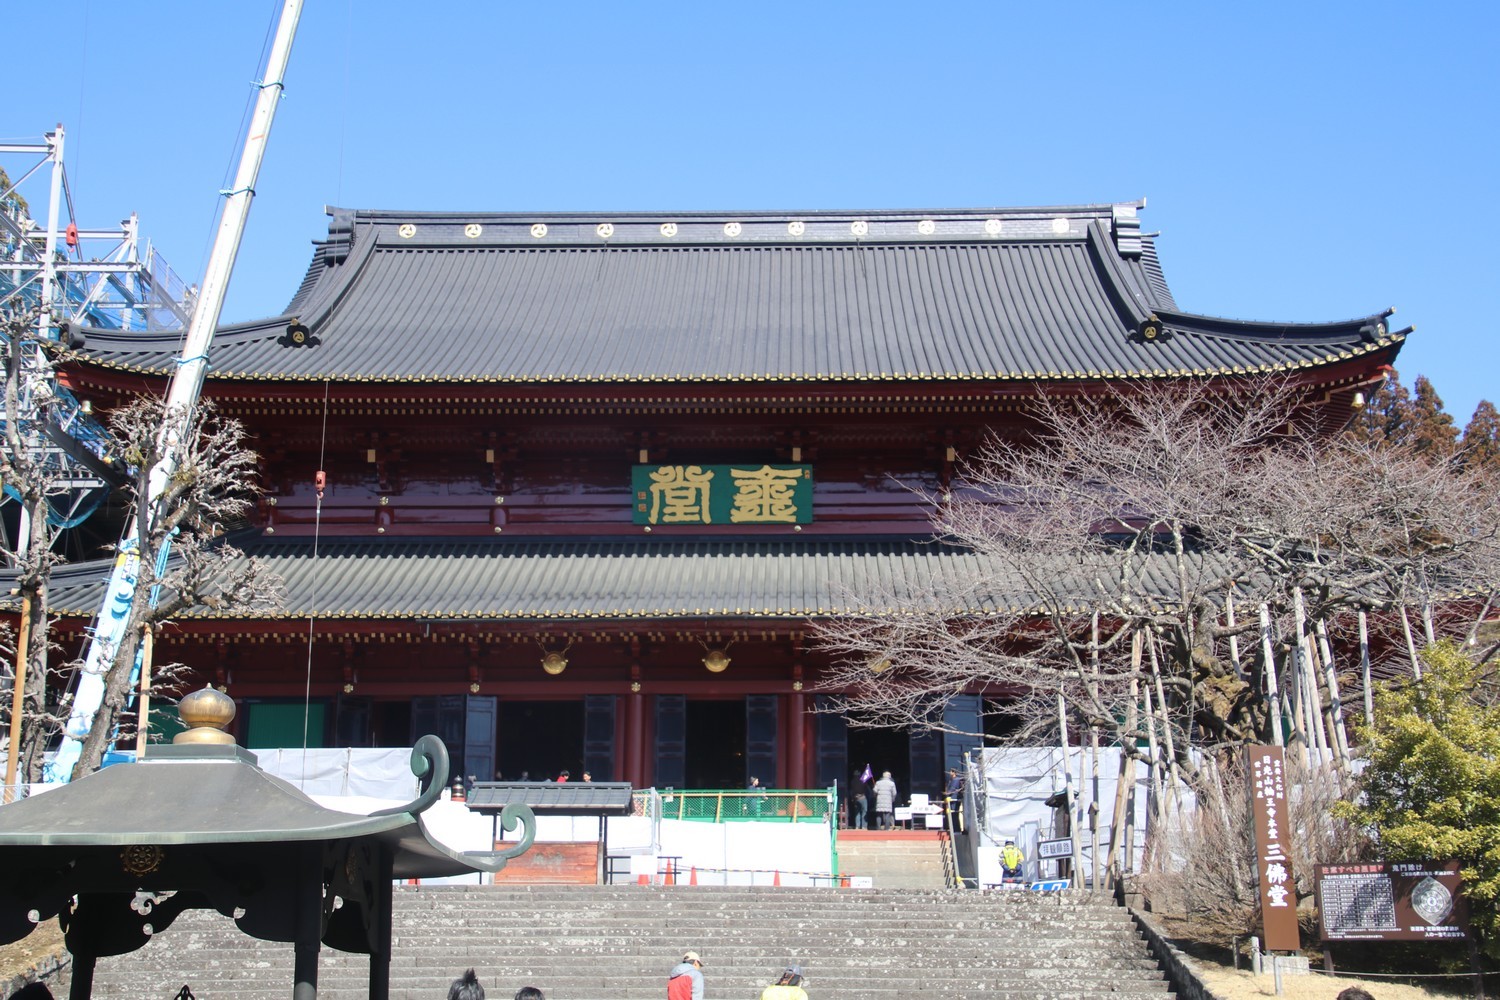
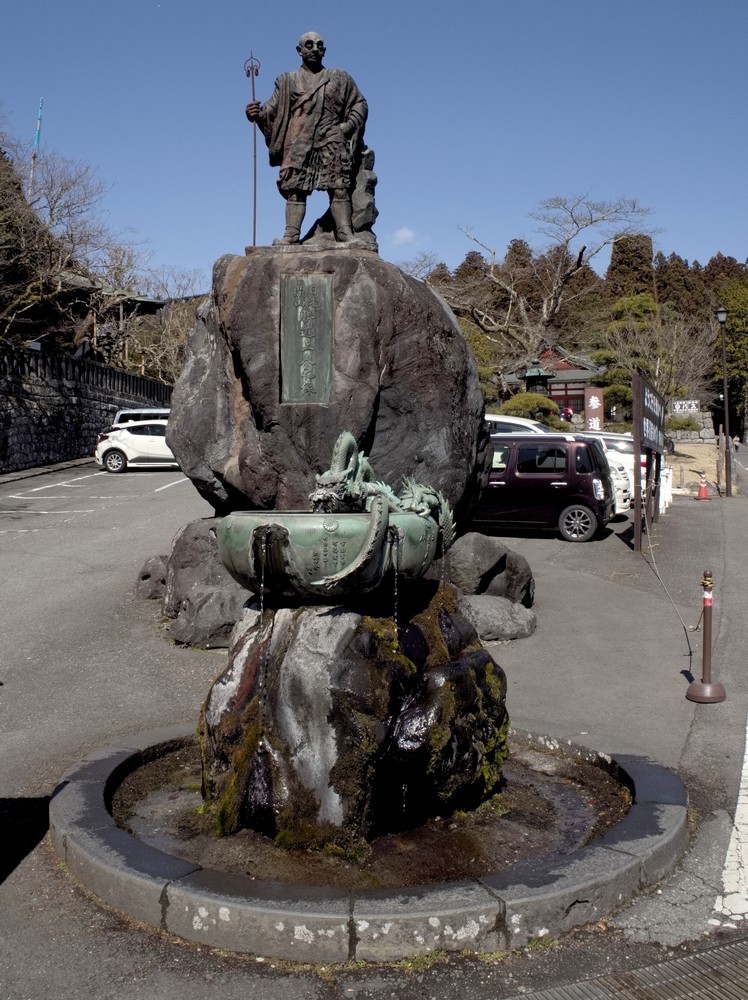
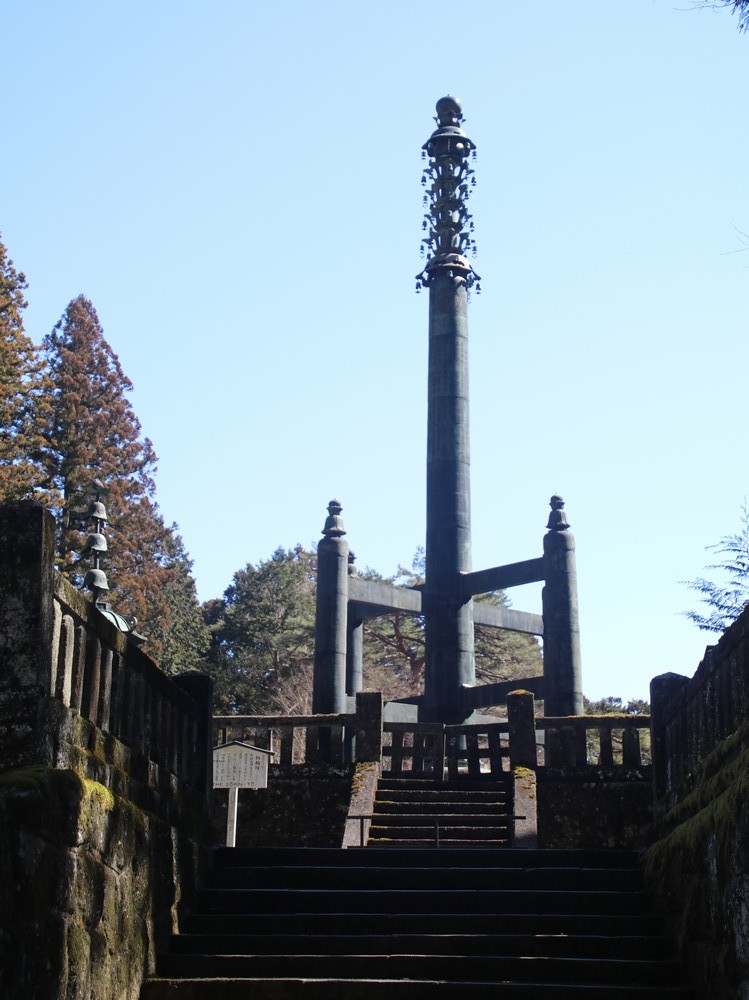
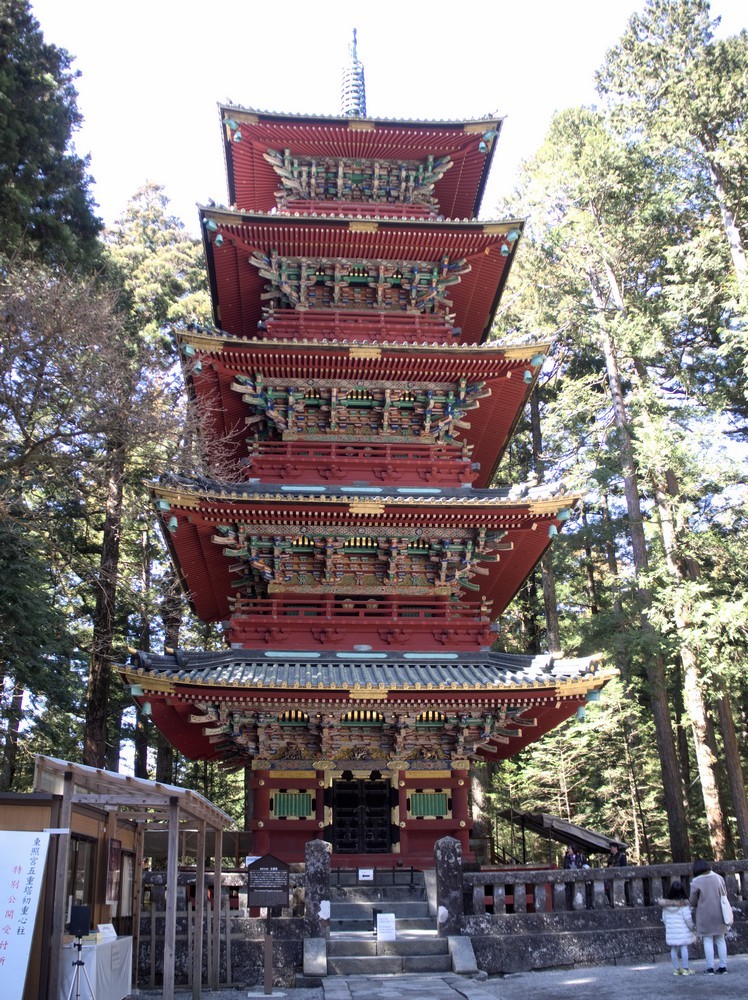
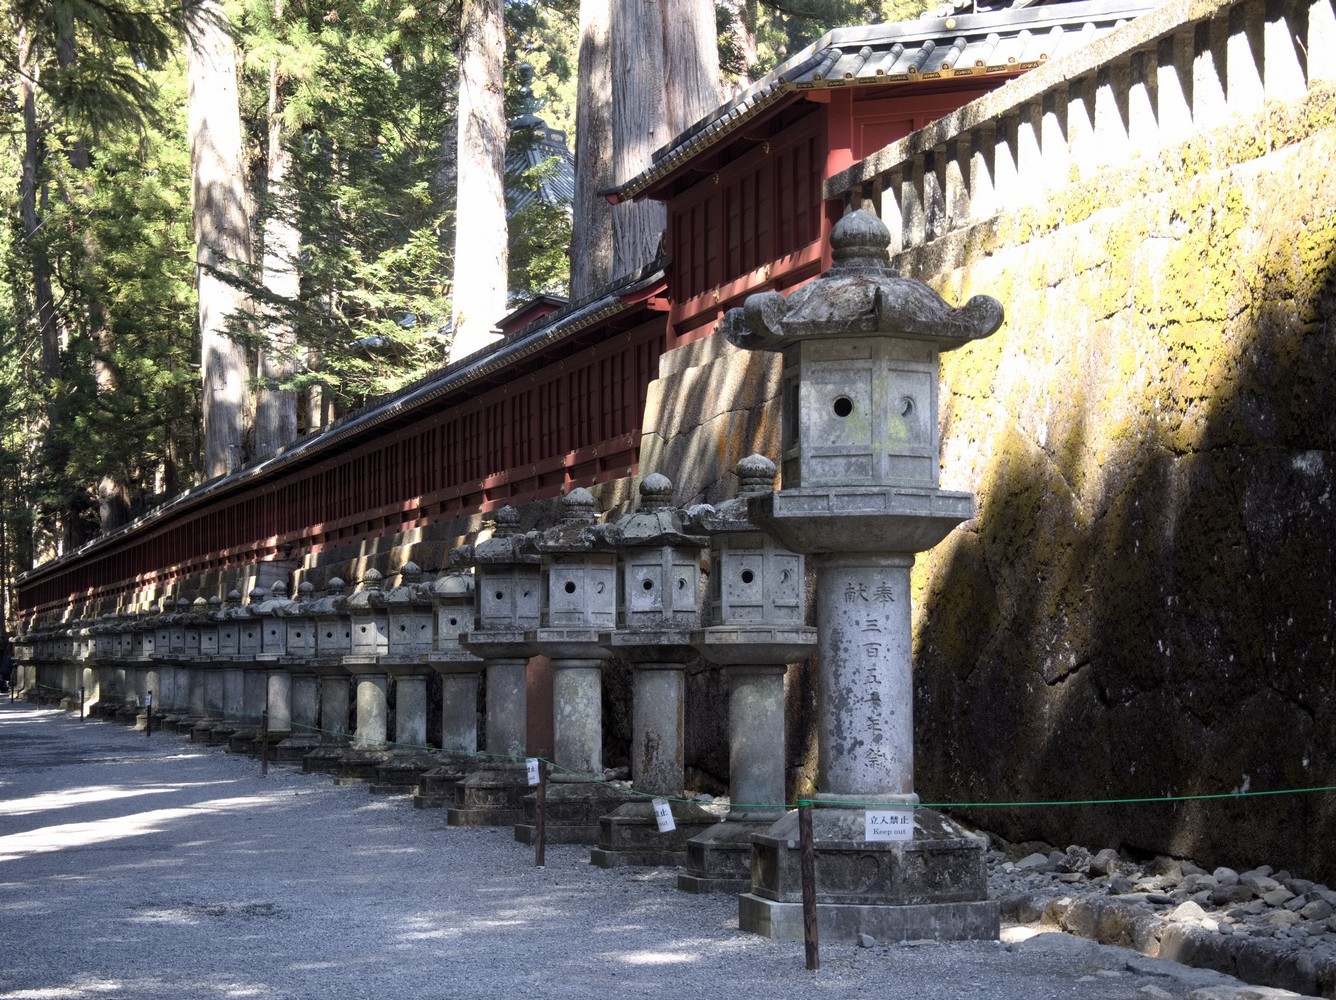
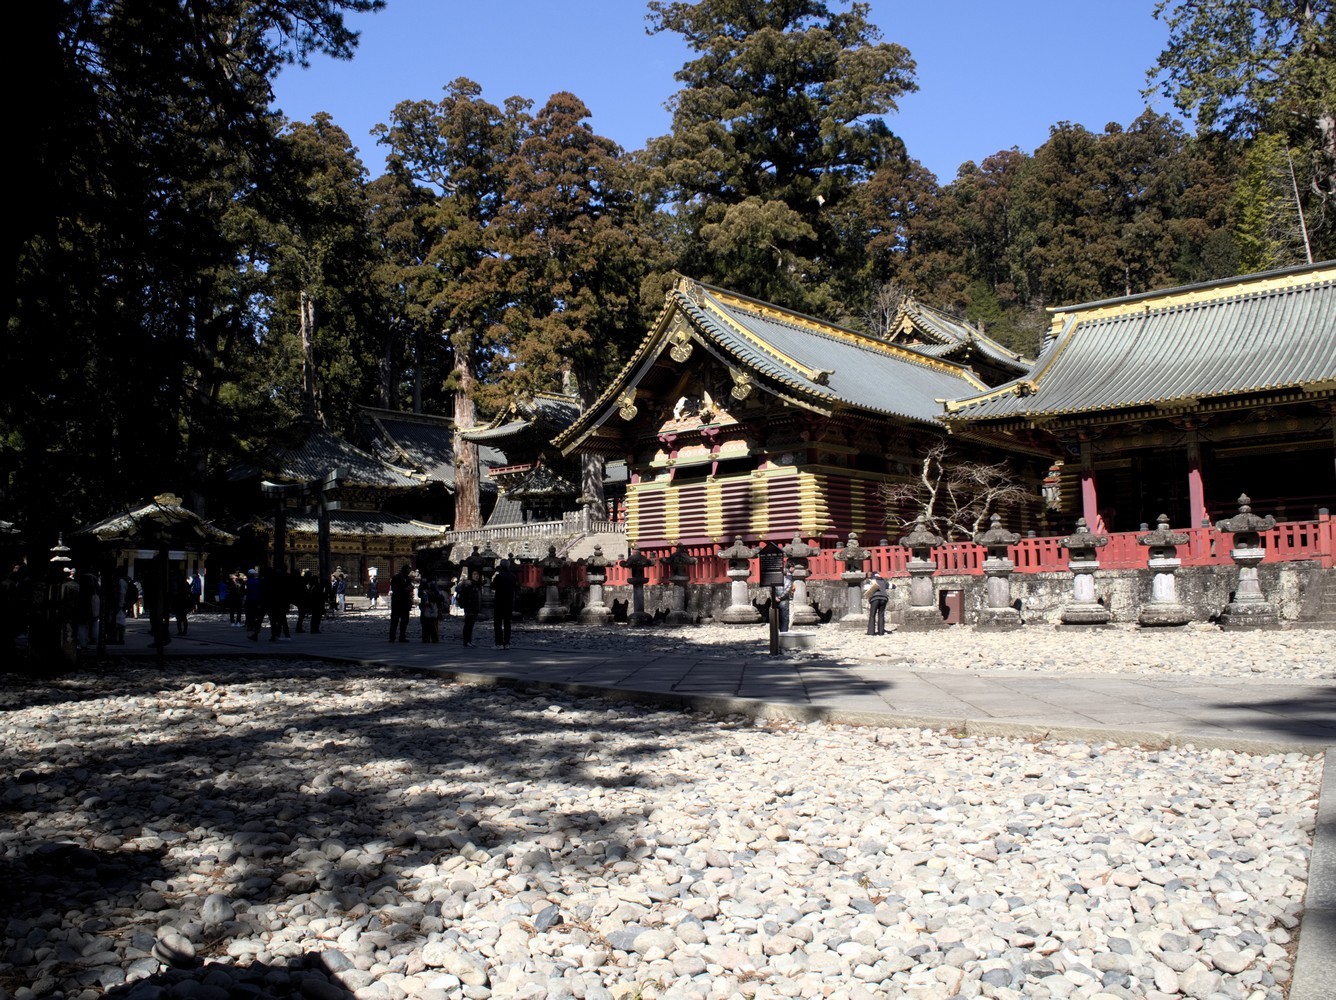
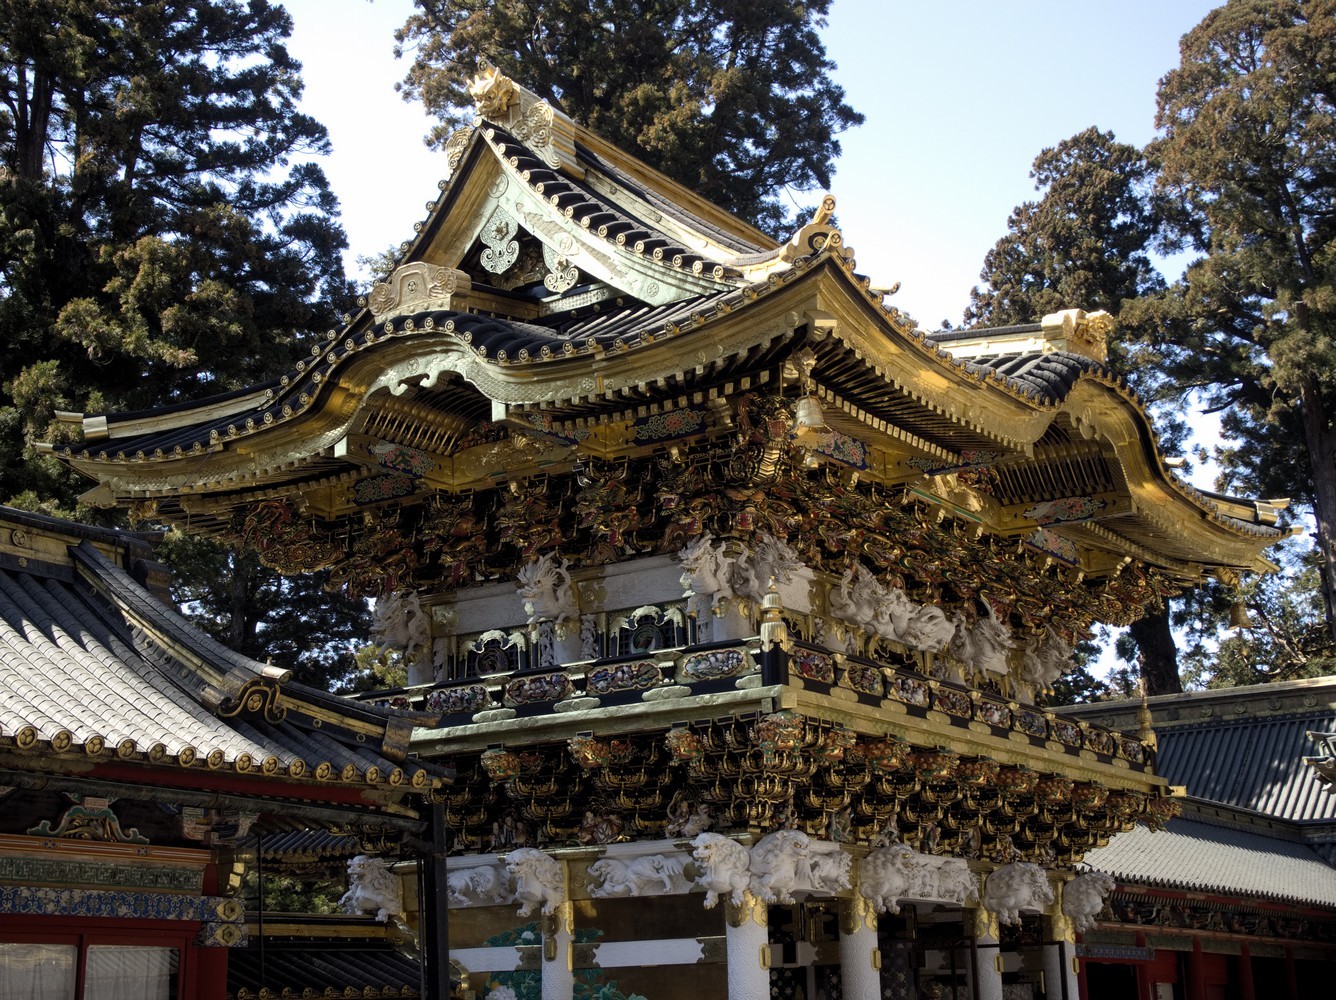
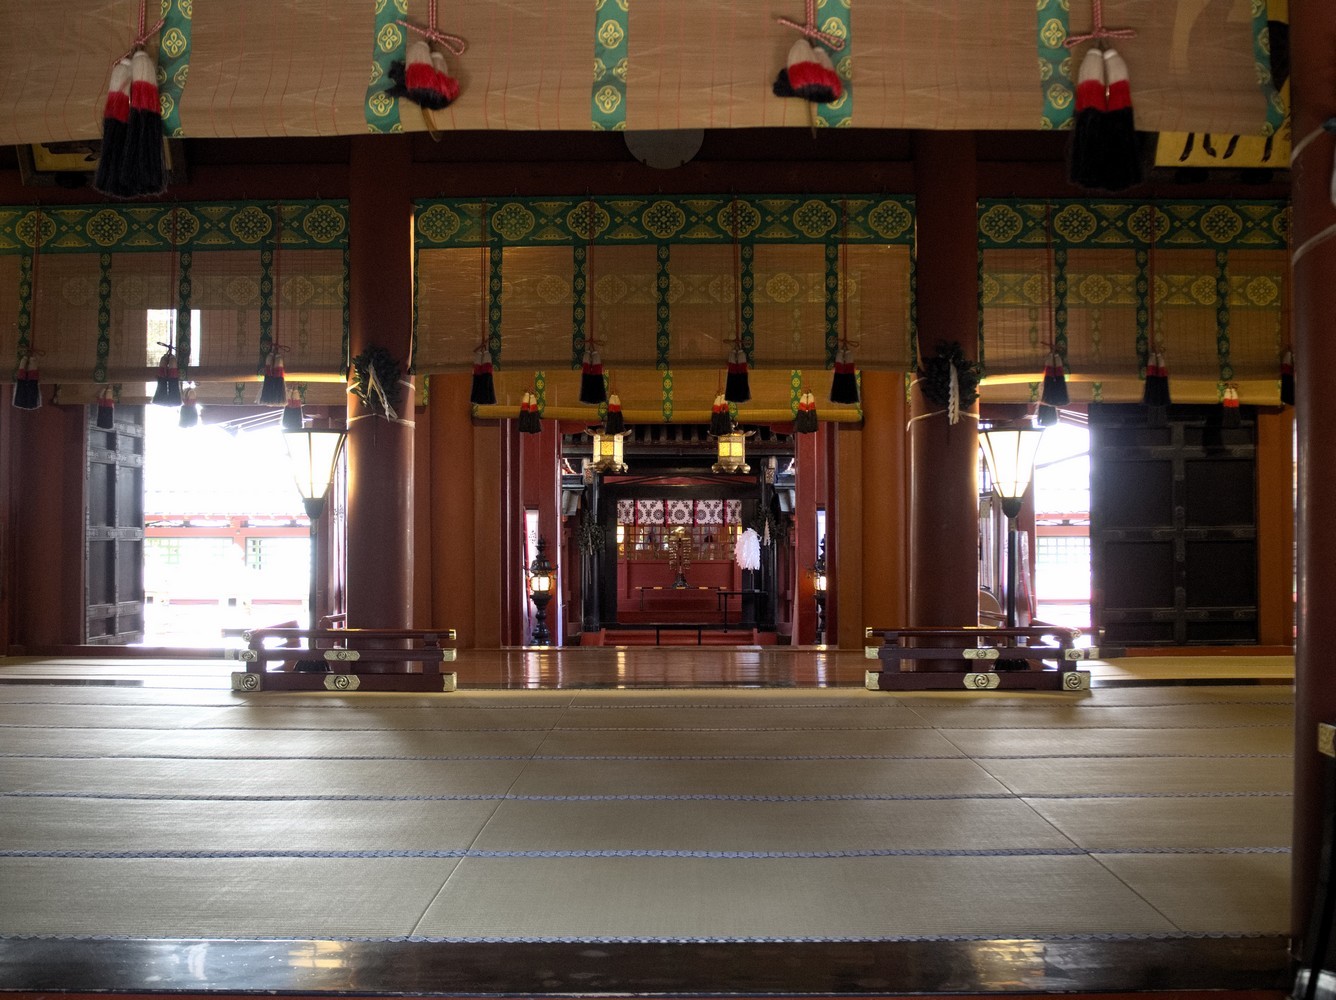
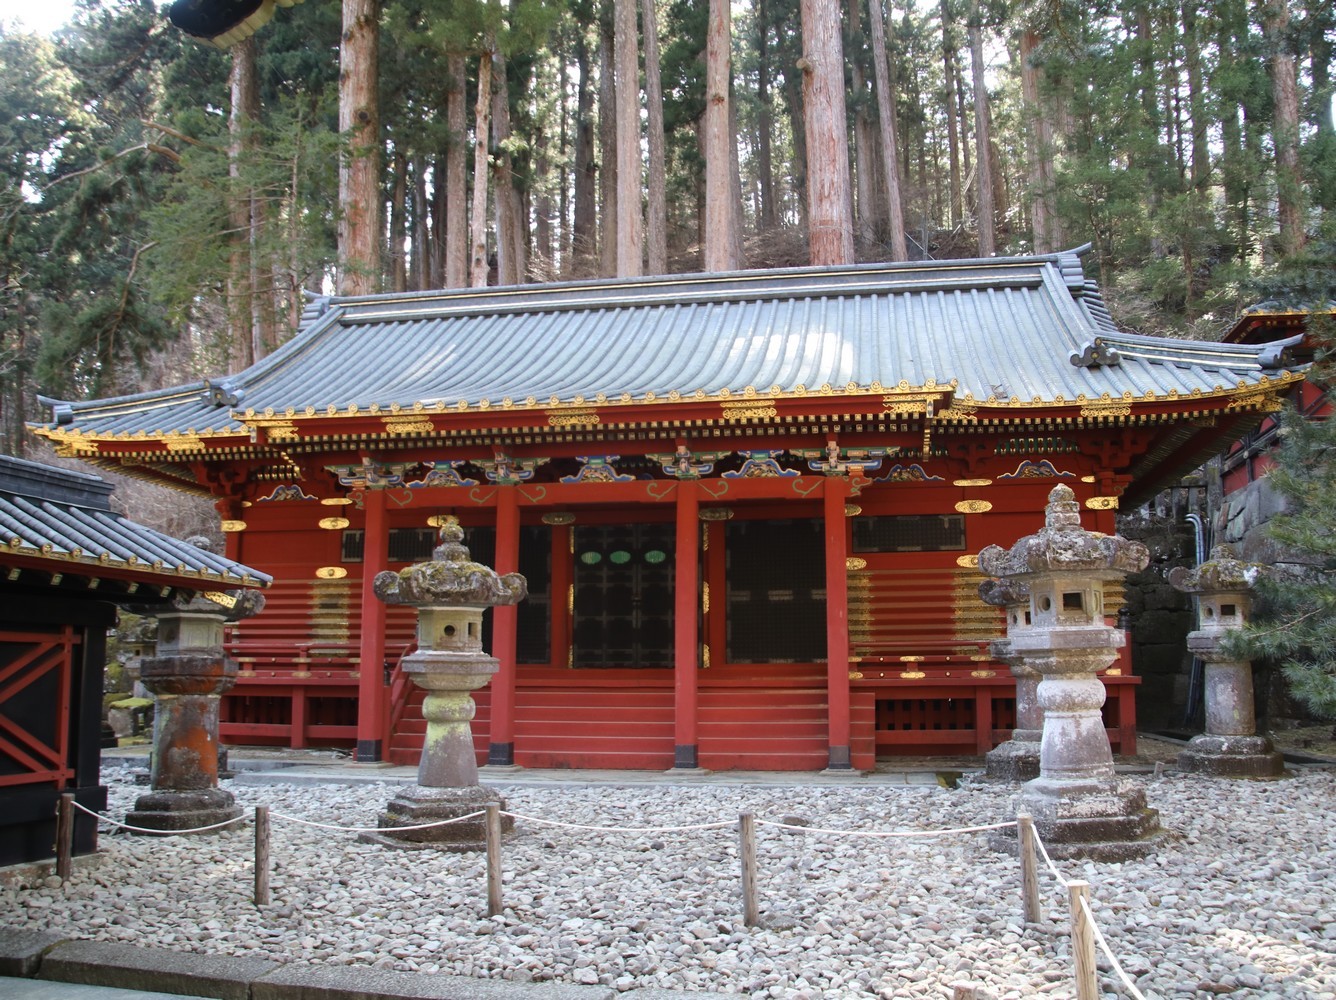
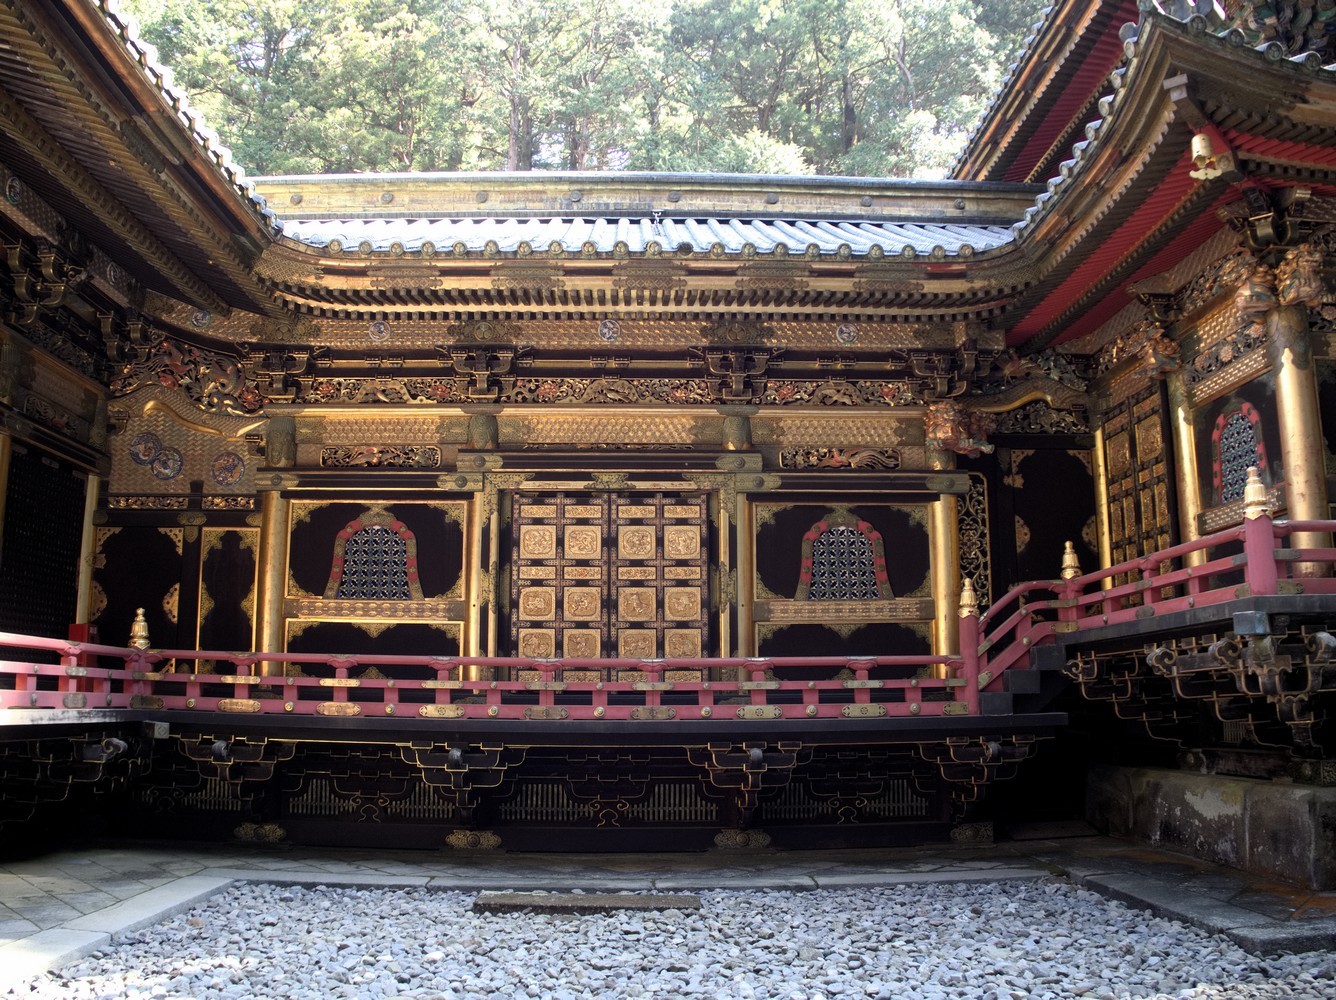
When leaving Rinnoji Temple, you’ll normally find yourself in a large alley. At the end of it, you should see Toshogu Shrine, the most iconic shrine in Nikko. It’s really big and the entrance fee is ¥1,300 per person.
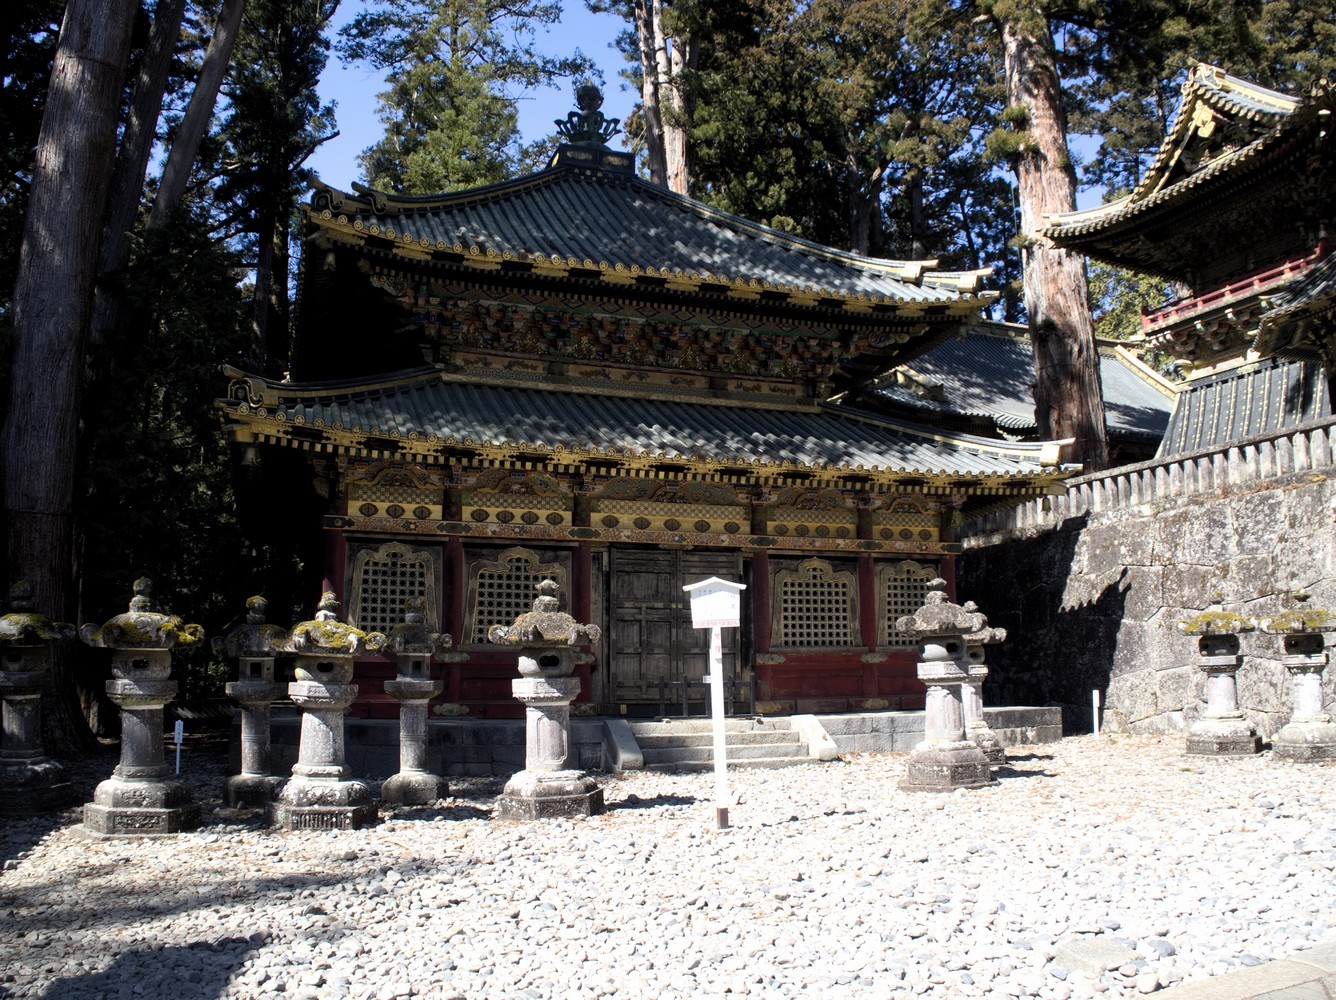
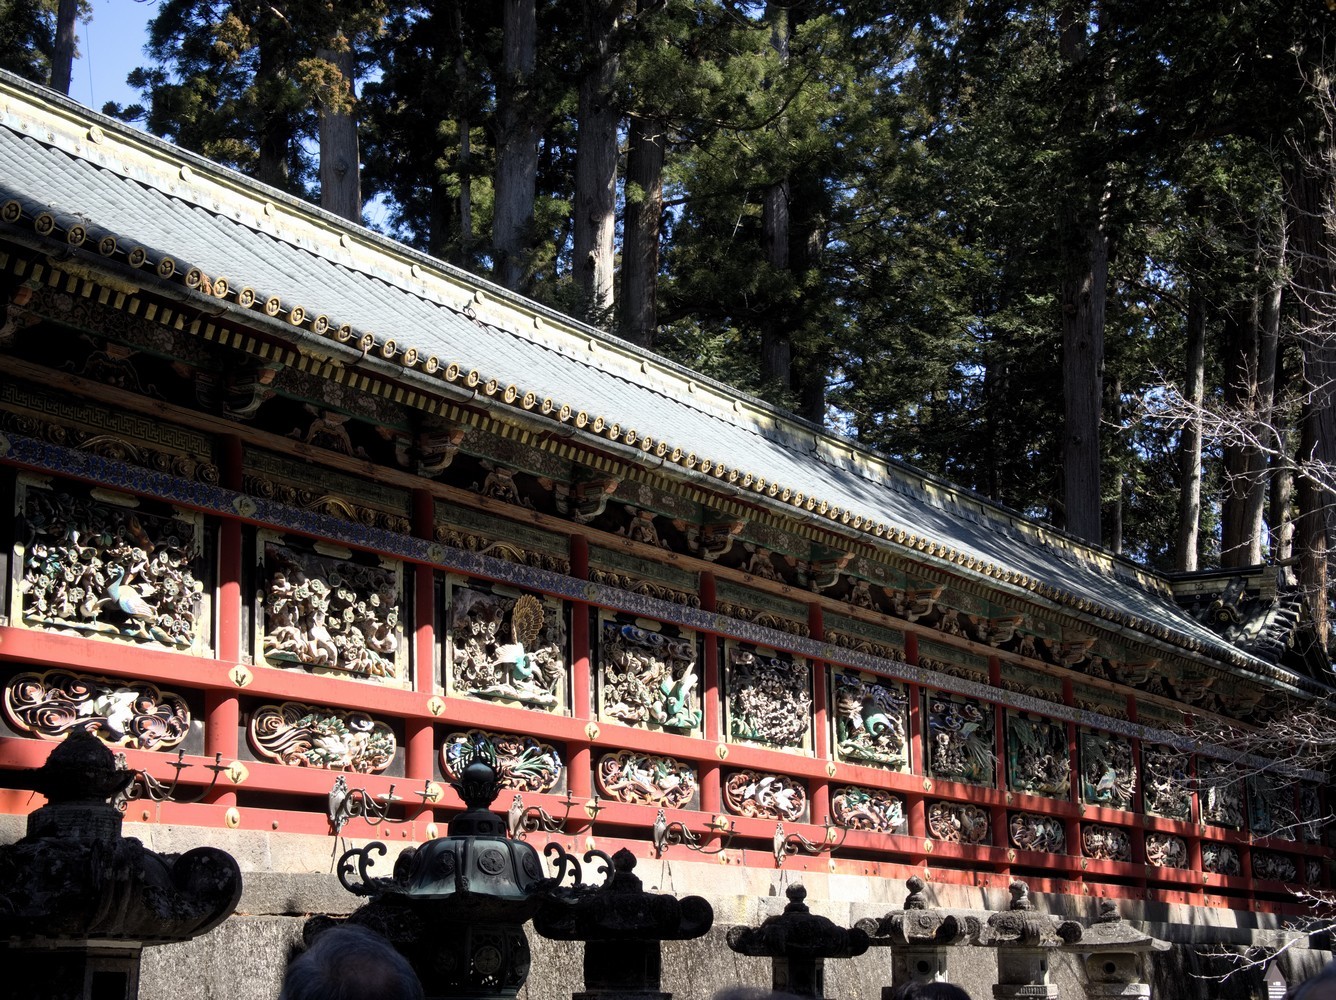
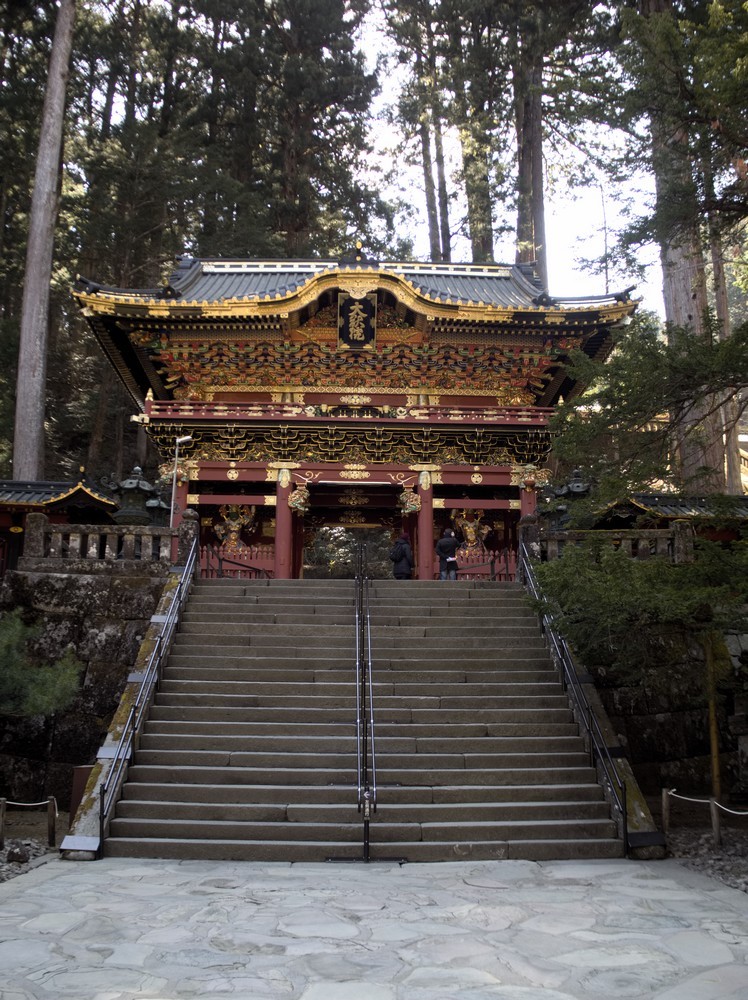
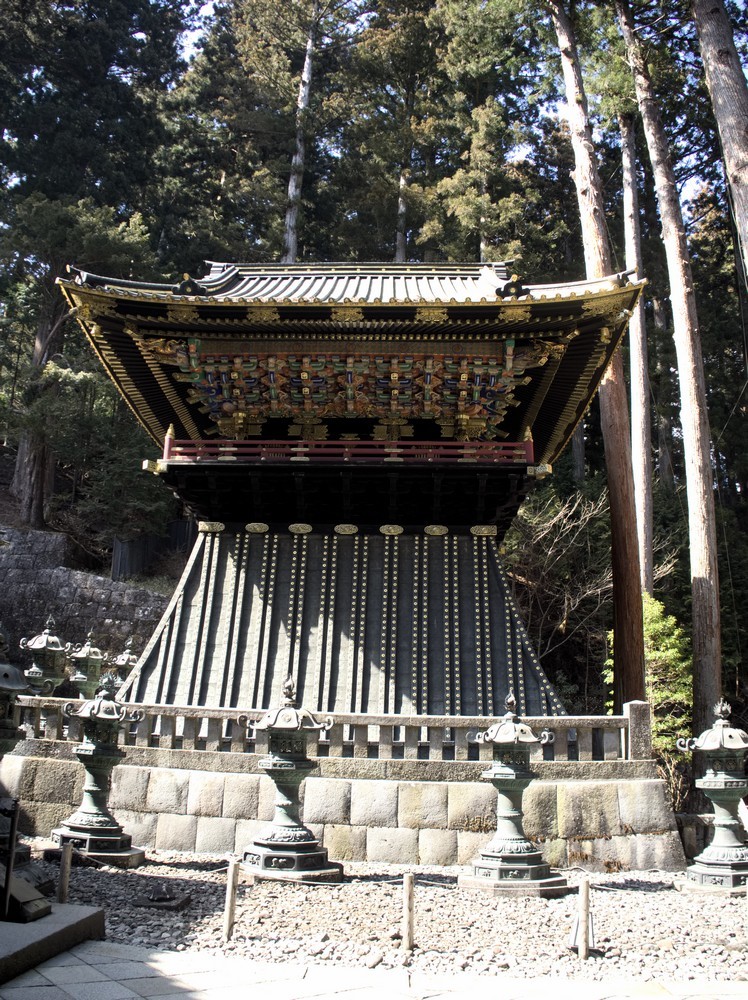
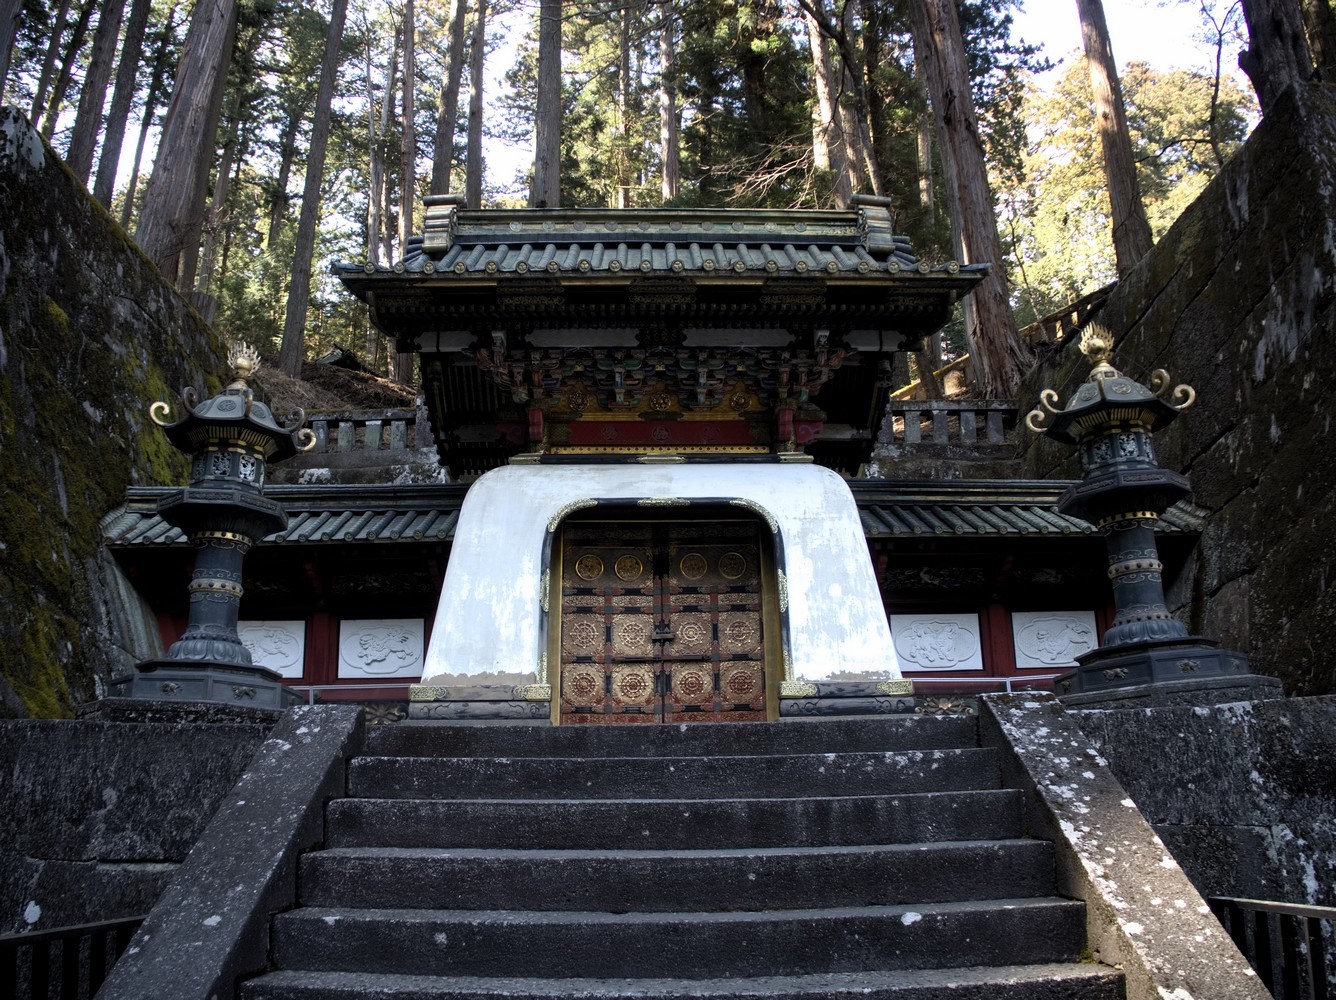
Then, on the side, a small path should lead you to the Futarasan Shrine. After this stop, just next door, you can visit the Iemitsu Taiyuin Mausoleum. Entrance fee is ¥ 550 per person.
Once your tour of Nikko National Park is over, take the same route as before in order to get back to Tokyo.
Tip: for this day trip, I recommend bringing food for lunch because it’ll be much easier than looking for a restaurant in this area. In addition, you’ll save time.
Day 2: Kamakura and Enoshima Island
For this second day in Tokyo, I recommend another day trip before spending the end of your stay visiting the city of Tokyo. This day trip focuses on the city of Kamakura and the Island of Enoshima.
To get there, you have to take the train of the JR Yokosuka Line from either Tokyo Station, Shinagawa or Shimbashi Stations. Trains run frequently (about every 10 to 15 minutes) and the journey takes about one hour. You have to get off at Kamakura Station. The ride is free with a JR Pass but costs around ¥1,000 without the Pass.
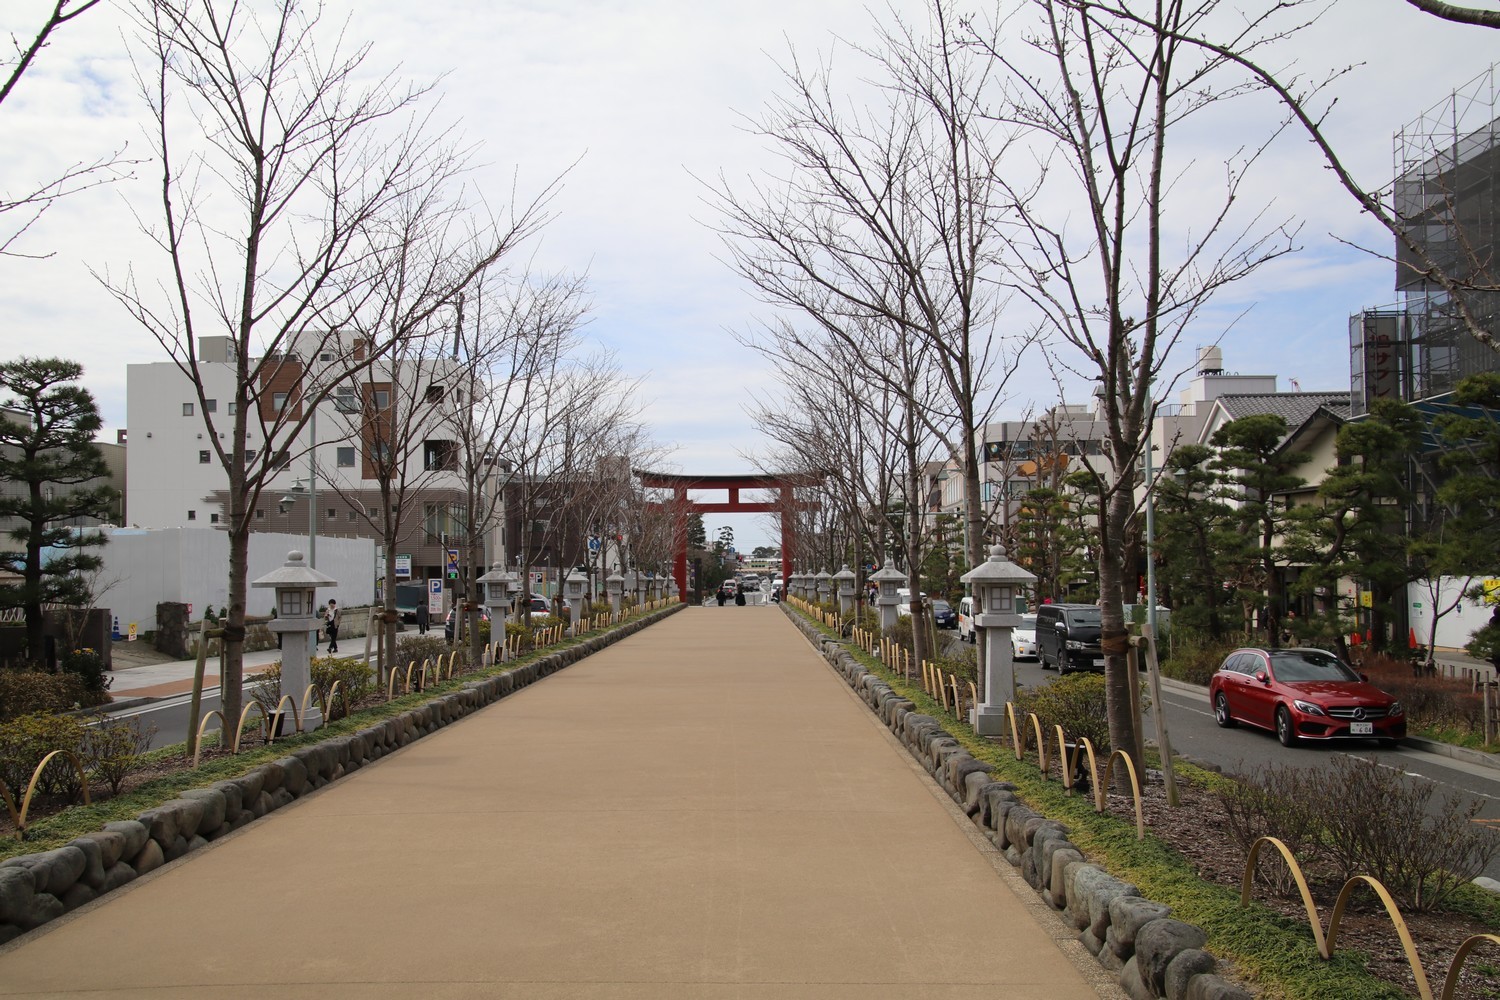
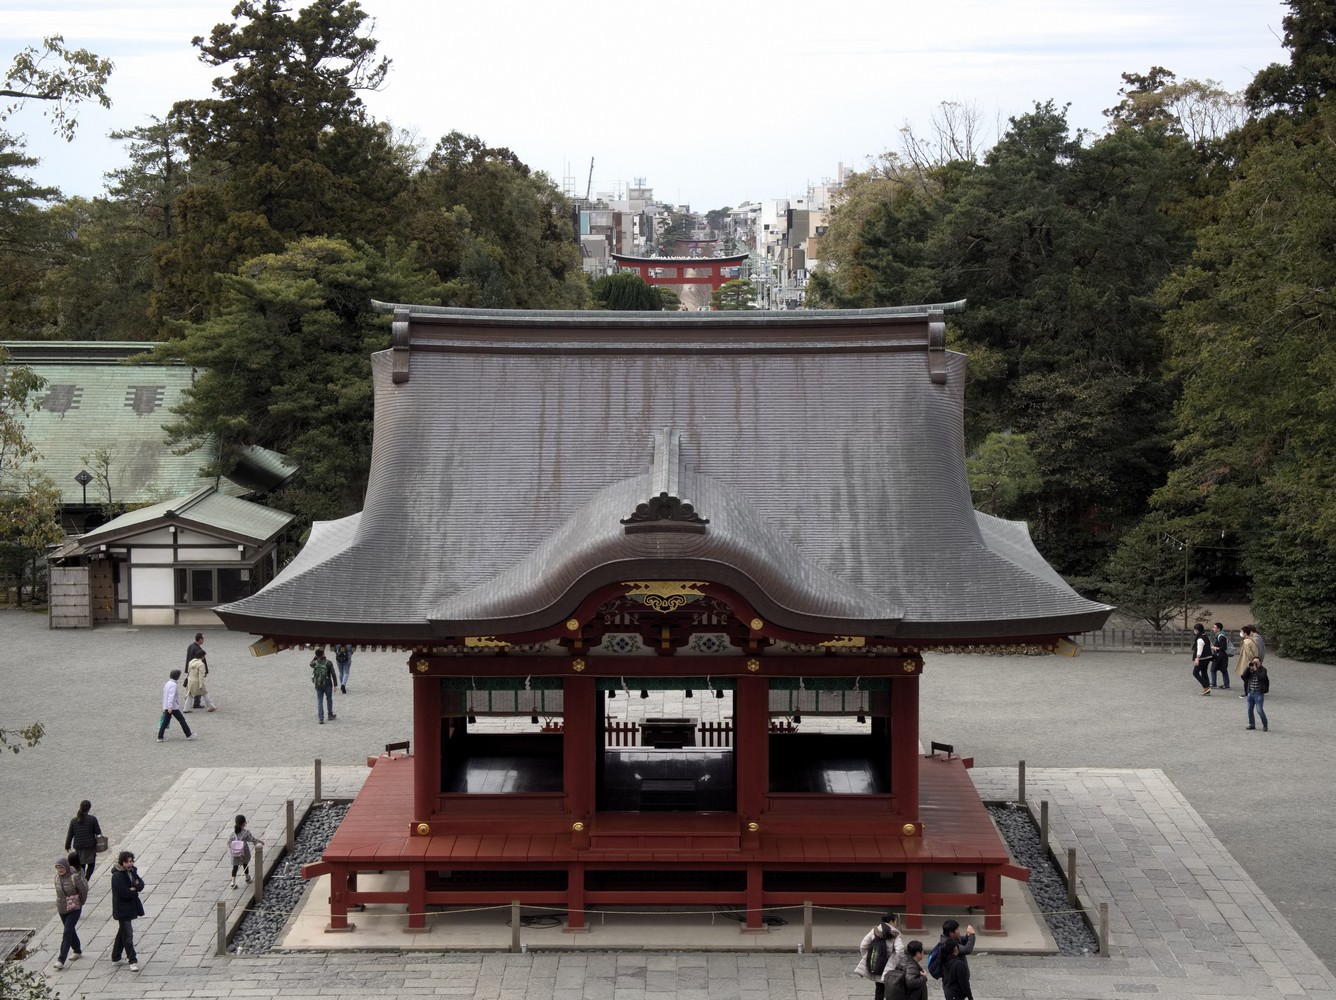
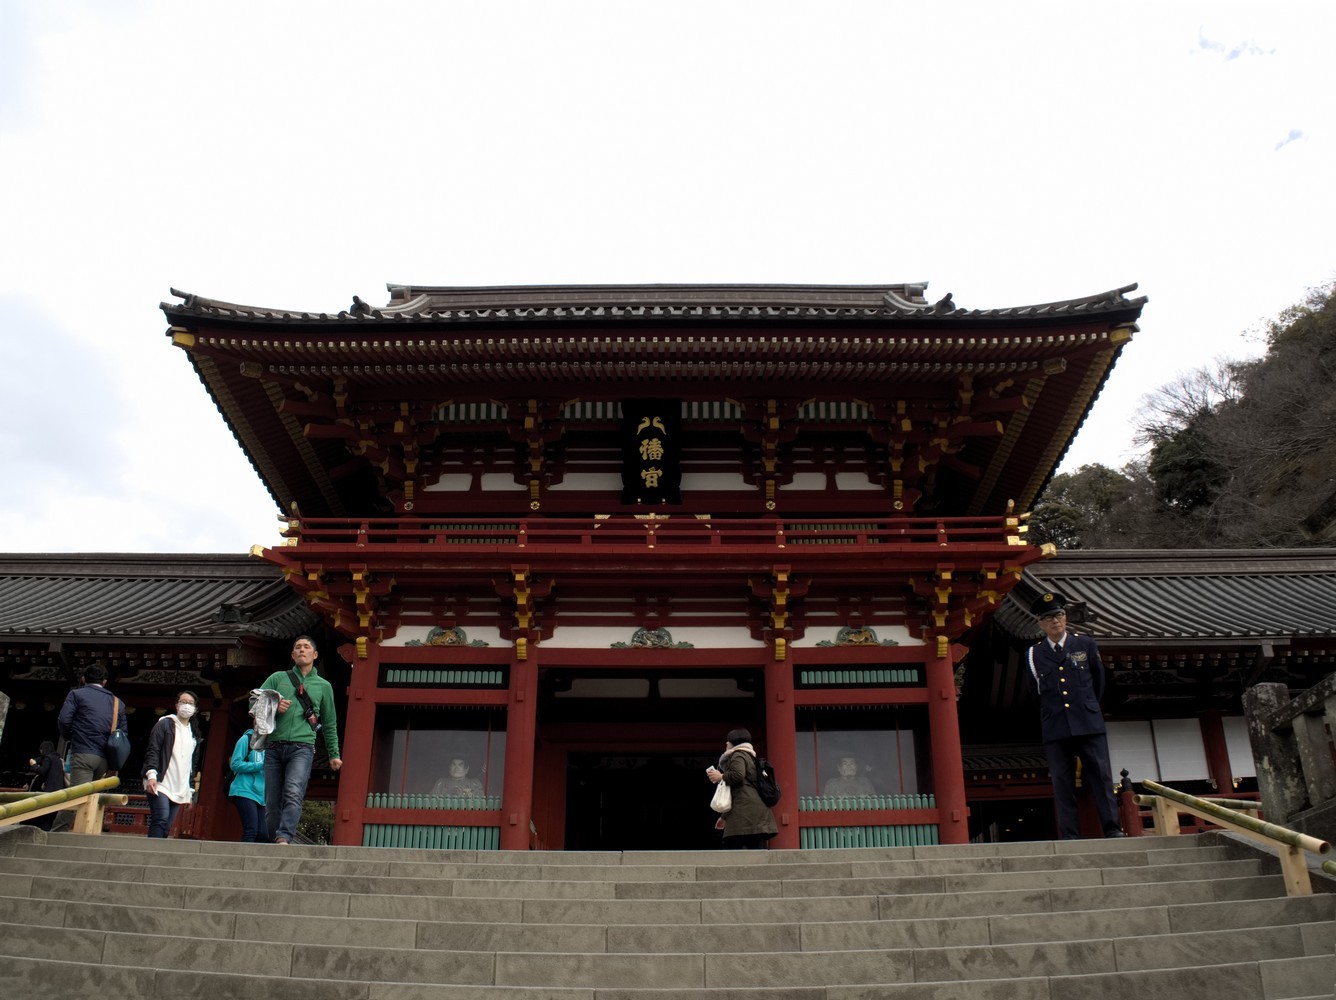
You could spend the entire day visiting the city temples if you feel like it. But because I wanted to devote the afternoon to discovering the Island of Enoshima, I chose to visit only two temples, Kotoku-in which houses the Daibutsu and Tsurugaoka Hachimangu Shrine.
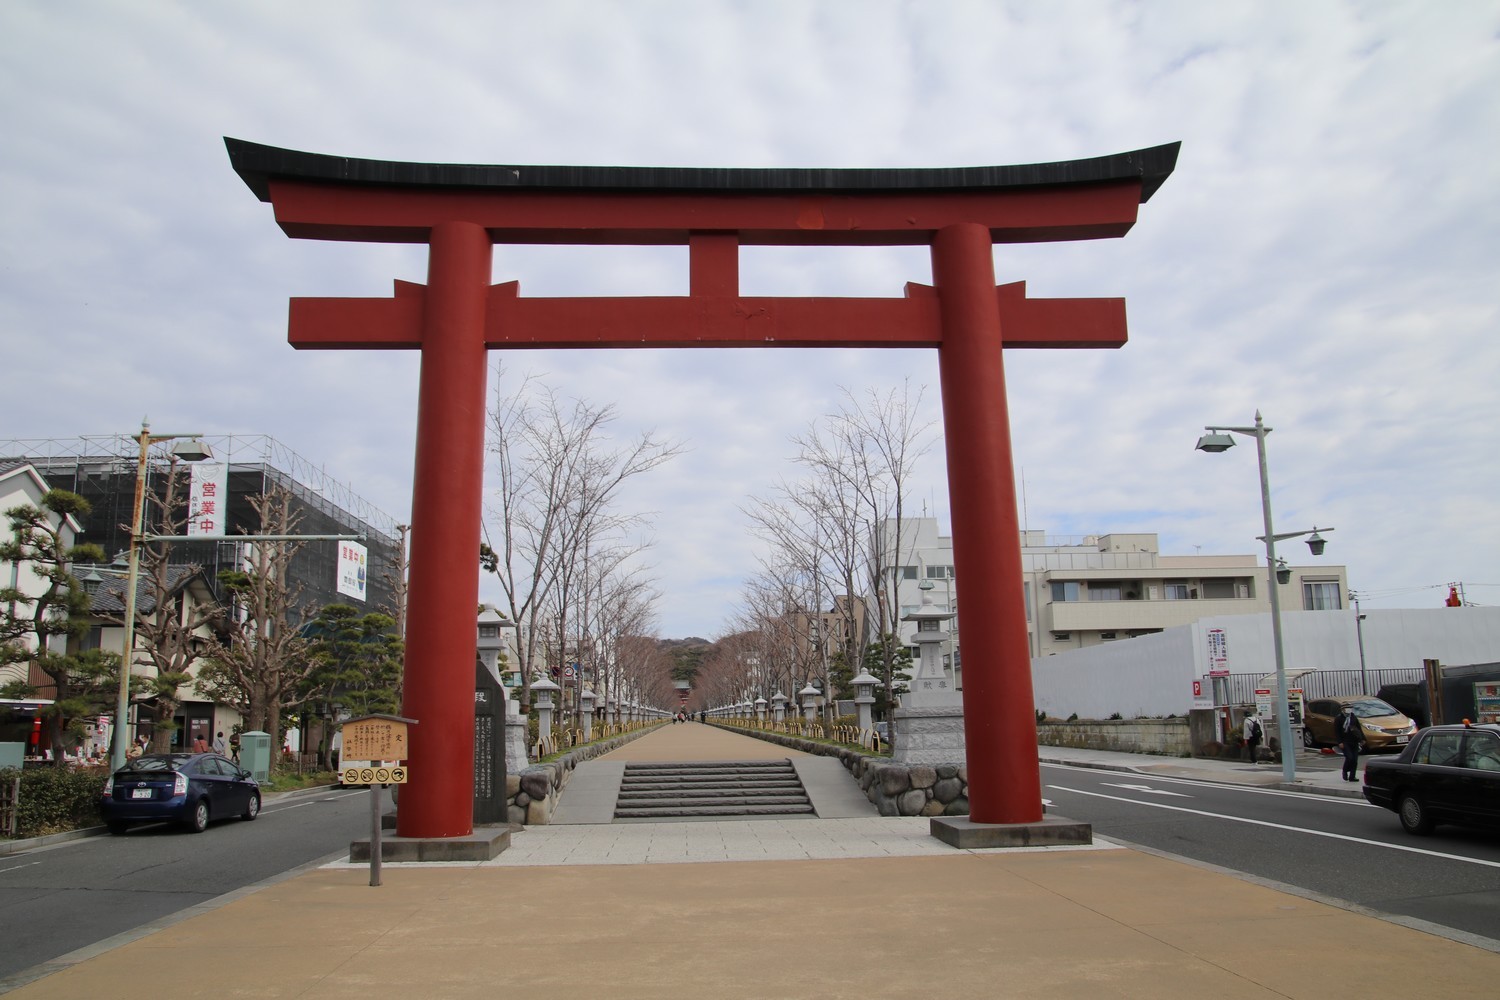
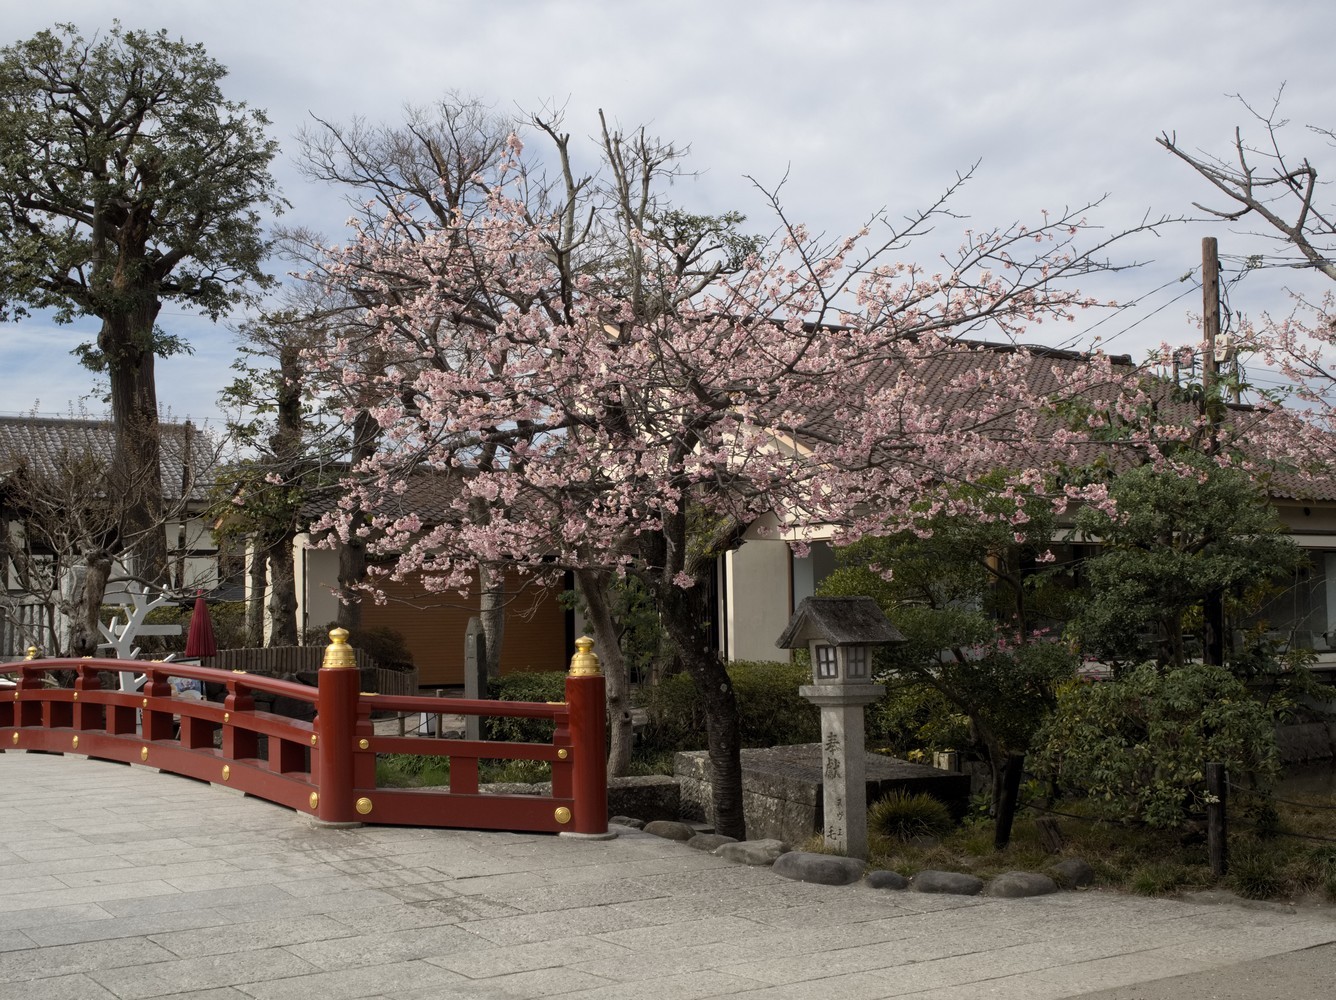
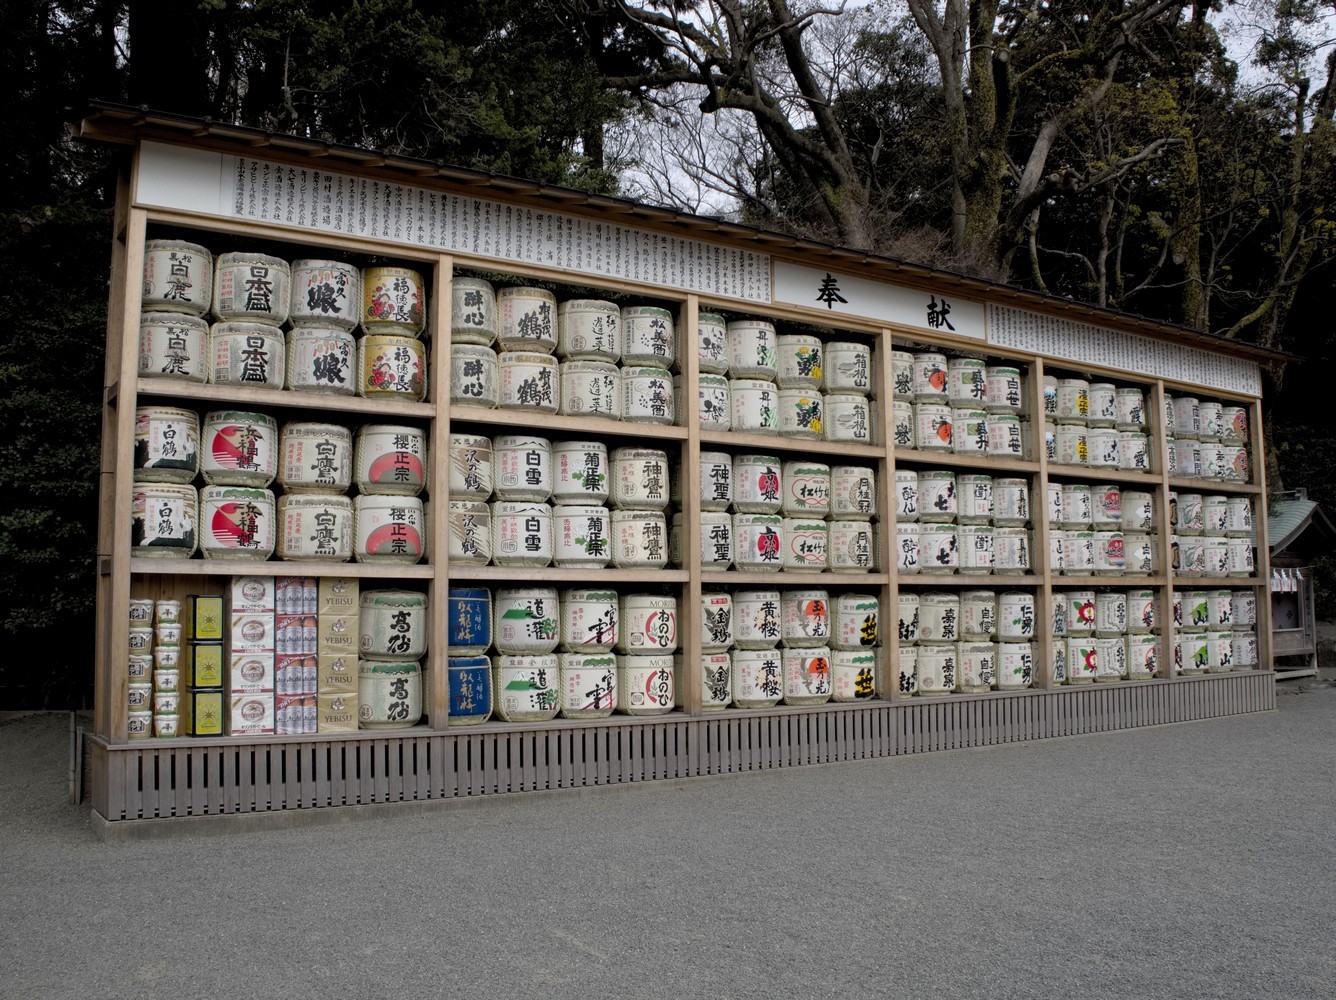
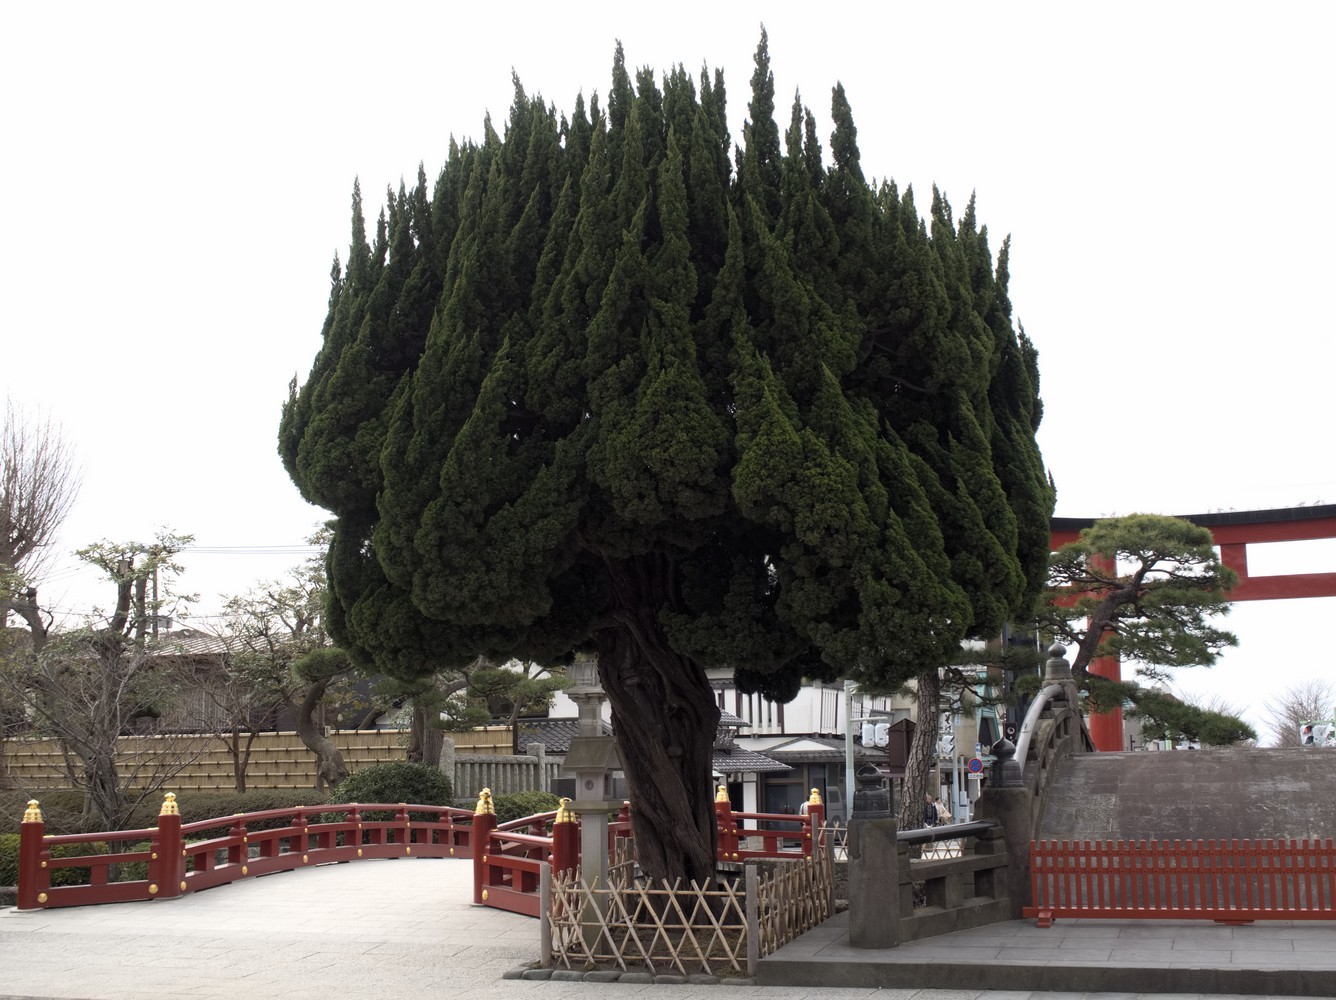
This tour begins with the charming Tsurugaoka Hachimangu Shrine. The path that leads you there is very pleasant but it is nothing compared to the atmosphere you’ll feel in this small sanctuary.
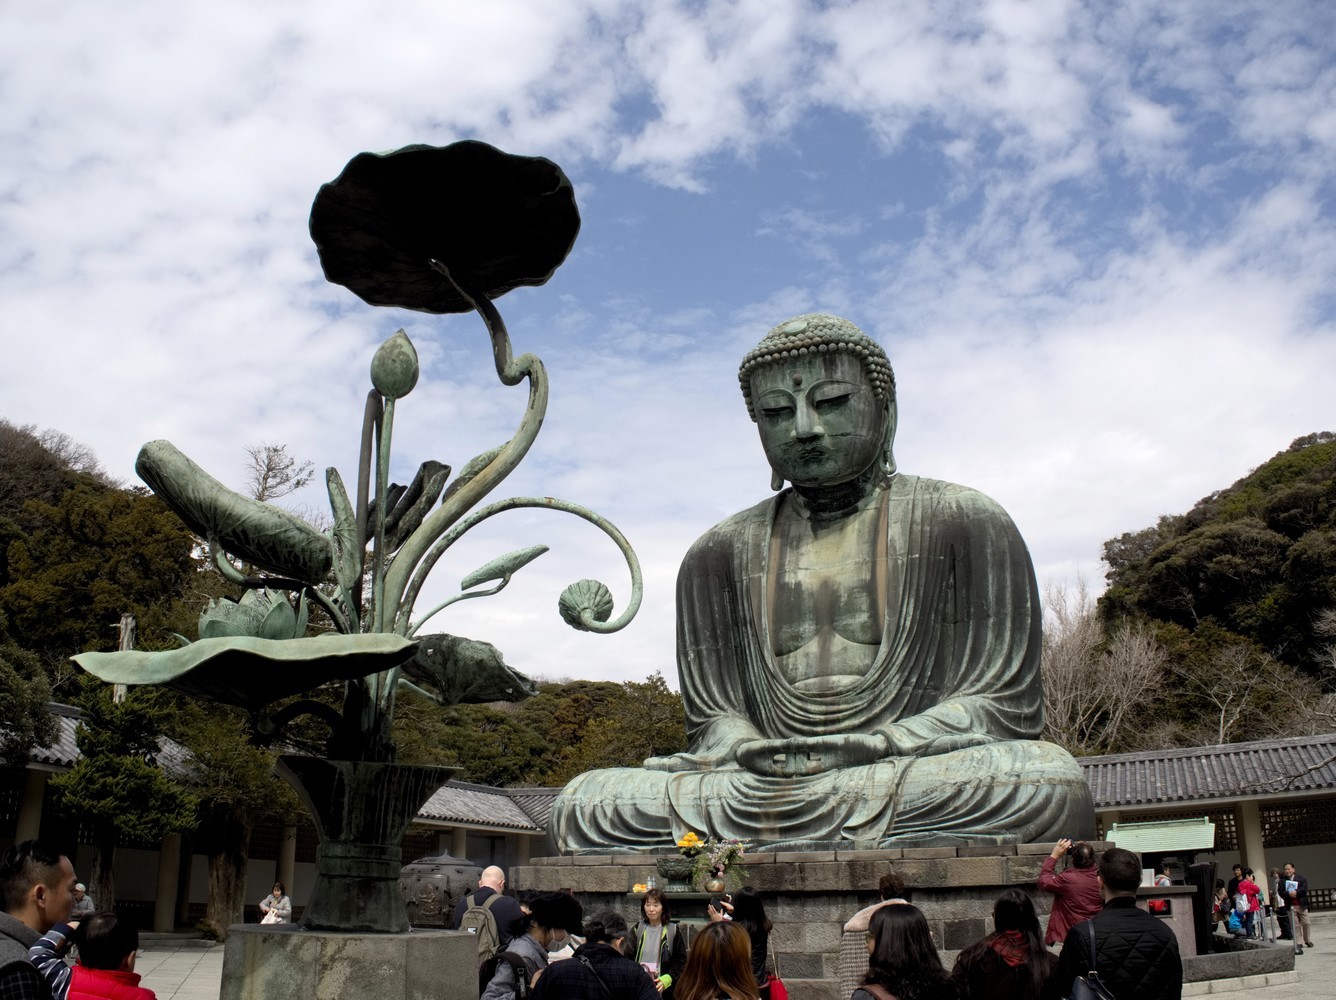
Once your tour of the shrine is over, get back to the train station before heading to the Daibutsu which is located about a 25-minute walk away. If you don’t feel like walking that much, you can take the Enoden Line train in order to get off at Hase Station. From there you’ll have 500 meters to go before reaching the temple. Admission fee is ¥200. Because of its size, you’ll notice that the Daibutsu is very beautiful and impressive. Also note that for ¥20, you can enter inside the statue.
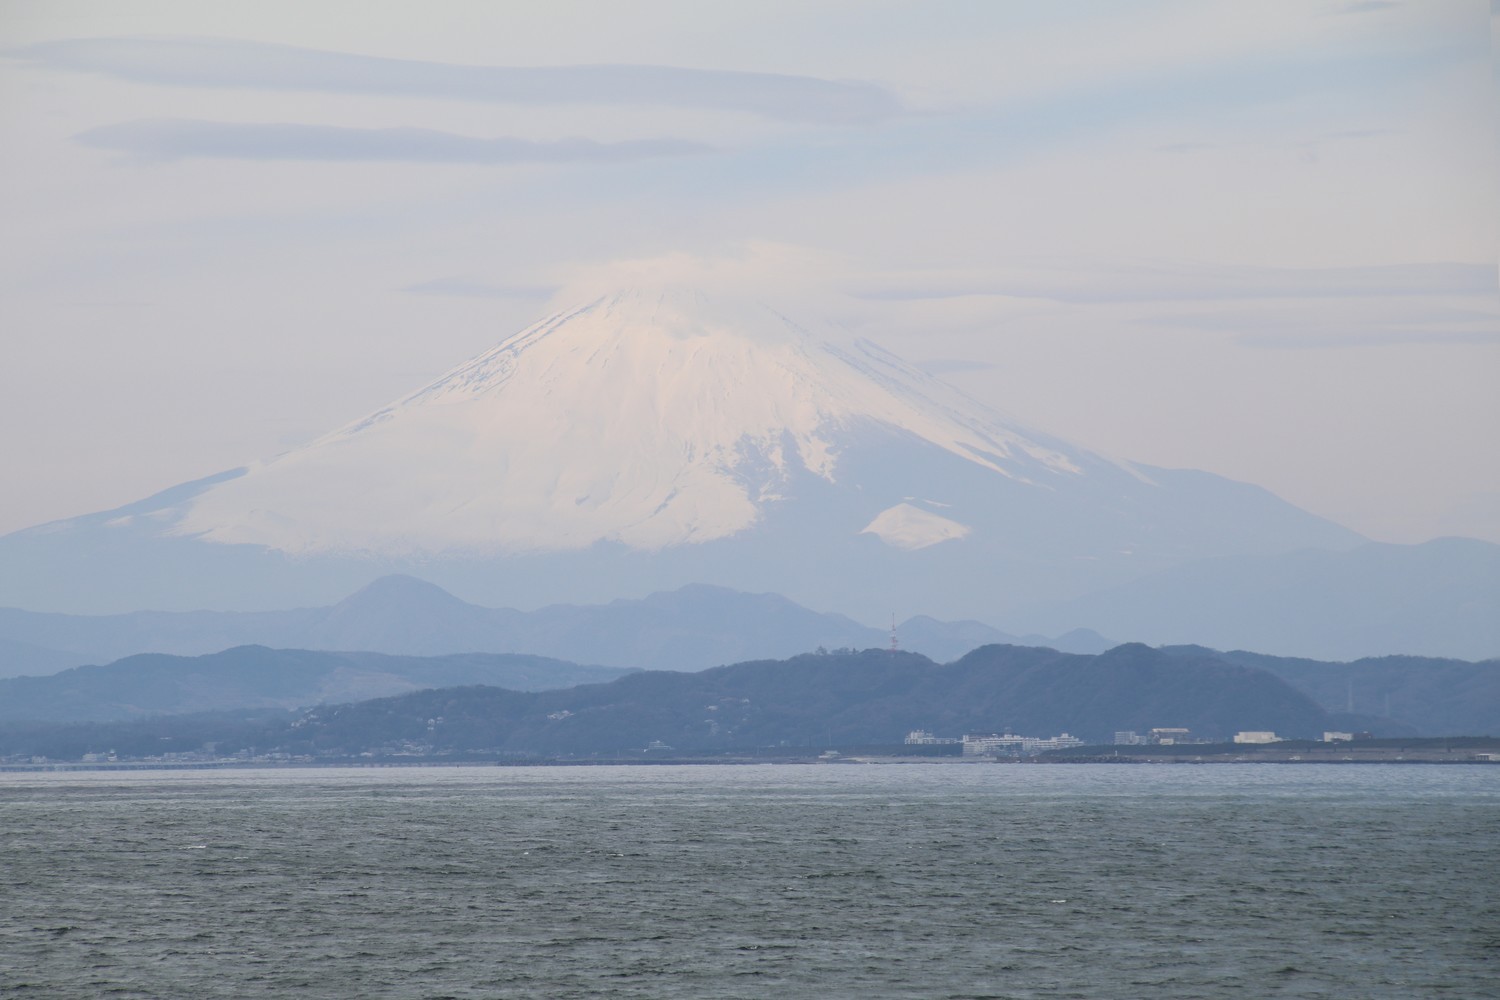
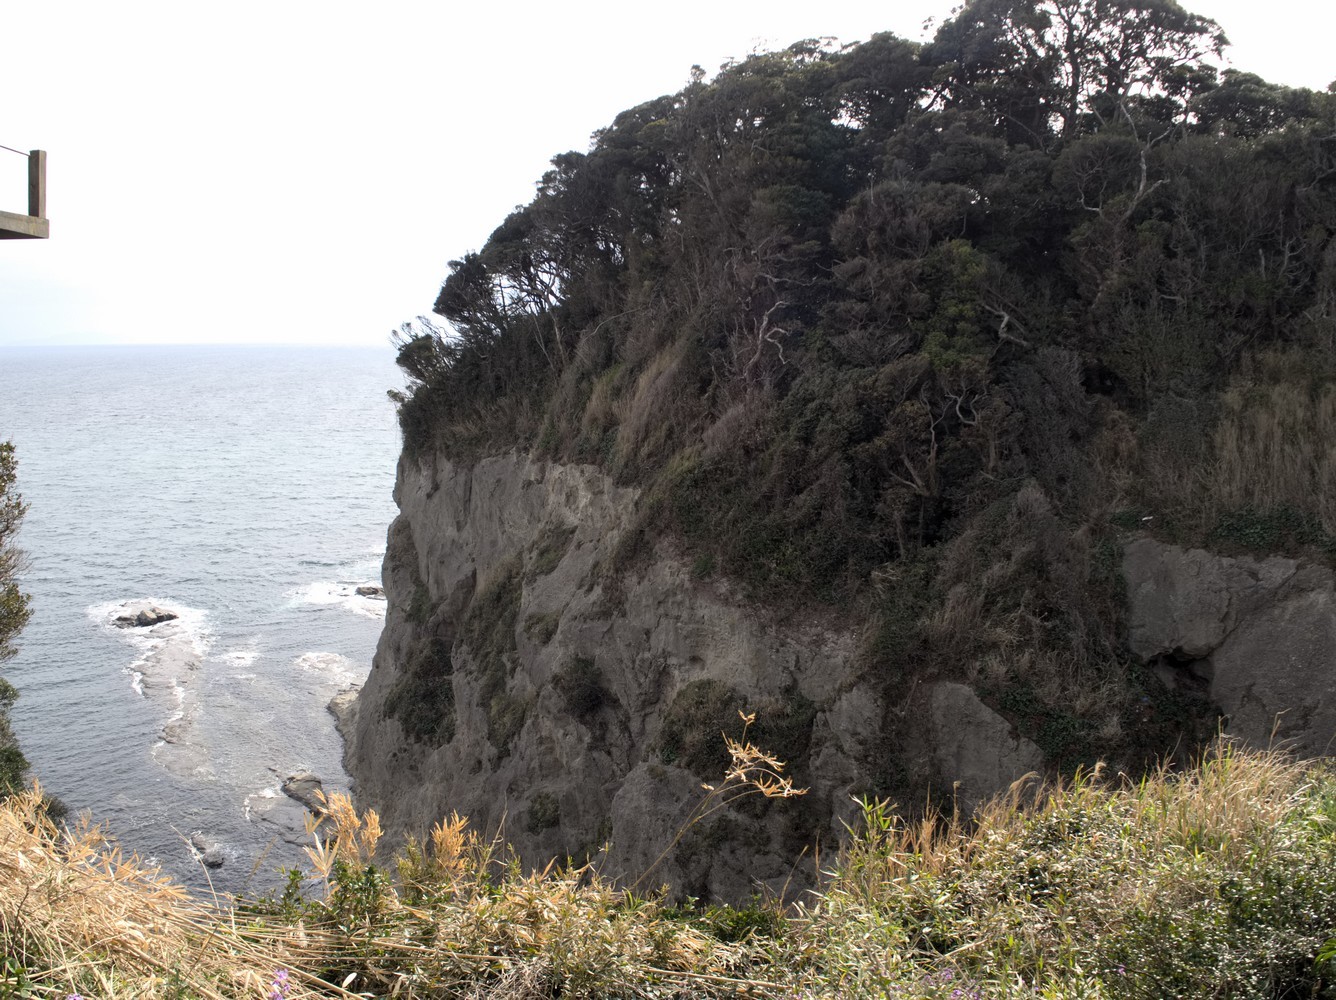
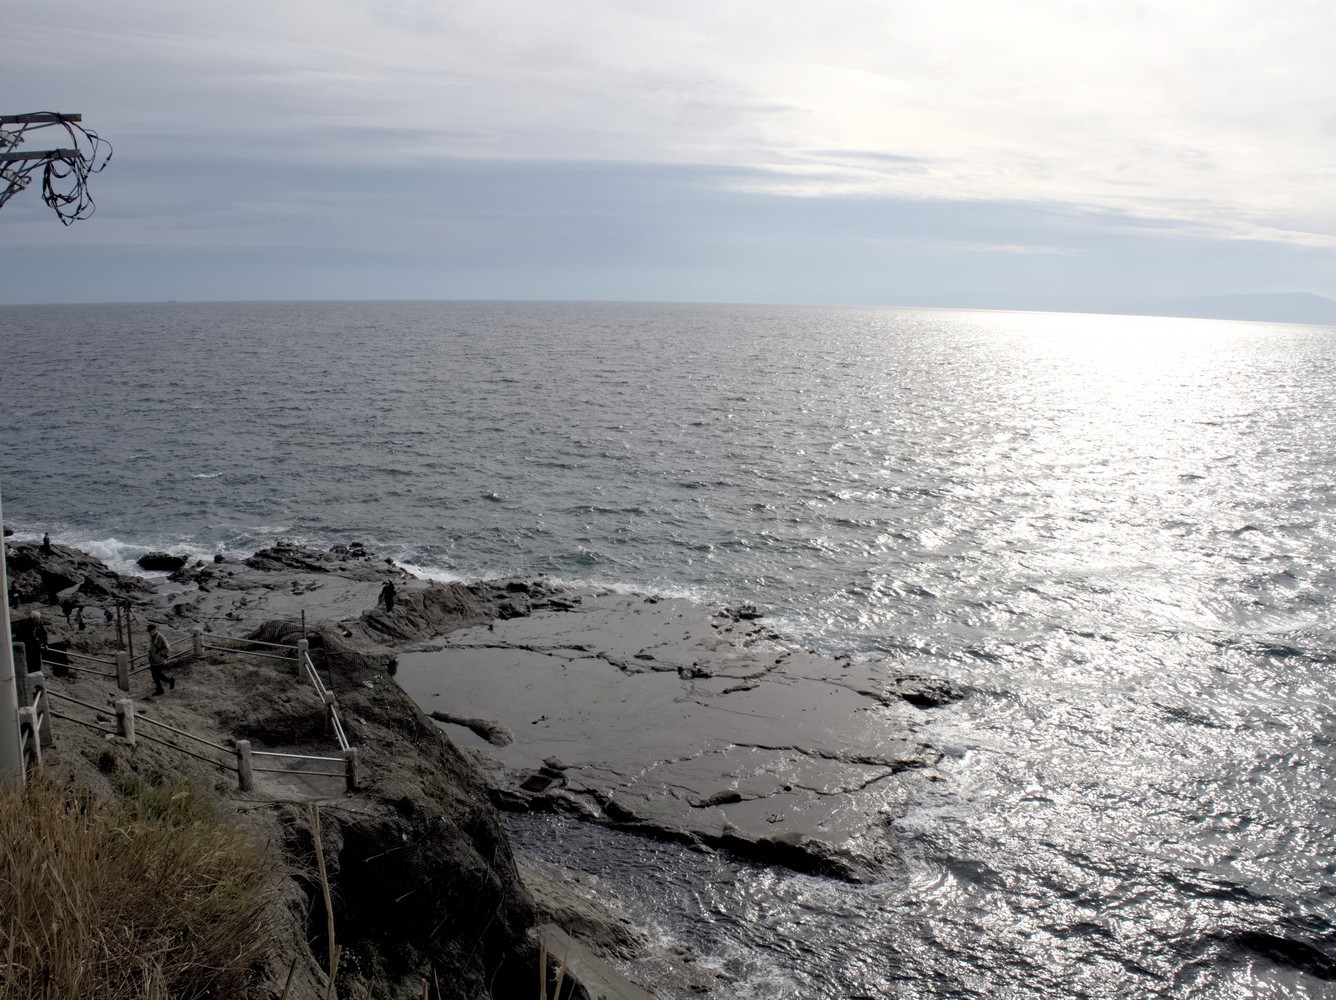
Once you’re done visiting, get back to Hase Station to take the train of the Enoden Line in order to reach Enoshima Station. A single ticket costs ¥260. From there, you have to cross a bridge in order to reach the island. It takes about a 15-minute walk and on the way, you’ll have a very nice view of the Fujiyama.

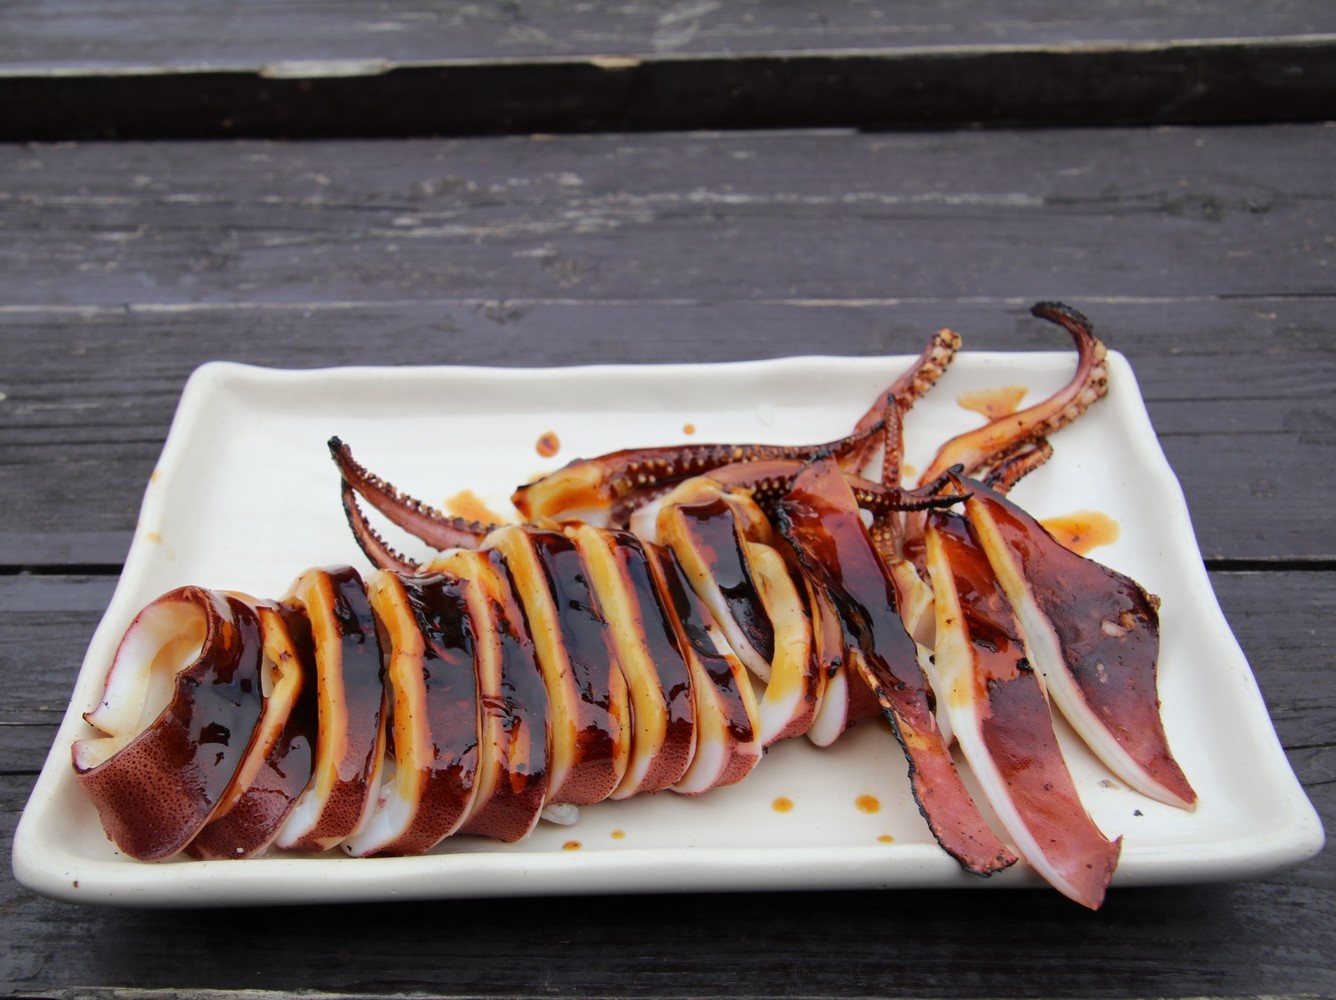
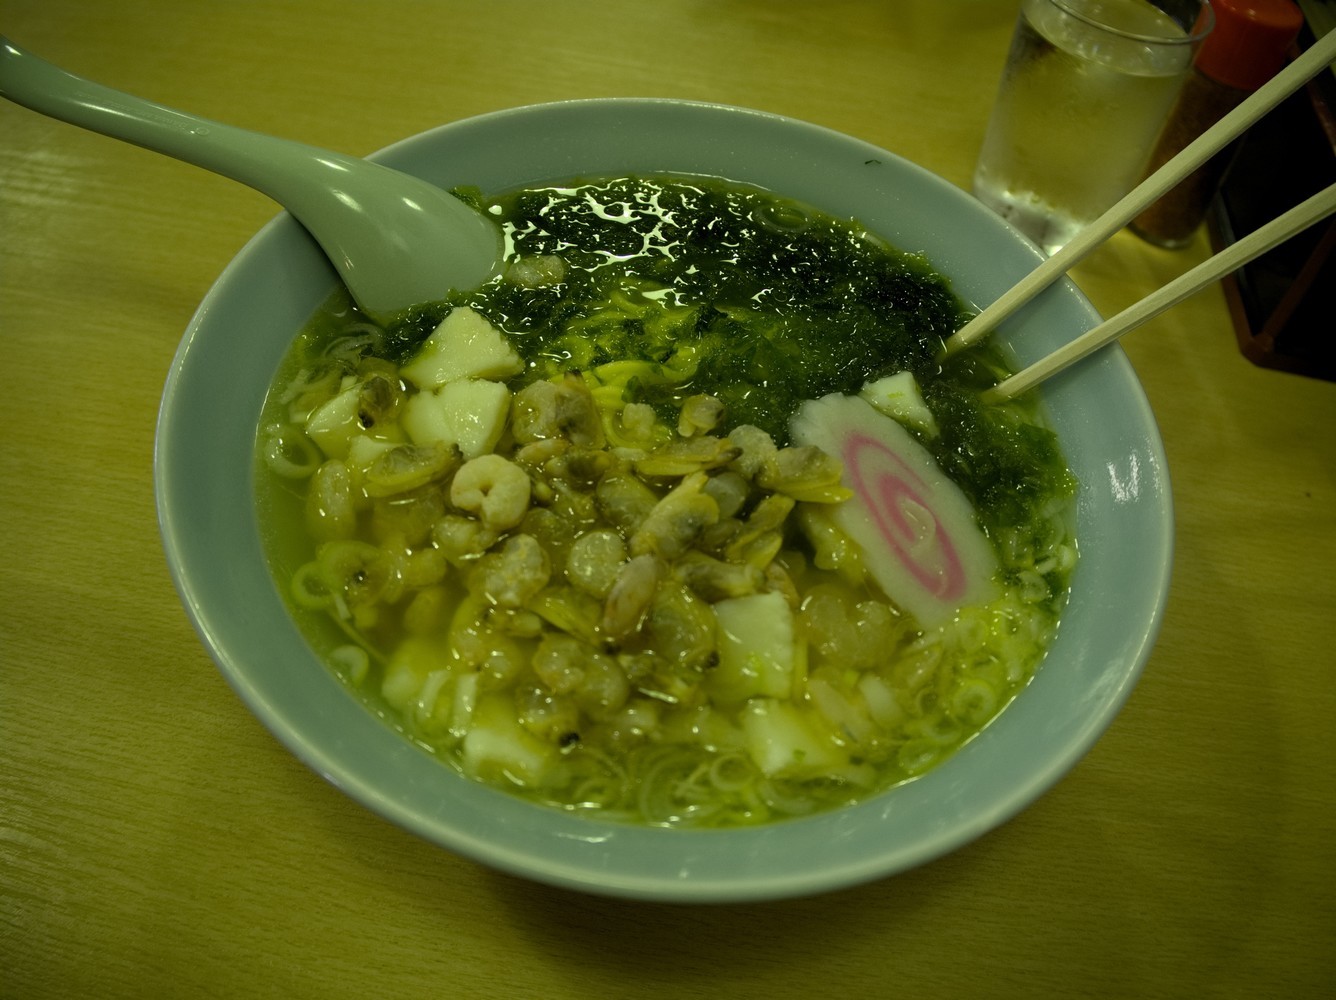
Once on the island, you can go to have lunch. Right next to the bridge there are stalls selling snacks like grilled cuttlefish, but you can also find conventional restaurants. And don’t forget to order seafood dishes as it’s the island’s specialty!
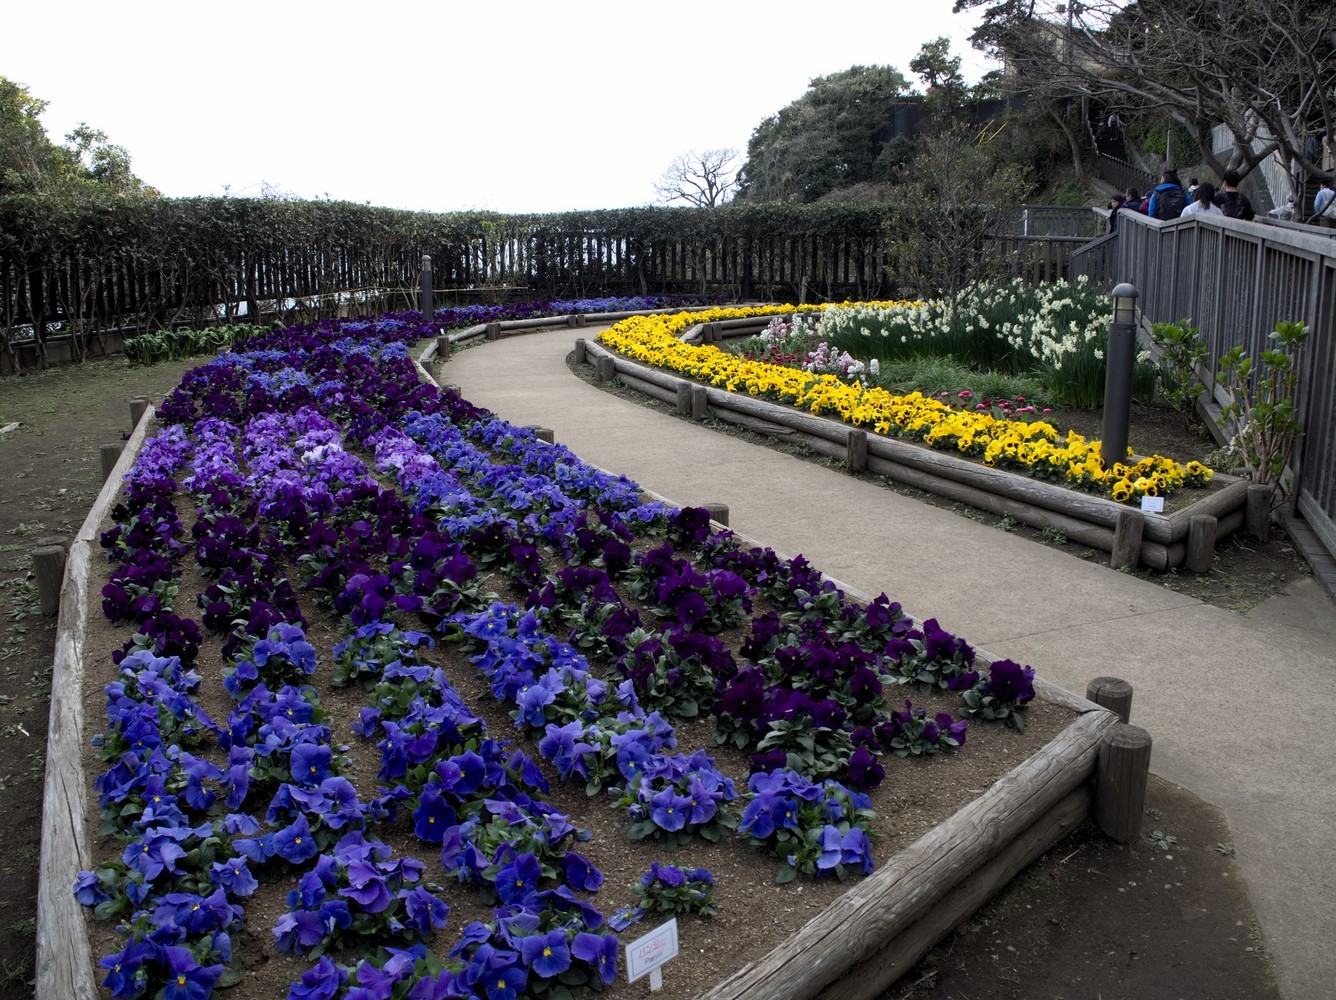
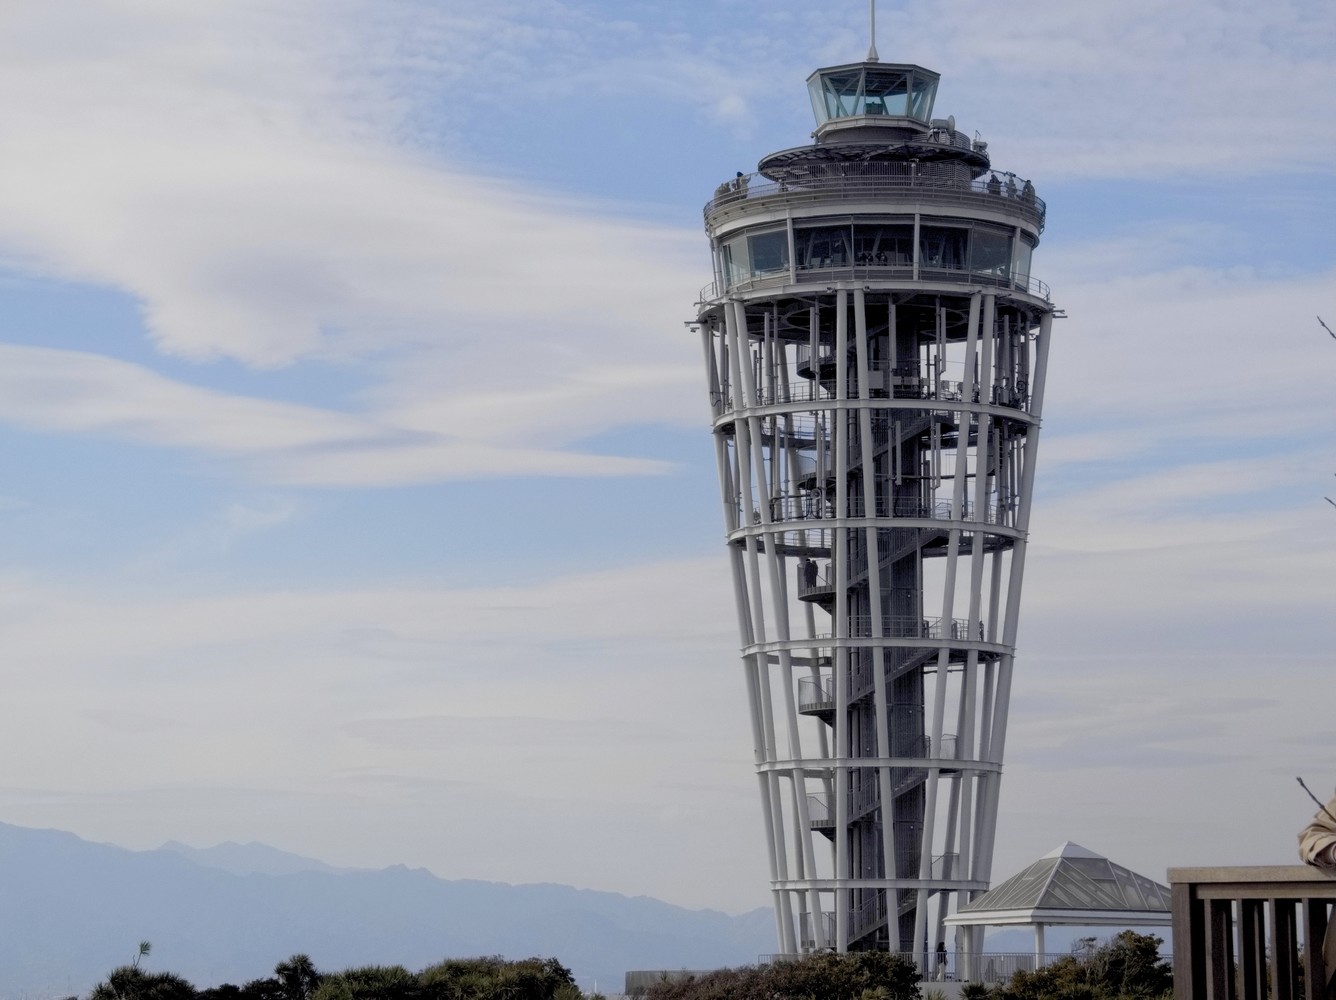
After lunch, it’ll be time to go to explore the island which is quite sloping and with lots of stairs. Basically there is a main path that will take you to the top of the island. But don’t worry, if you don’t feel like climbing all the way to the top of the island on foot, there are escalators (for a fee) that will be there to help you. On the way to the top, you will come across a sanctuary, a flower garden and even a lighthouse. Once at the top of the hill, you’ll have an awesome view!
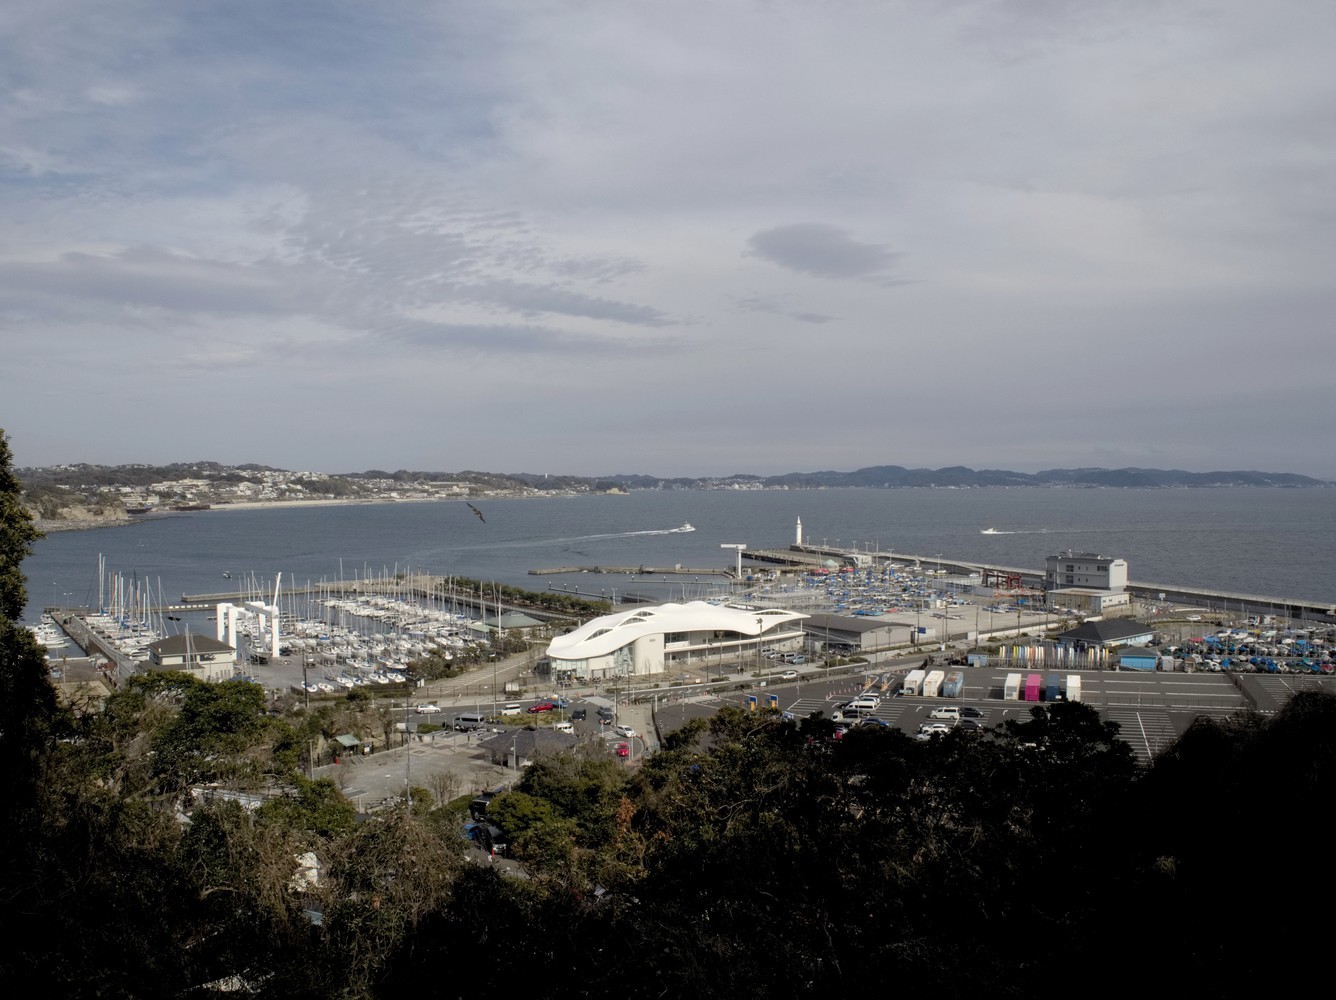
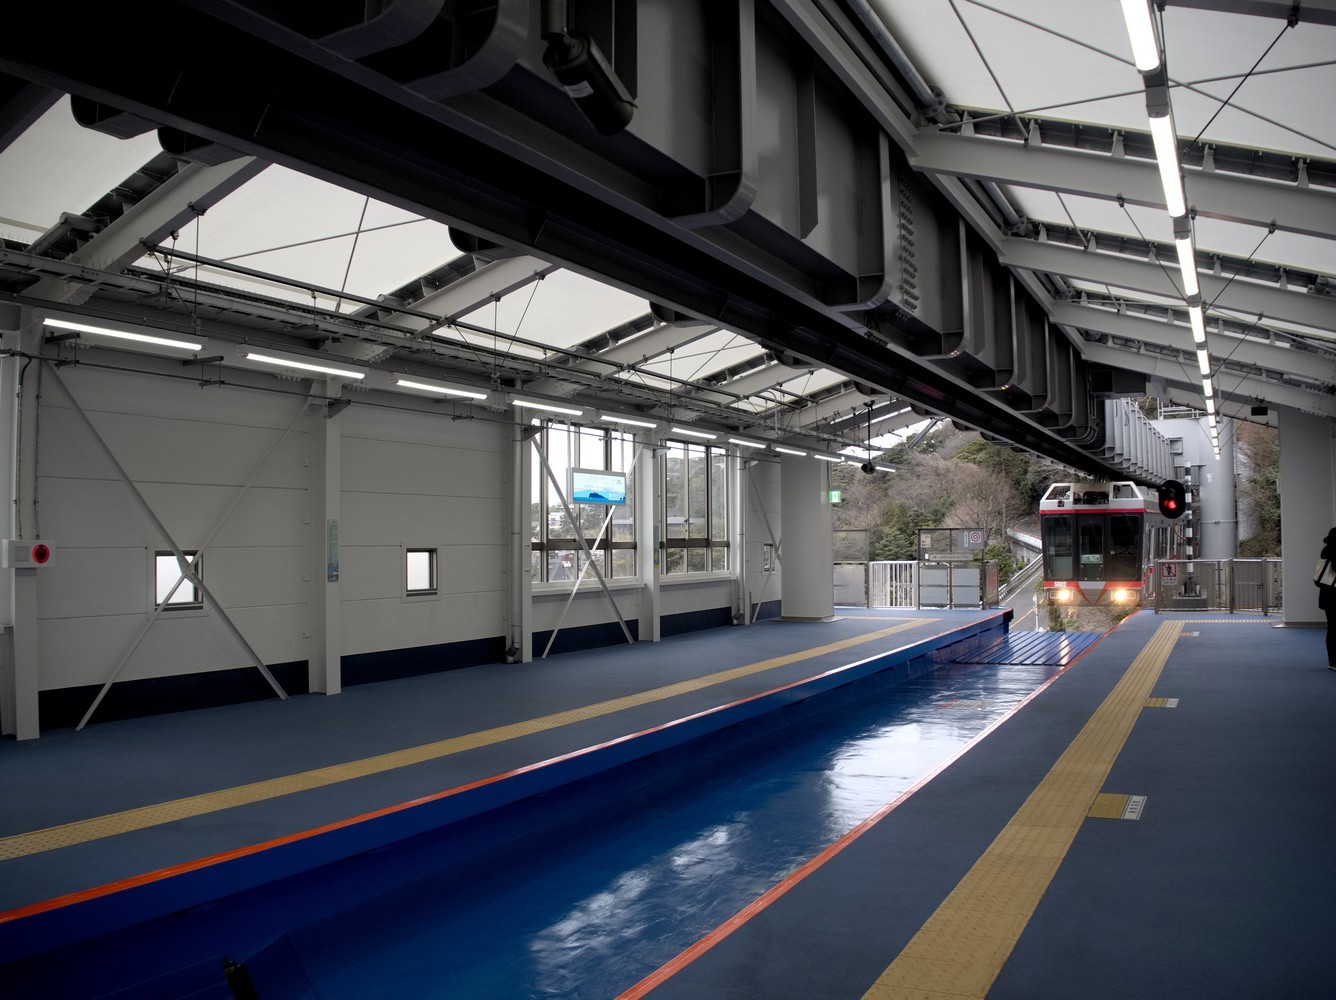
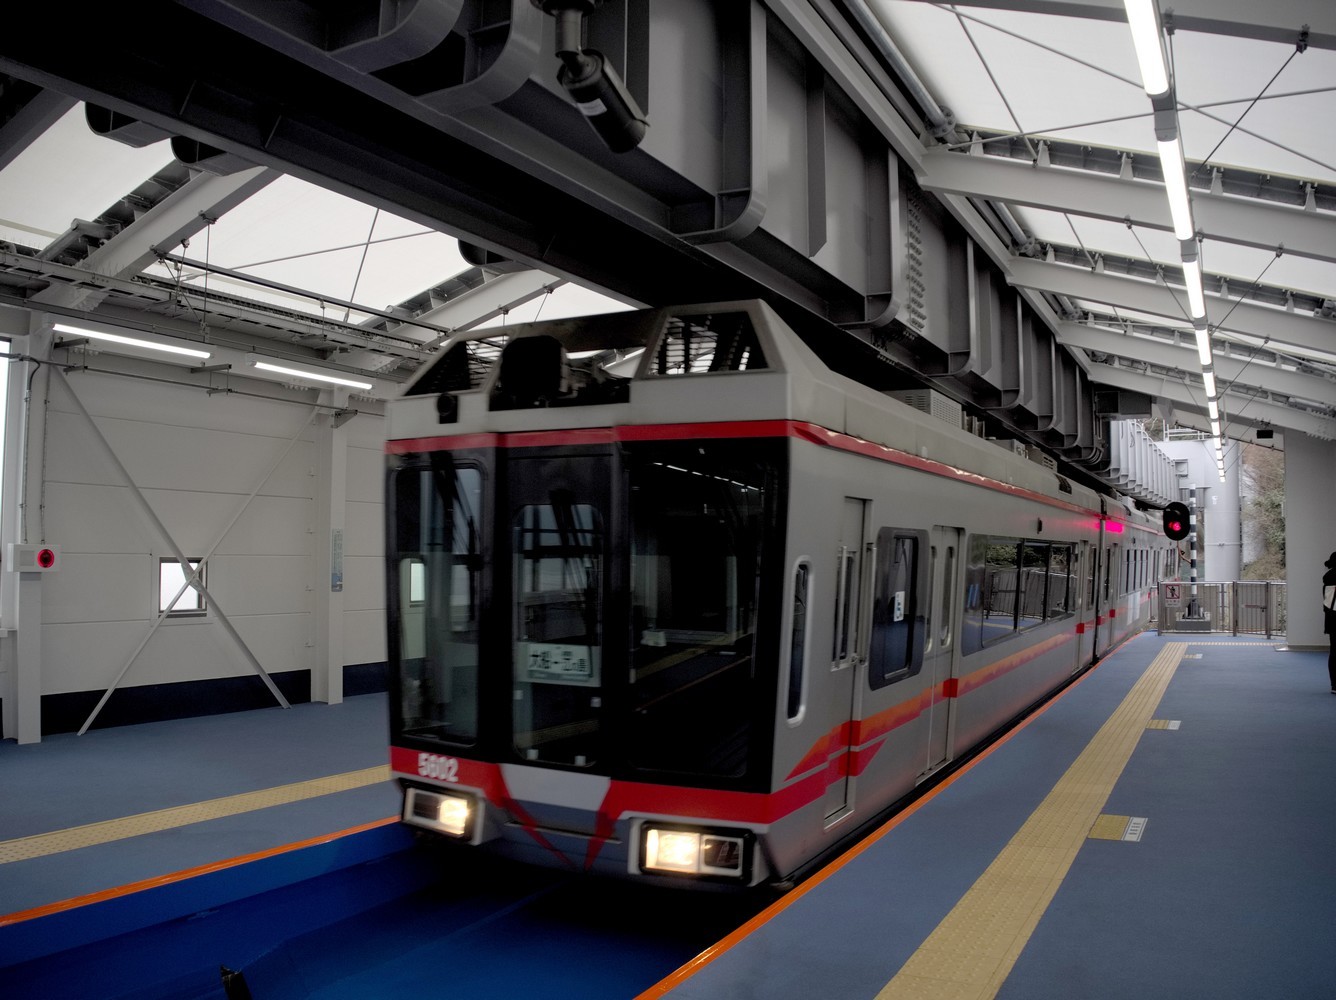
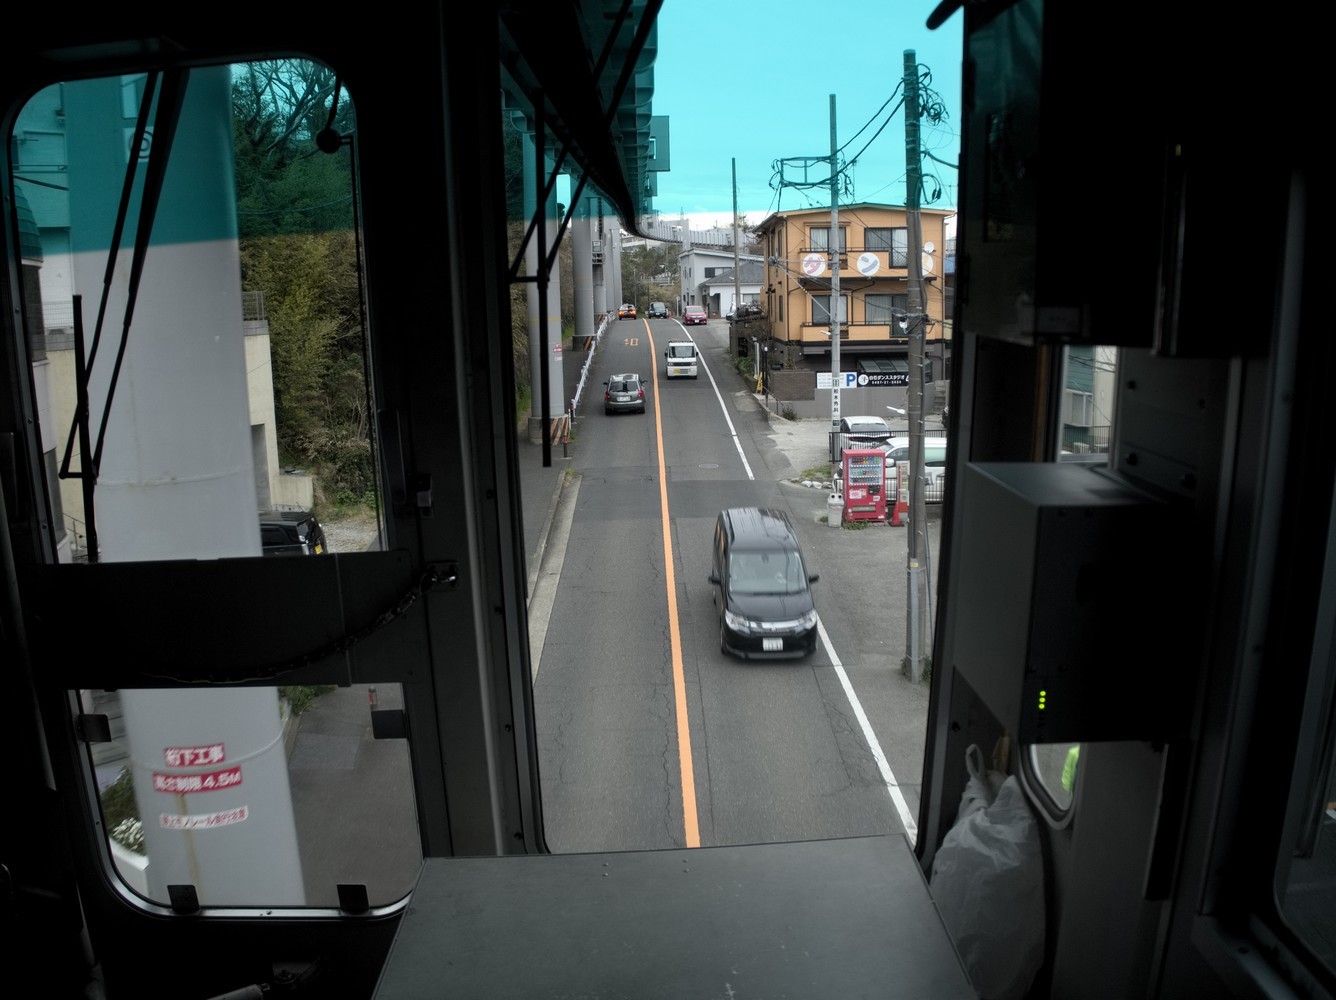
To get back to Kamakura, I recommend taking the Shonan Monorail instead of taking the Enoden Line. The monorail will bring you back to Ofuna Station on the JR Yokosuka Line and that line will bring you back to Tokyo. The monorail is much more interesting and breathtaking than the Enoden Line because you’ll feel like you are flying over the city. Moreover it’s not much more expensive: ¥320 instead of ¥260. The monorail station is pretty easy to find. When arriving at Enoshima Station of the Enoden Line, go straight ahead and pass the level crossing. In front of you there will be a crossroads and you’ll see the station which is located inside a building.
Day 3: exploring Tokyo!
On this day of city tour in Tokyo, the first thing you’ll have to do is to get a subway pass because it’s a must-have in order to travel into the city. You can buy it at most major subway stations: go to check the list of stations on the Tokyo Metro Website. The pass is available in a 24-hour, 48-hour or 72-hour version, for respectively ¥800, ¥1,200 and ¥1,500.

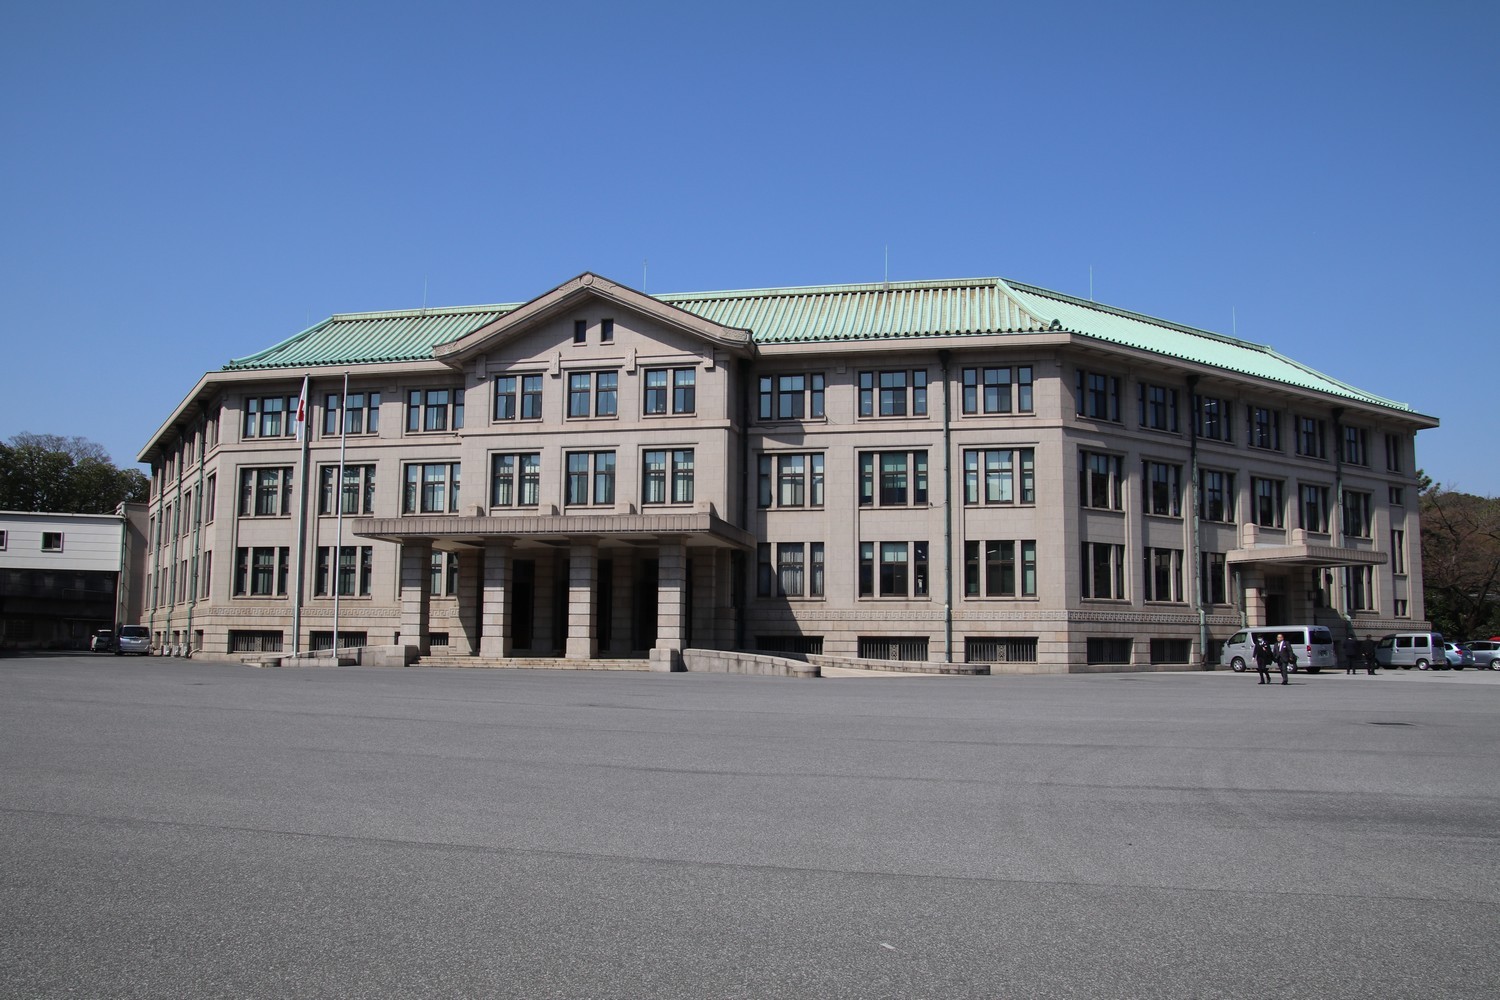
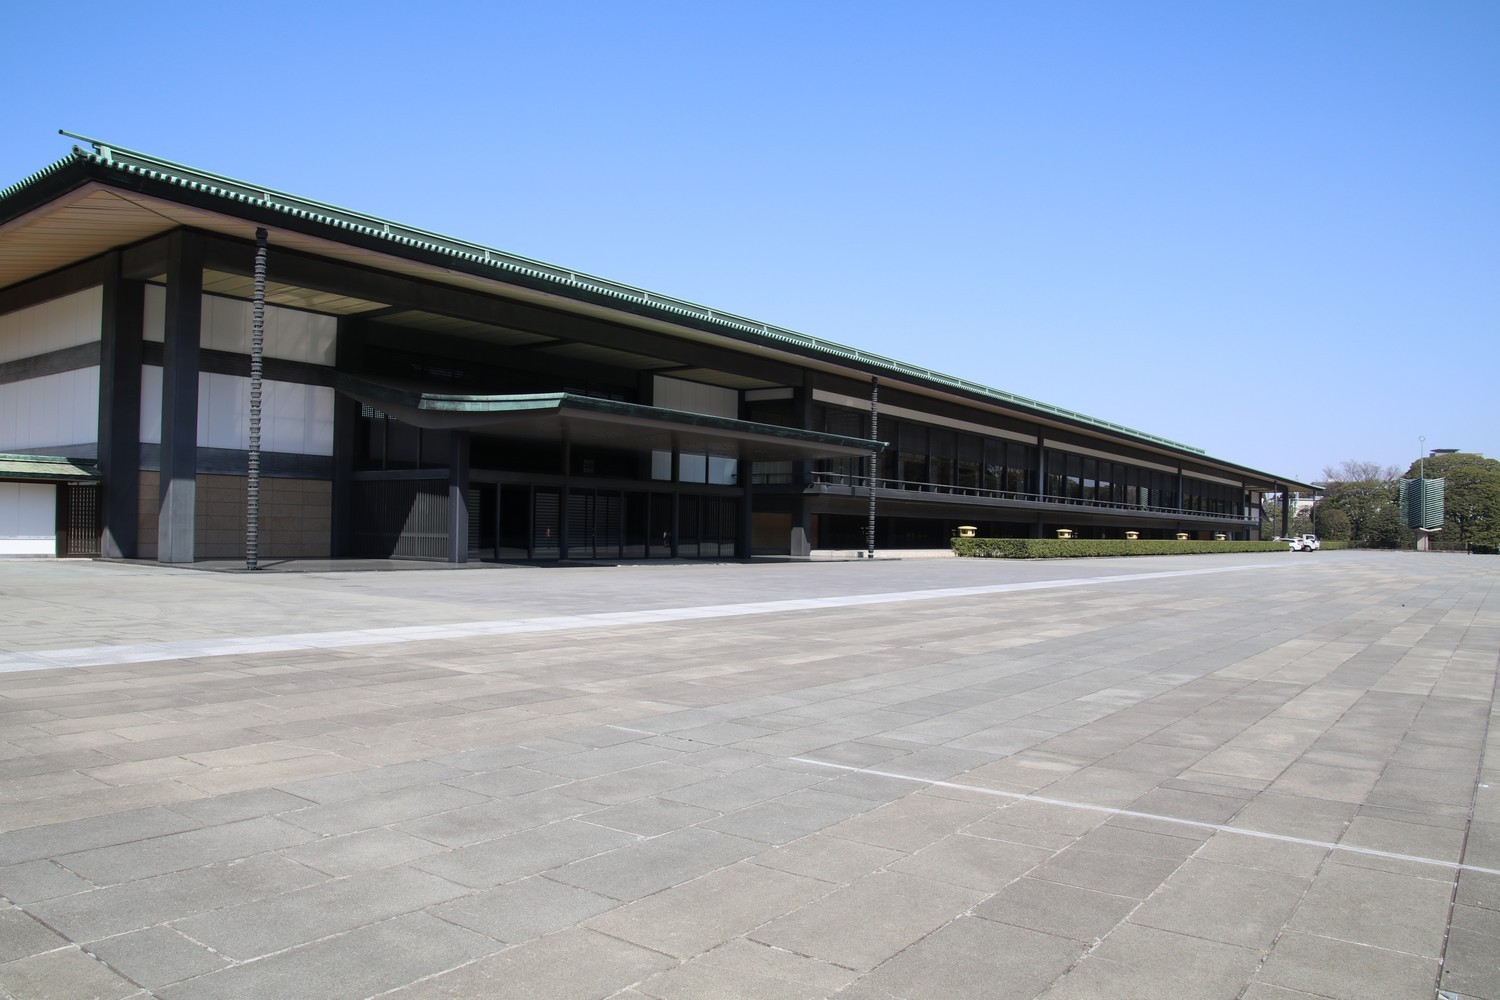
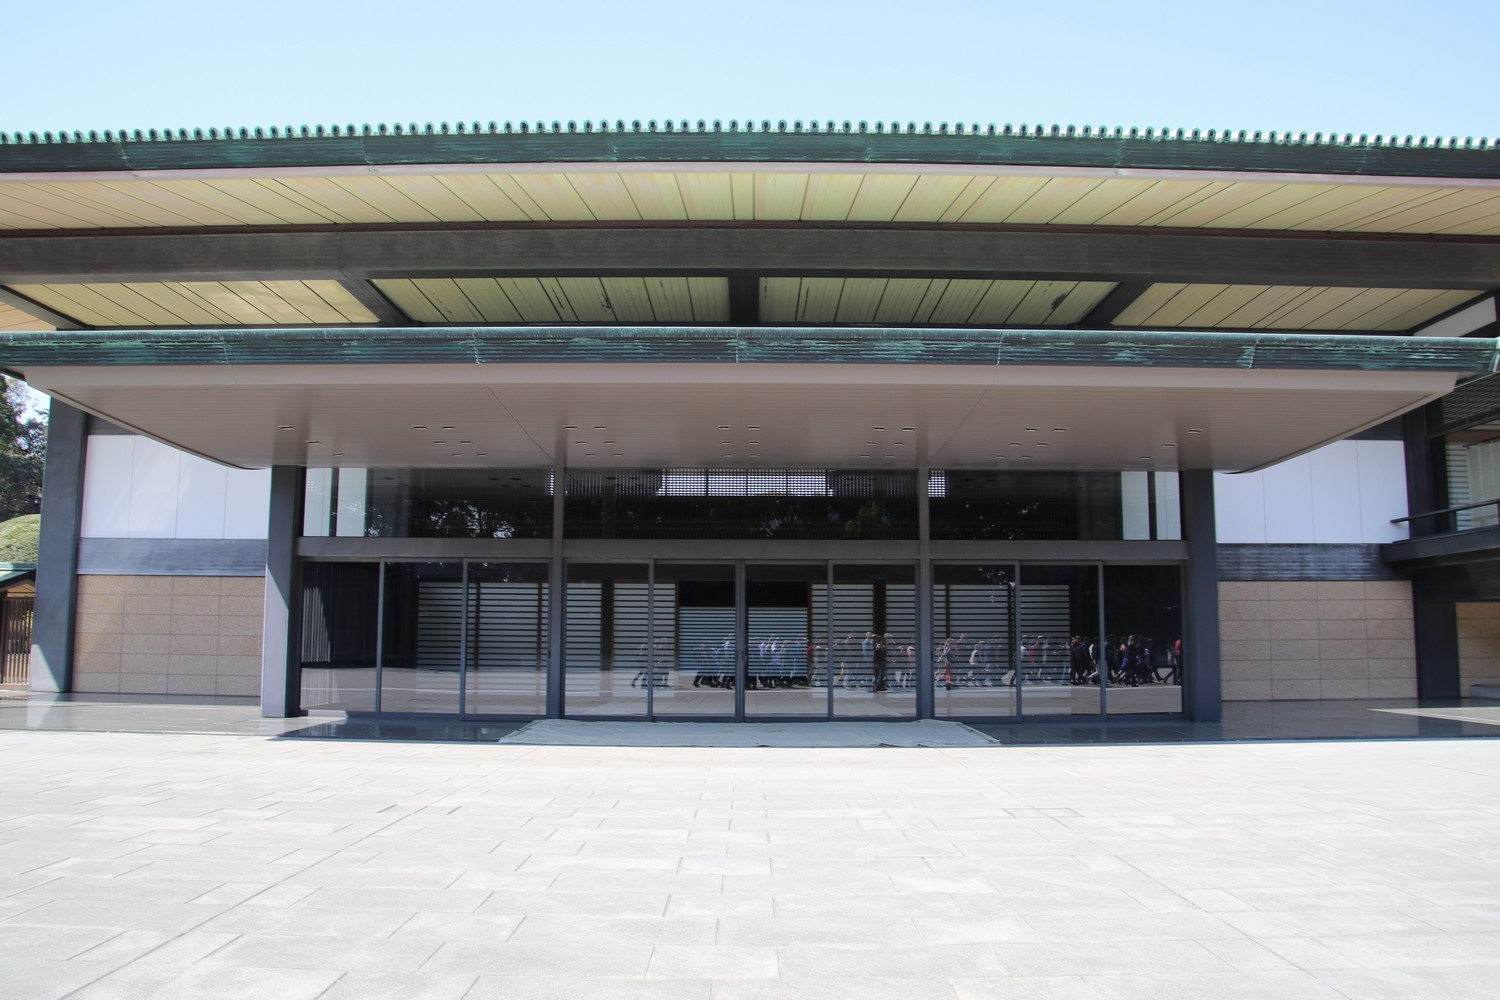
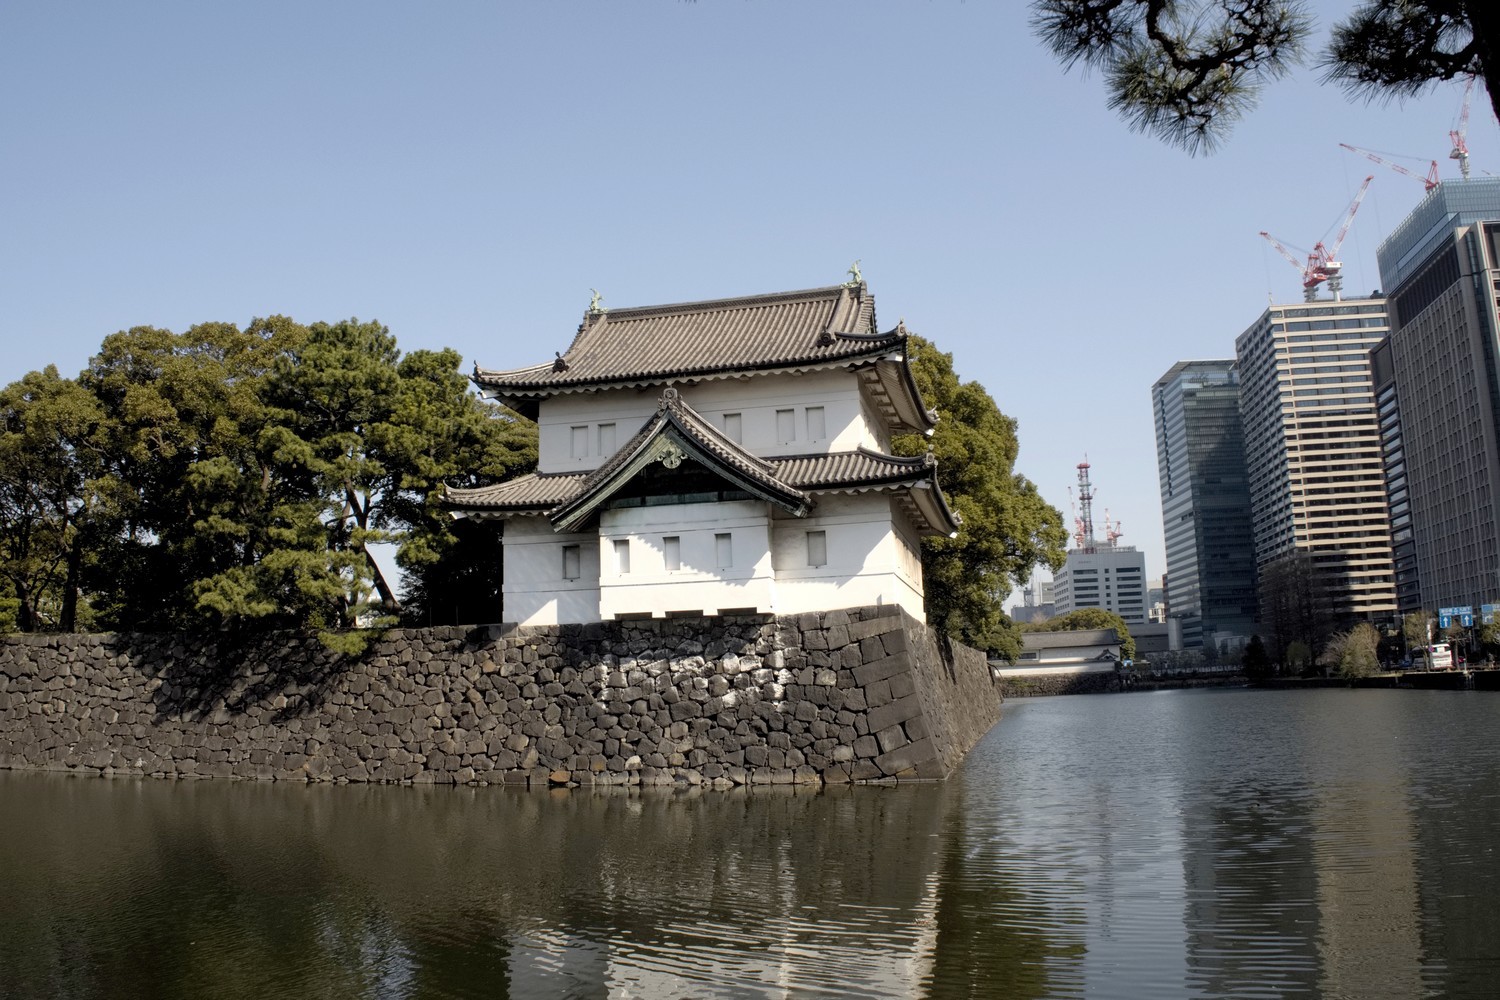
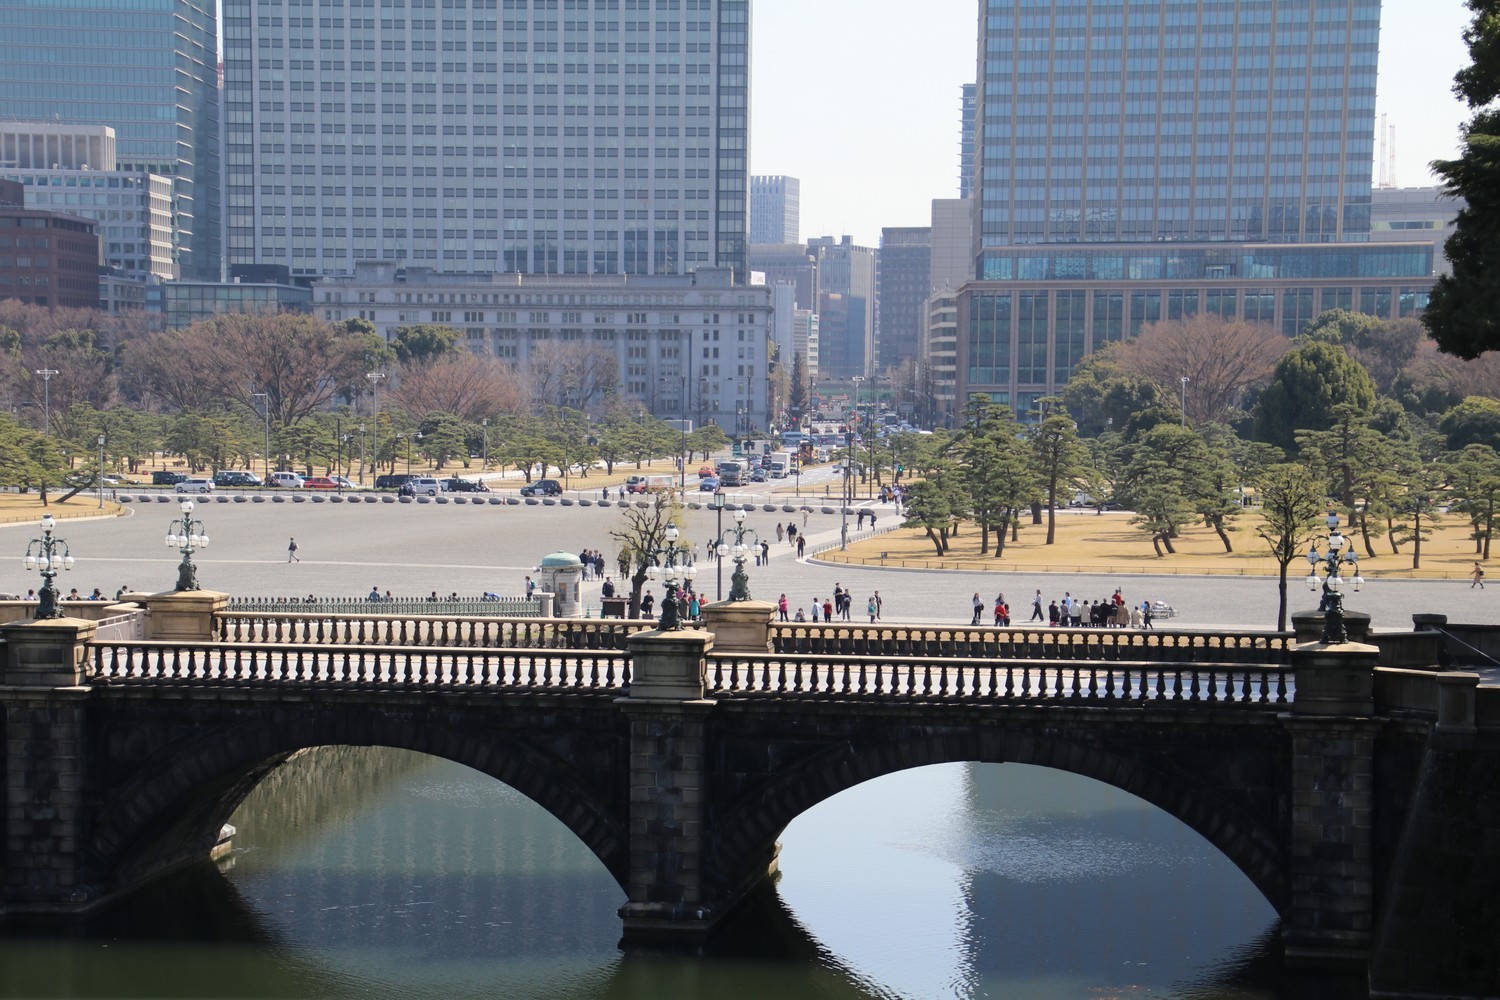
Once you get your pass, head to the Imperial Palace! I highly recommend booking your visit on the website before going because even if it’s possible to get tickets while there, it’s the only way to be sure to get a ticket. There are 2 visits per day, one at 10 a.m. and another one at 1:30 p.m. Everything is free, from the booking to the visit. Just note that the guided tour will only lead you to the palace grounds, you won’t be able to enter the buildings. Back then, I took the English tour but it was also available in Chinese.
Try to arrive as early as 9 a.m. in order to go to visit the Imperial Palace East Gardens before your guided tour. The gardens are a part of the inner palace area. When entering the garden, you’ll be given a token which must be returned at the exit. The garden is very beautiful and pleasant, and over there, you’ll even find the ruins of Edo Castle.
In order to get to the palace or gardens, you have to get off at Otemachi Subway Station which is located about a 10-minute walk from there.
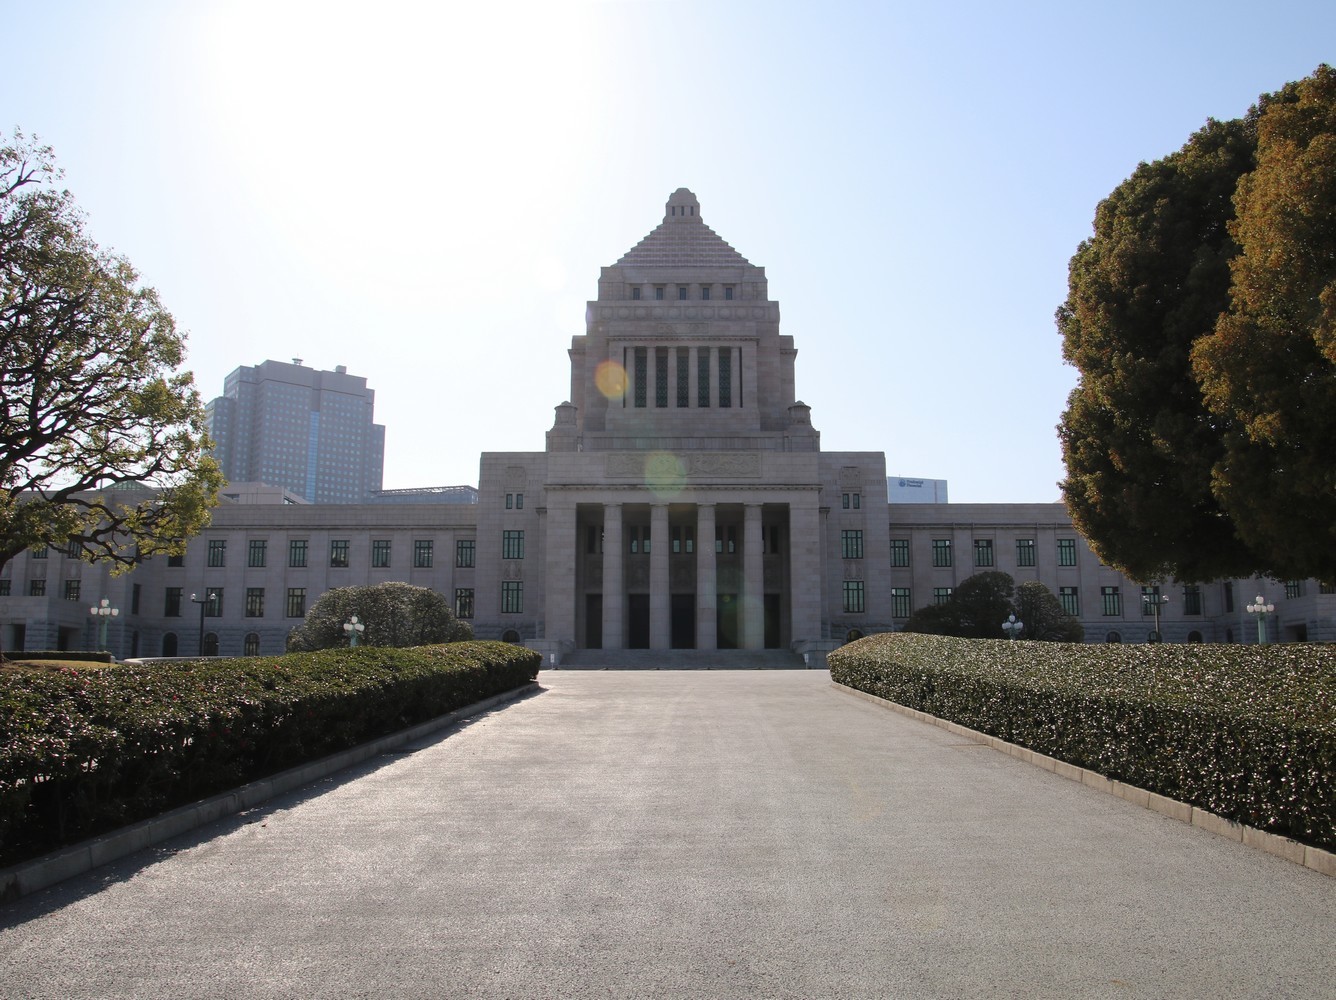
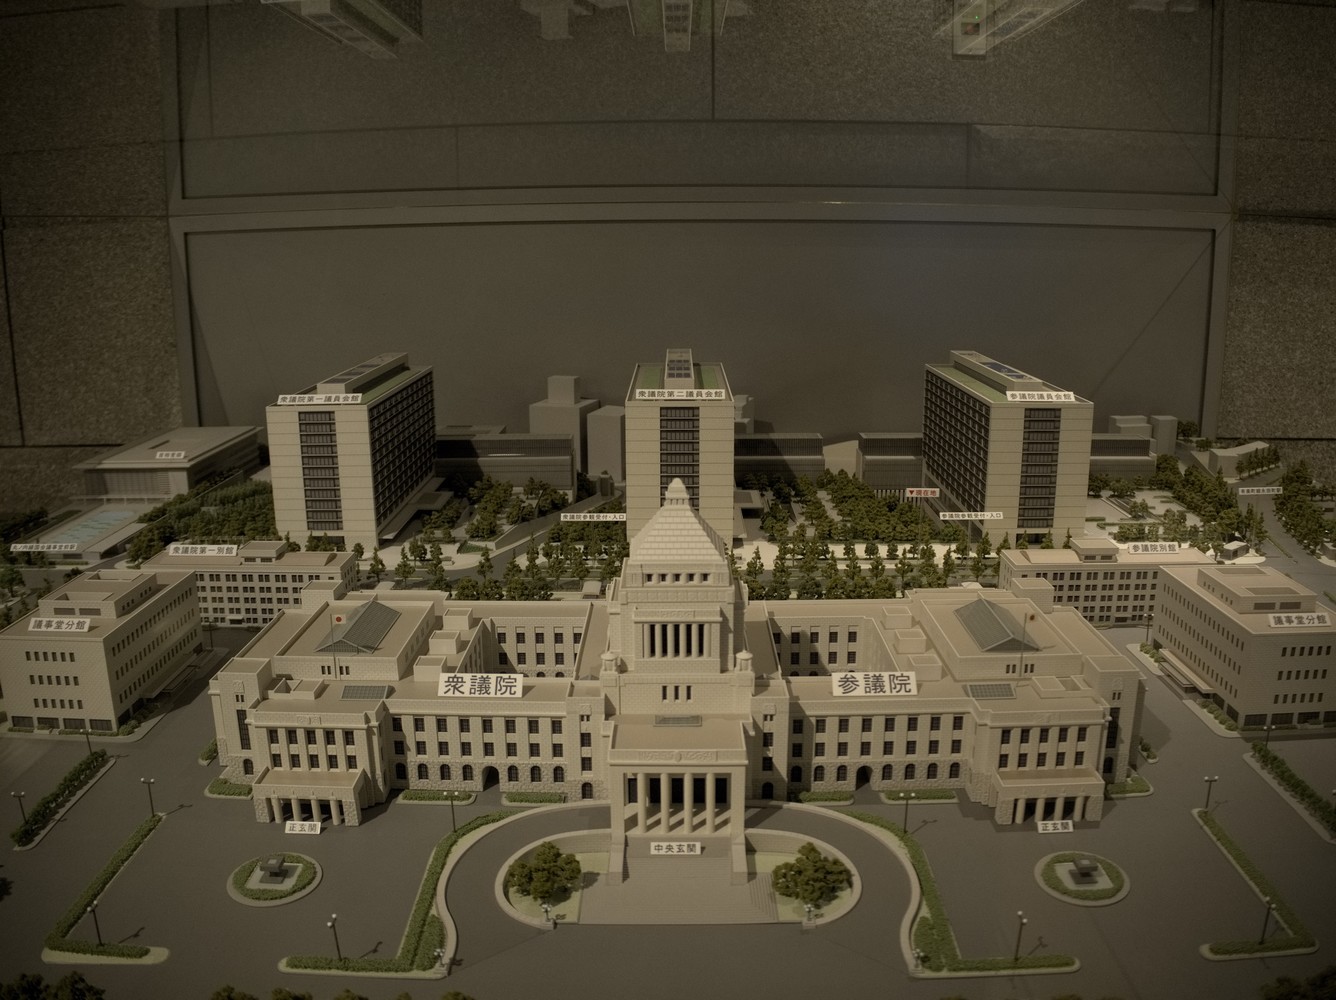
Once your visit of the gardens and the palace is over, head to the National Diet Building. For that, return to Otemachi Subway Station in order to take a subway to go to Kokkai-gijidomae Station. You can take the Chiyoda or Marunouchi Lines. When leaving the station, head to the street where the National Diet Building is located. And at the crossroads, you’ll see a pretty long but not that high building. You have to enter the building in order to register for a guided tour which takes place every hour. It’s free but it’s only available in Japanese. However they do provide brochures in a lot of languages and the inside of the building is quite interesting.
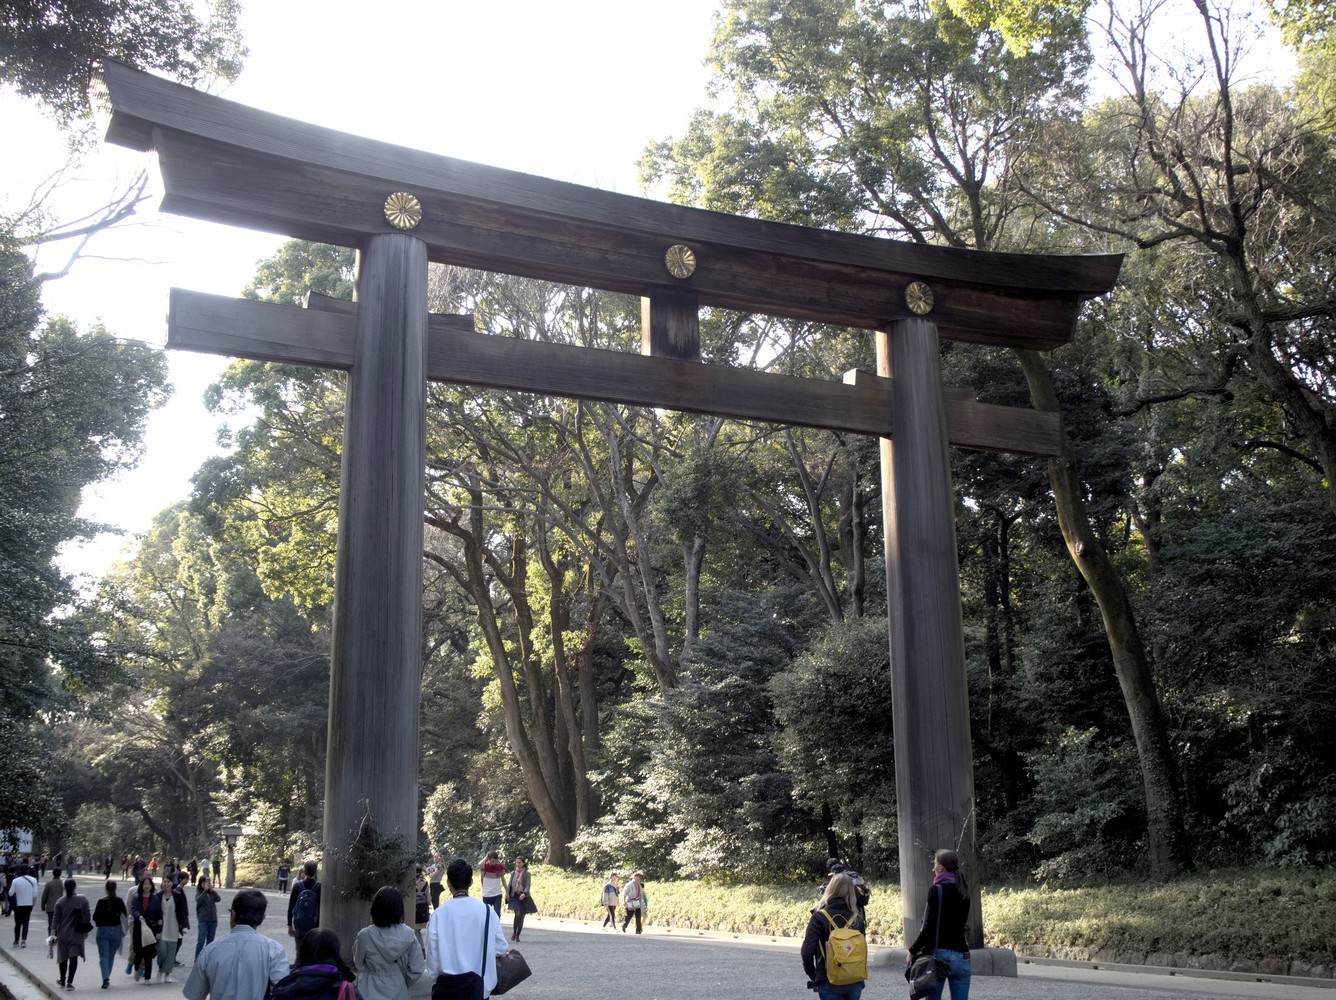
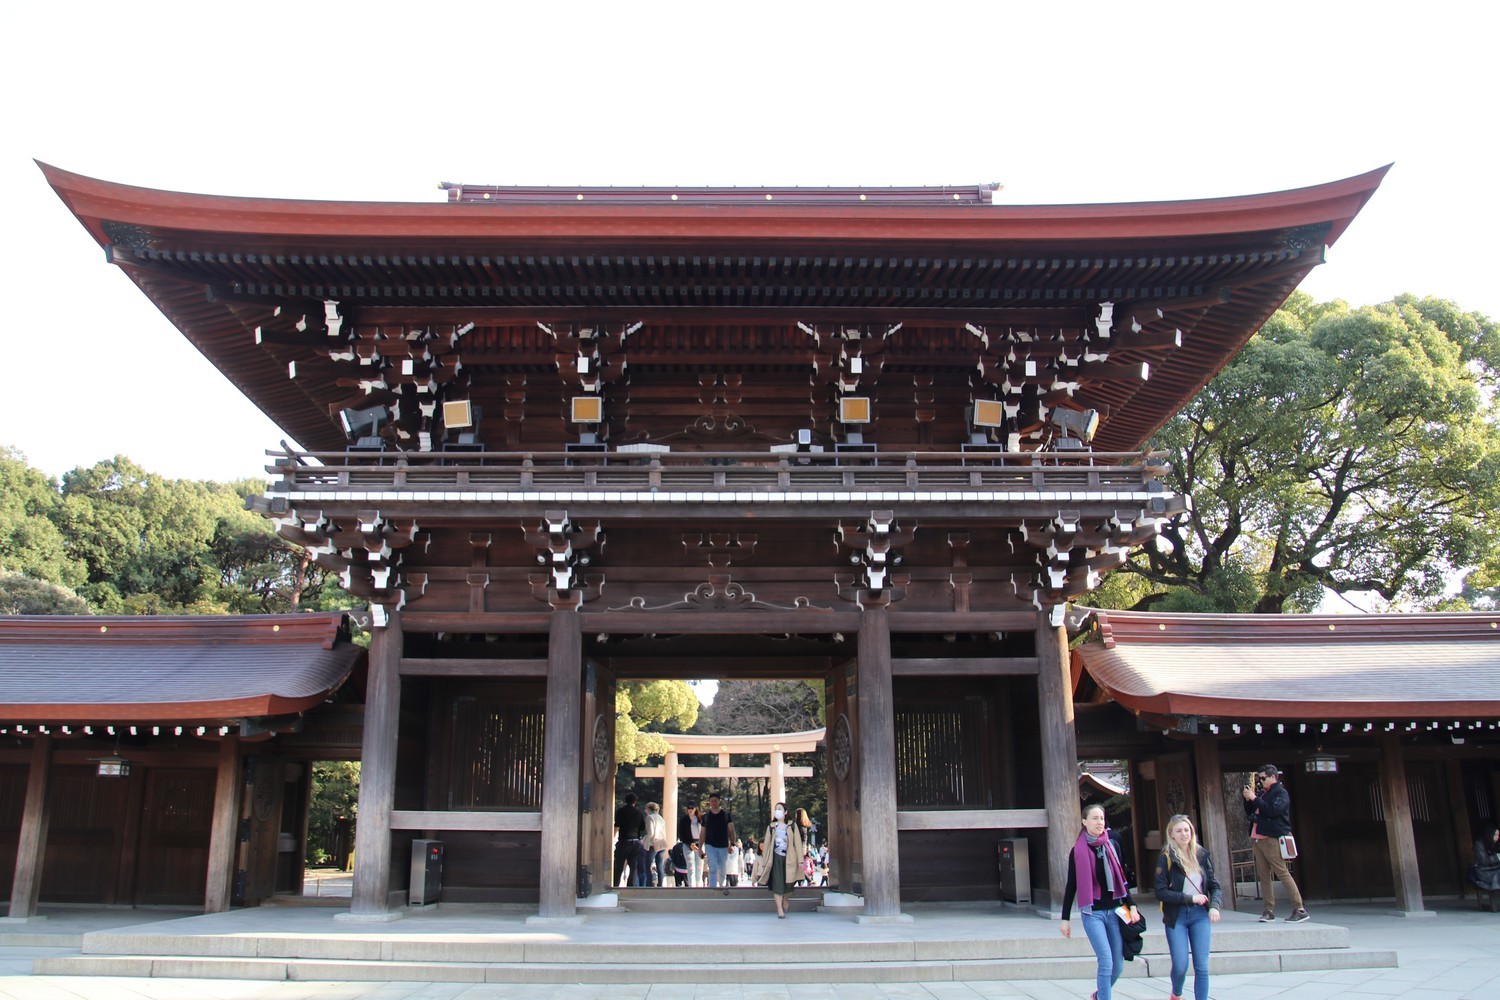
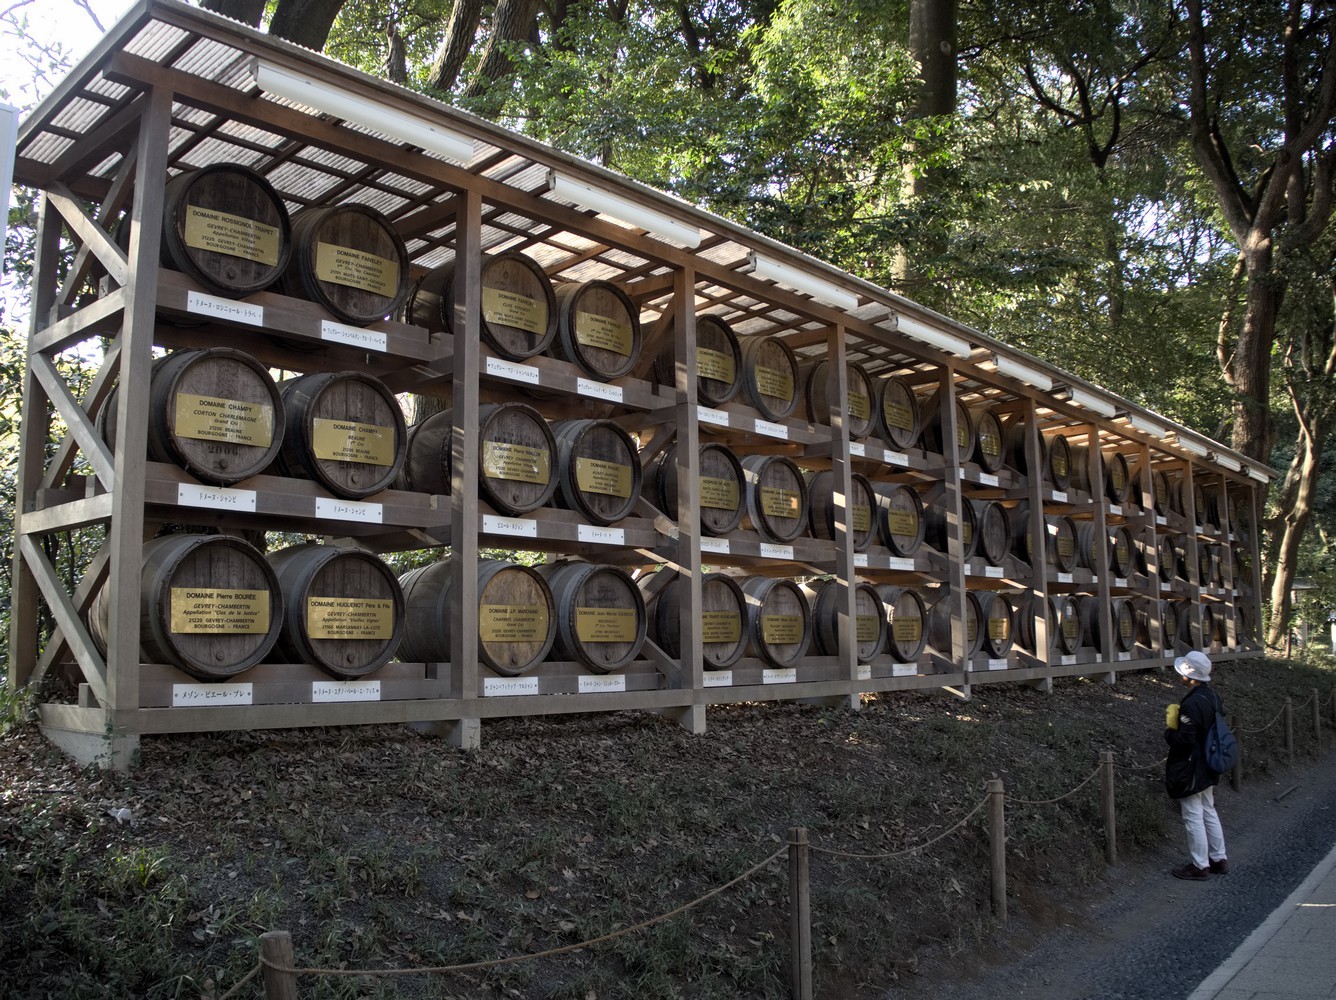
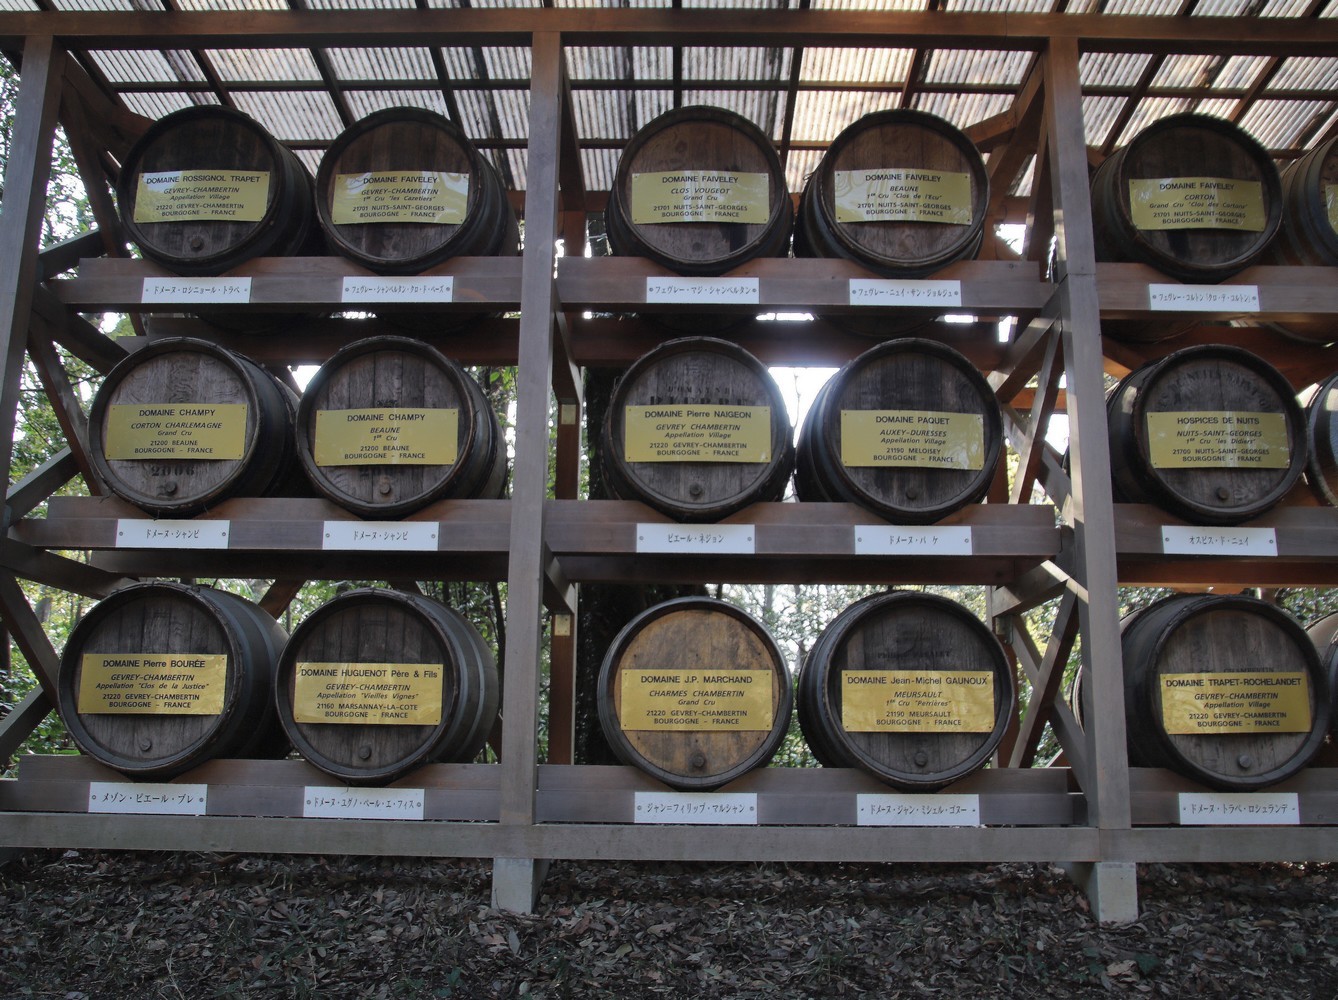
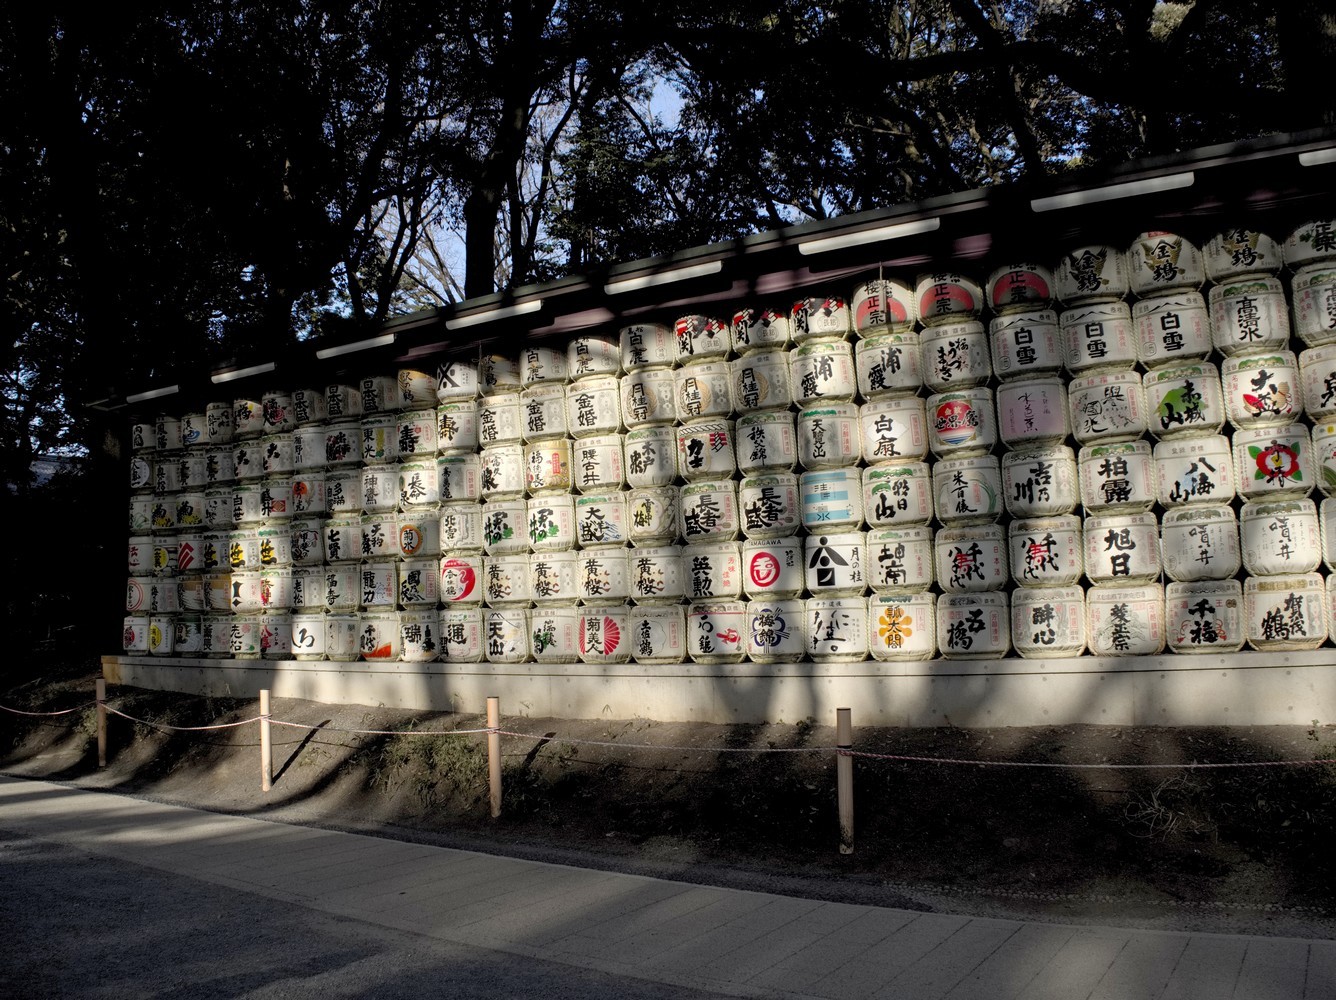
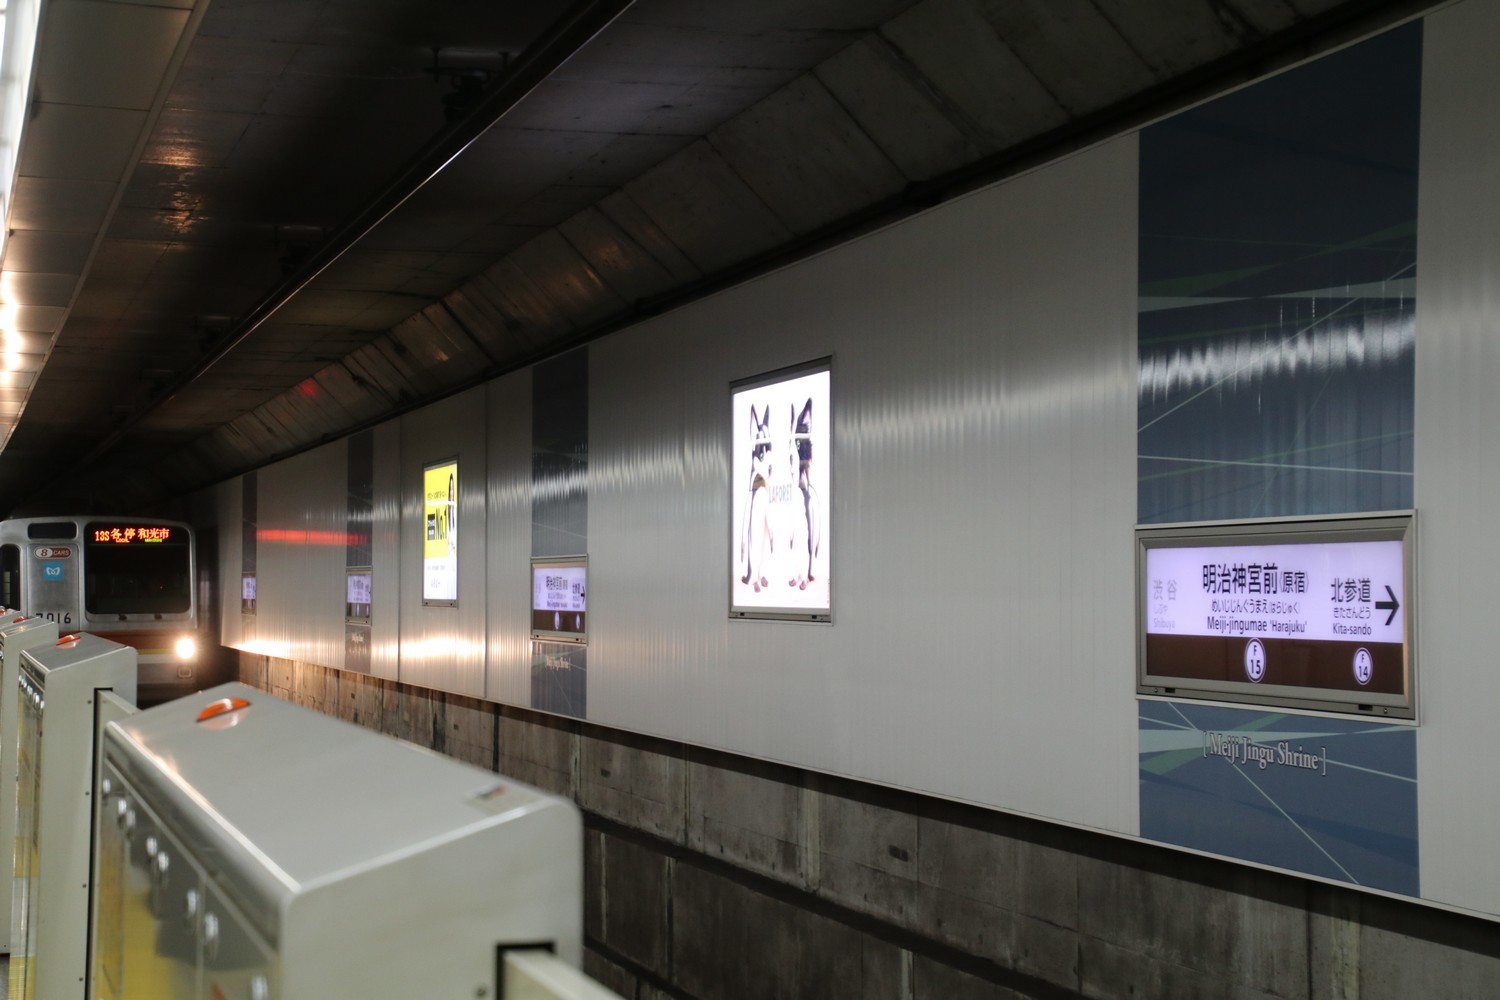
When the tour is over, go to have lunch before heading to Meiji Shrine. To get there, get off at the Meiji-Jingumae Subway Station and when leaving the station, you’ll have to go up a slightly sloping street before reaching the entrance to the shrine. And note that the shrine is more likely a park with many buildings to visit.
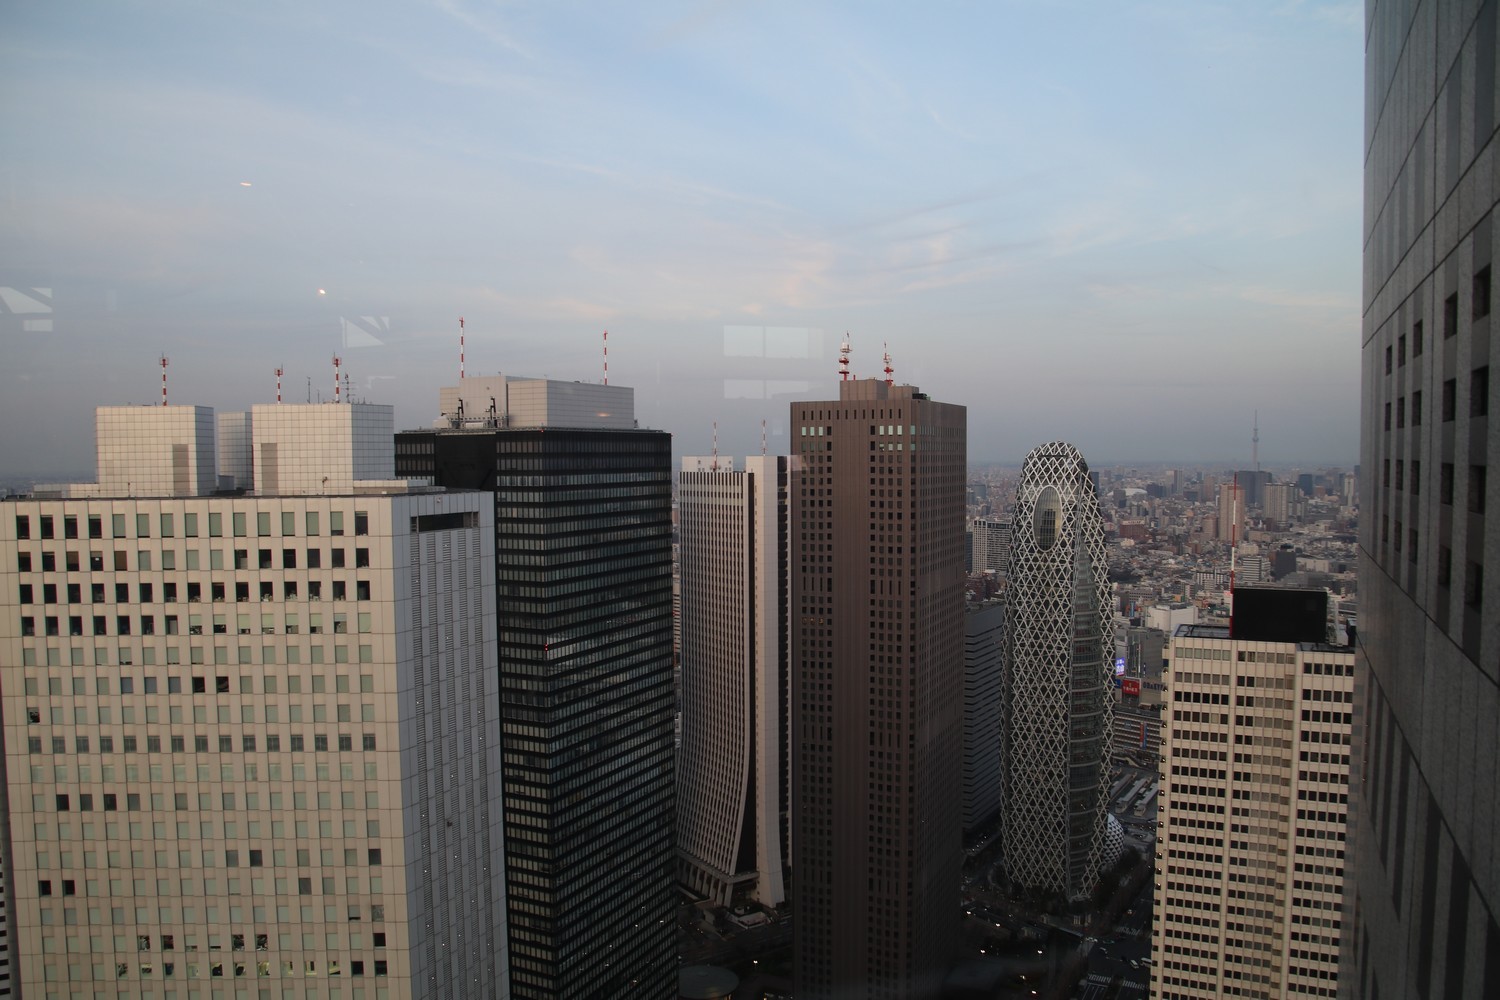
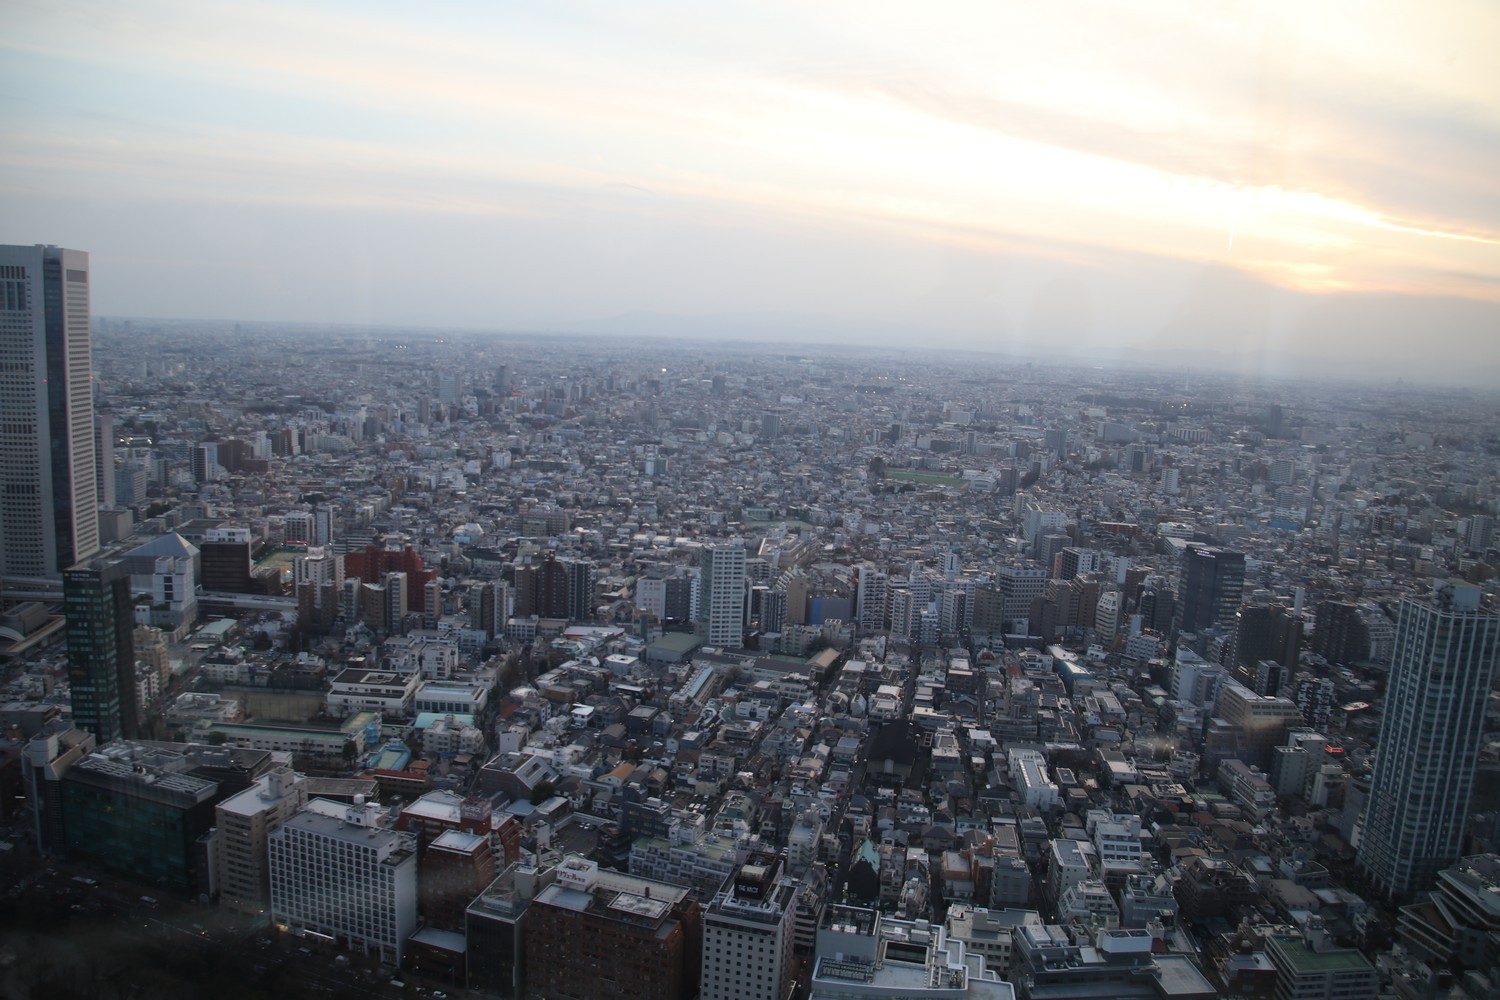
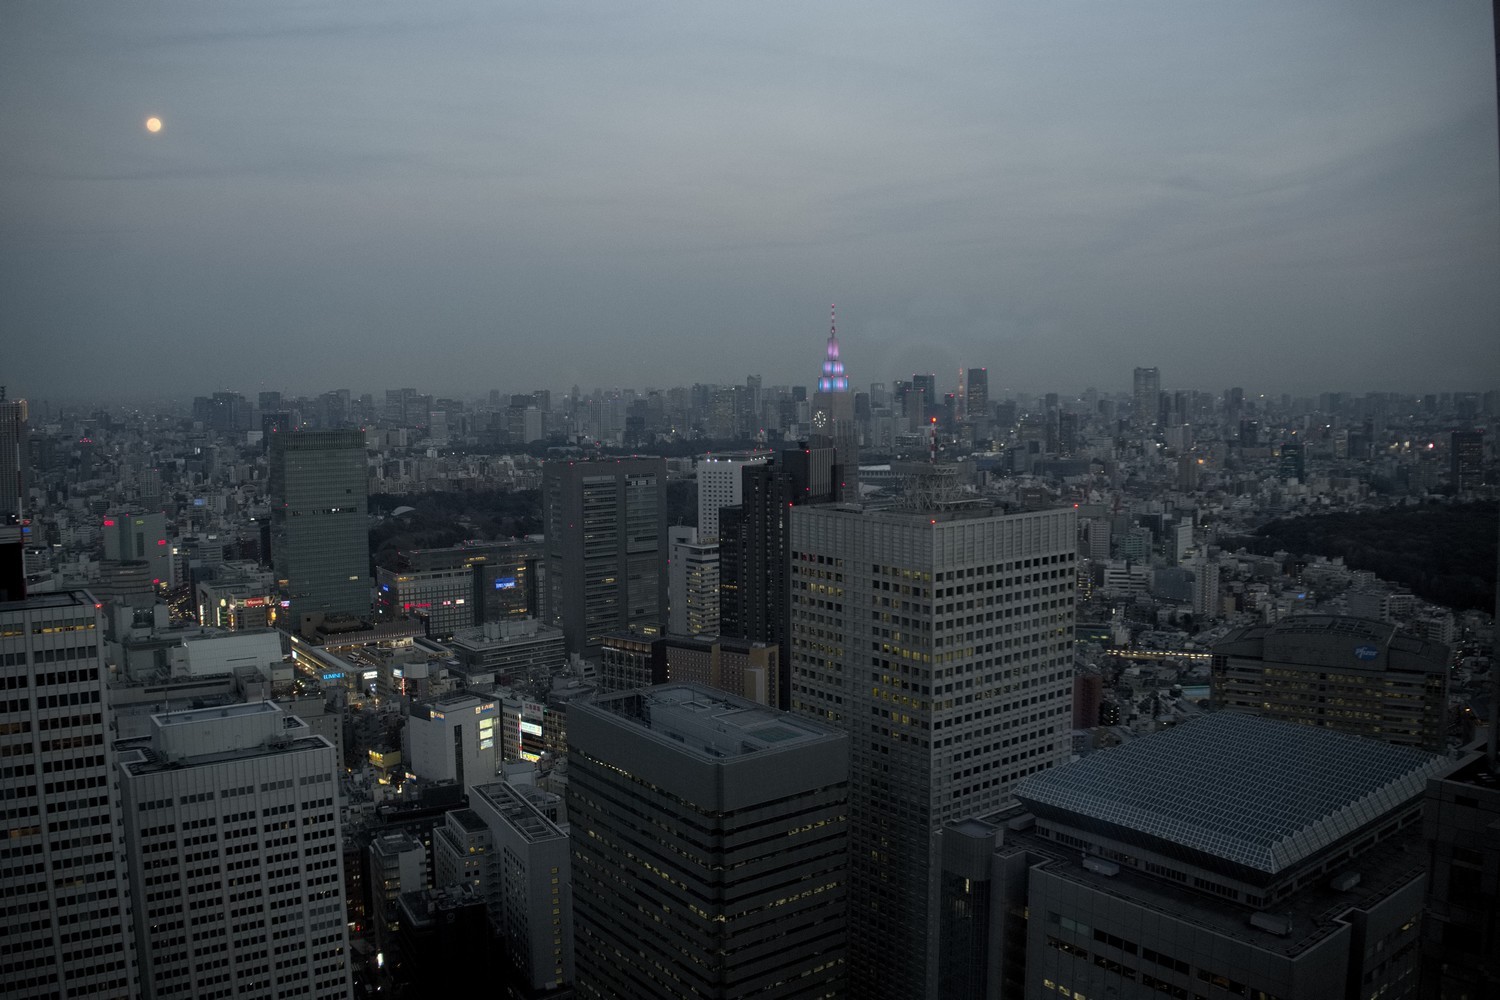
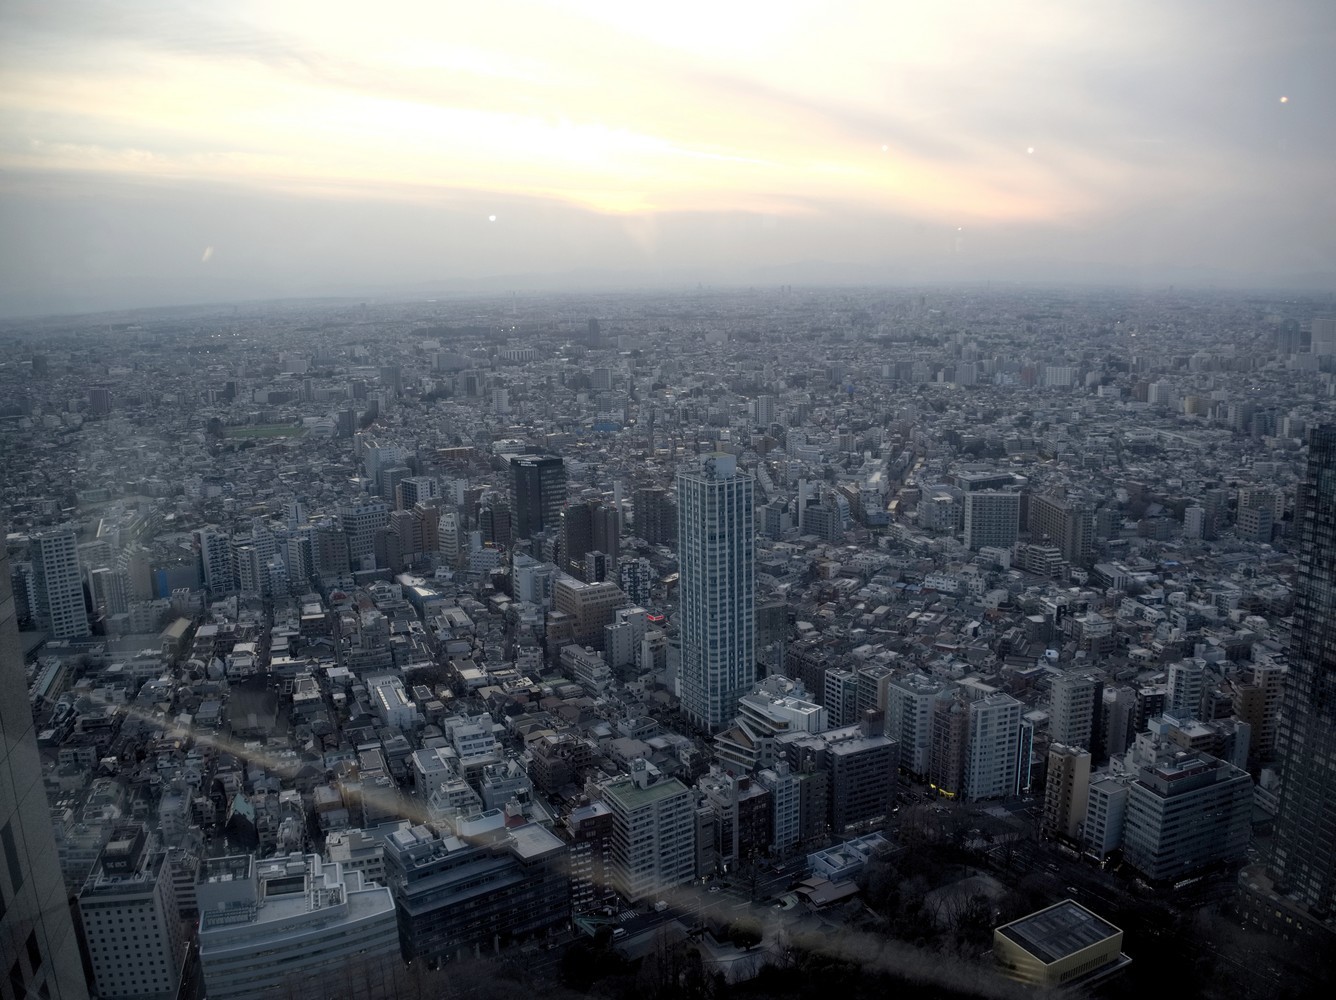
Once the visit is over, head to Tokyo Metropolitan Government Headquarters aka Tokyo City Hall, where you’ll find an observatory. It not only offers a breathtaking view of the entire city but it’s also free! In order to get there, get off at Shinjuku Subway Station and when out of the station you should normally see the pretty long waiting line. If you want to go to the top of the observatory, you’ll have to queue. Up there you’ll have a great view of the whole city, going from Tokyo Tower to Mount Fuji.
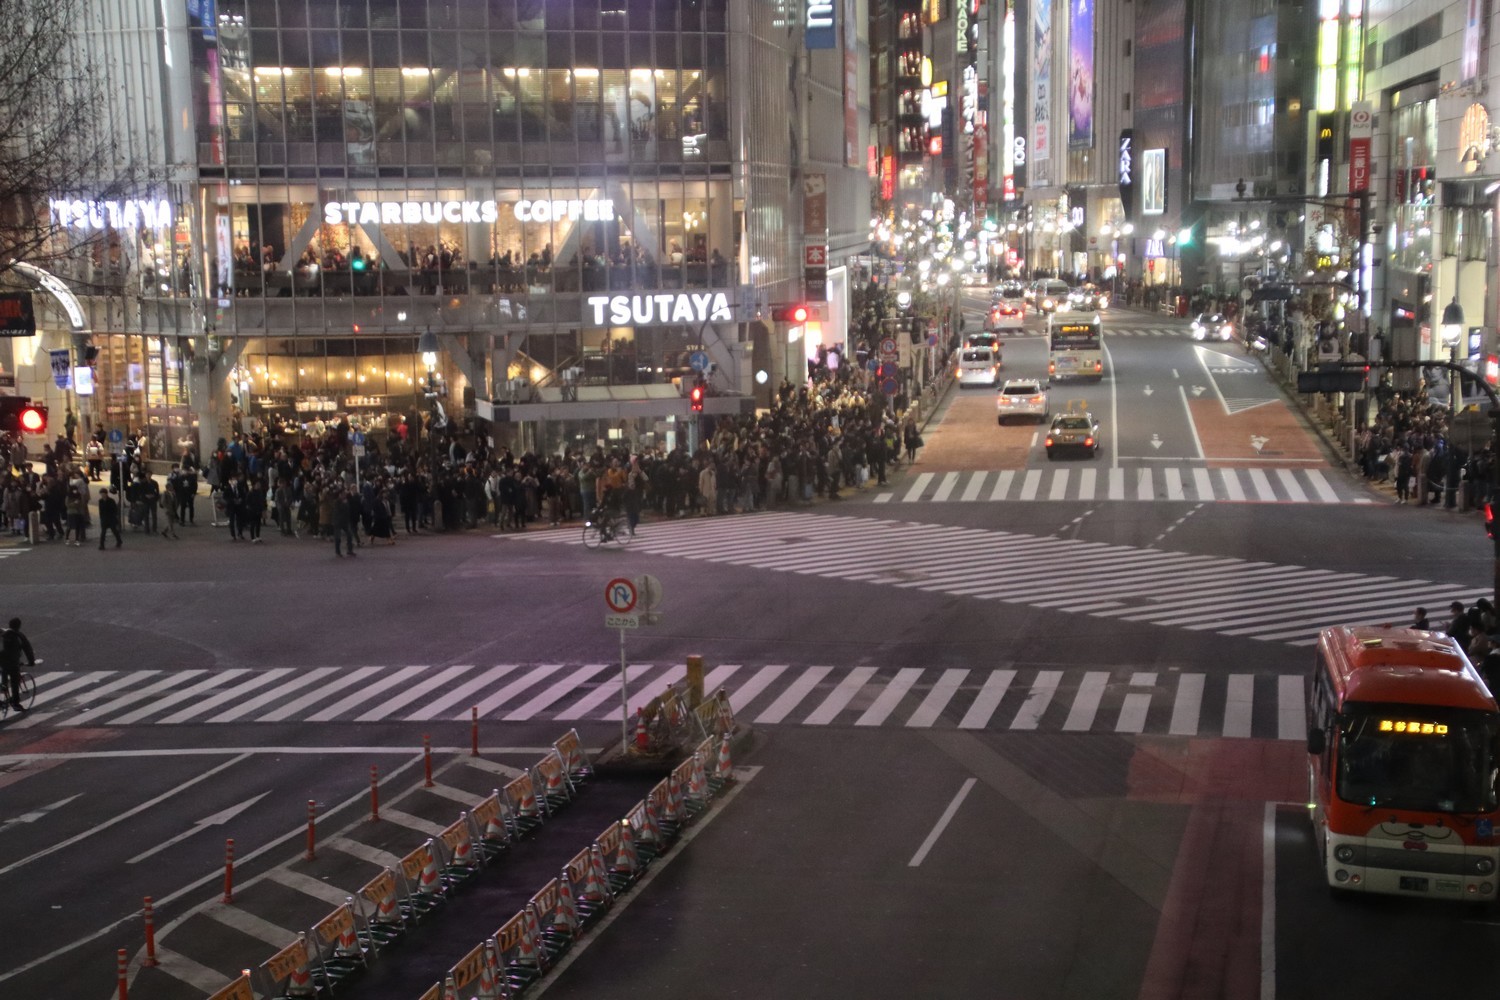
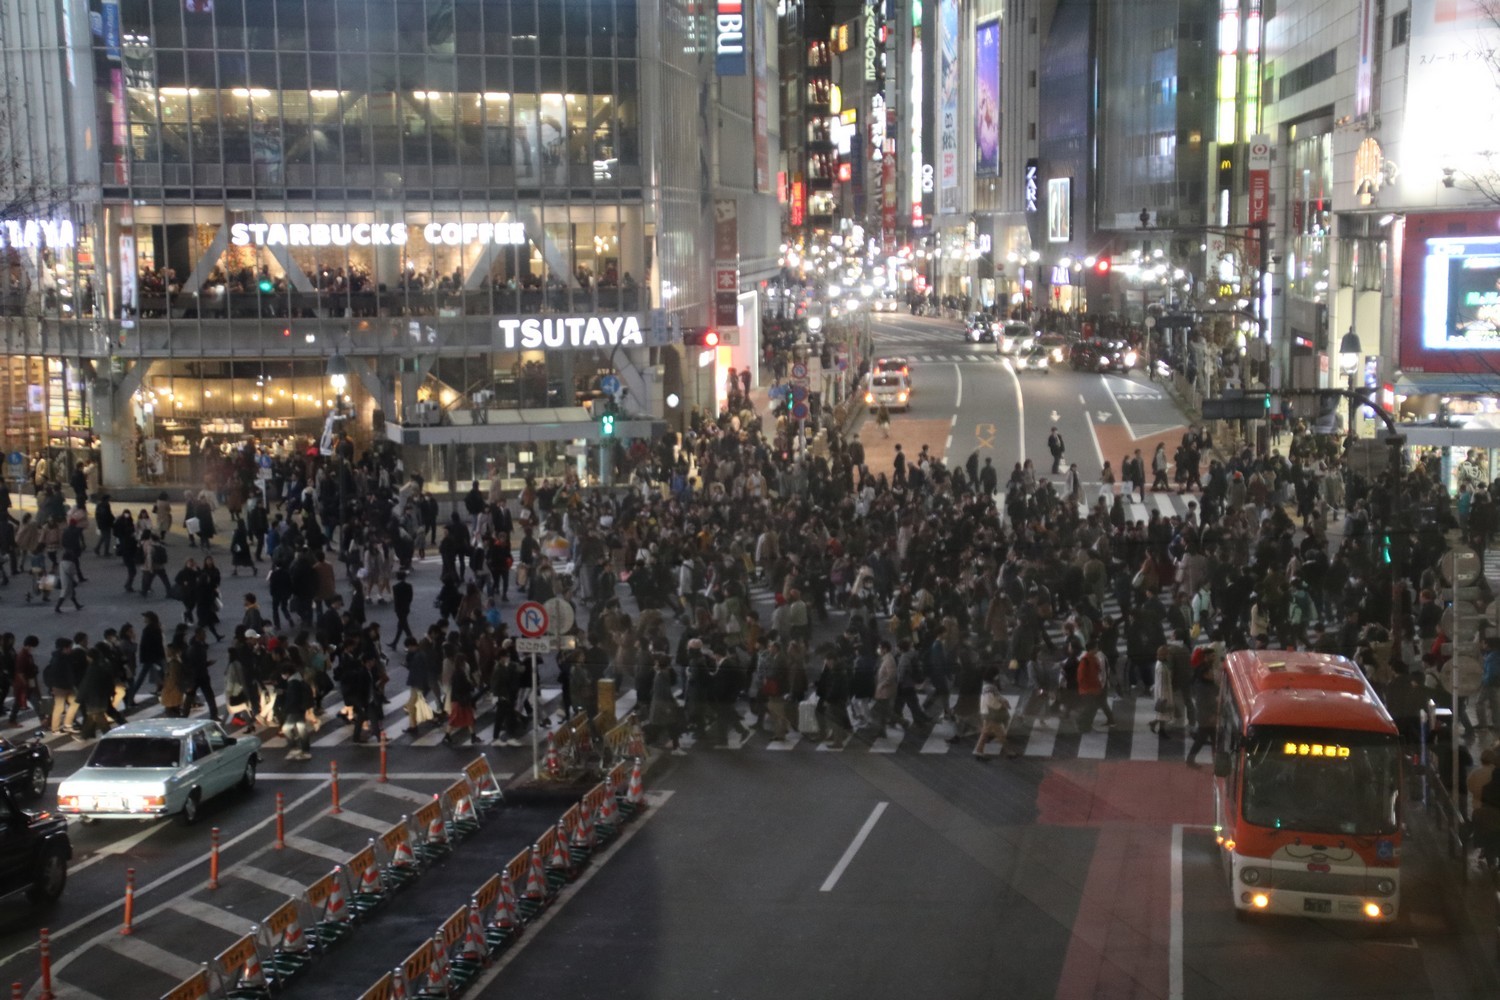
For the evening, head to Shibuya District. The first thing to look at, is the intersection where everyone crosses at the same time. Before going yourself to cross the road, you can observe it from the train station walkway. Moreover, between the exit of the station and the intersection, among the crowd you can spot the statue of the famous dog Hachiko. Then before going to dinner, you can stroll among all the fashion stores.
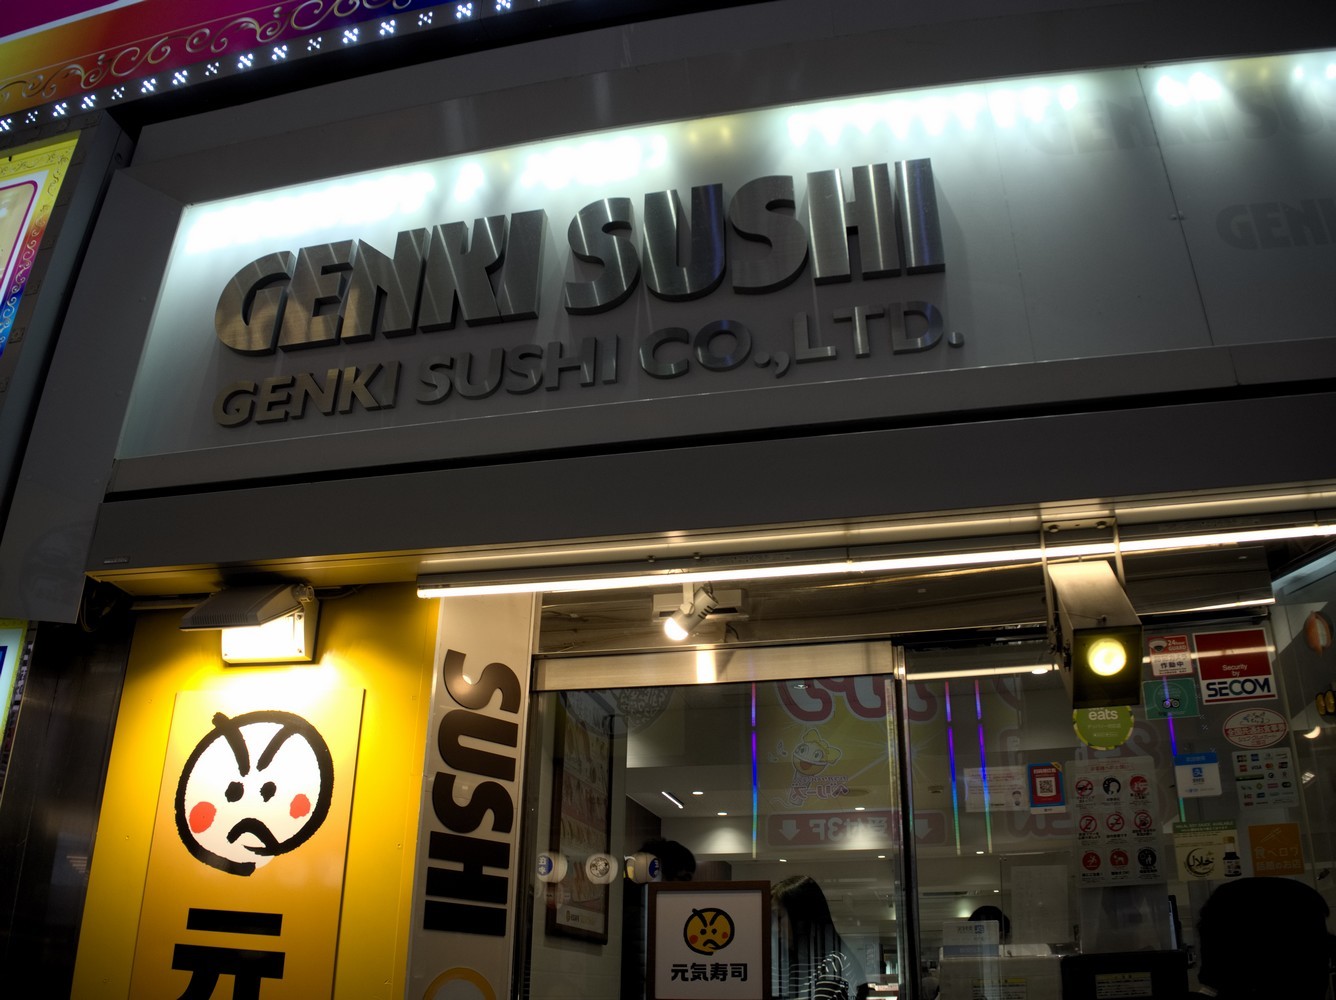
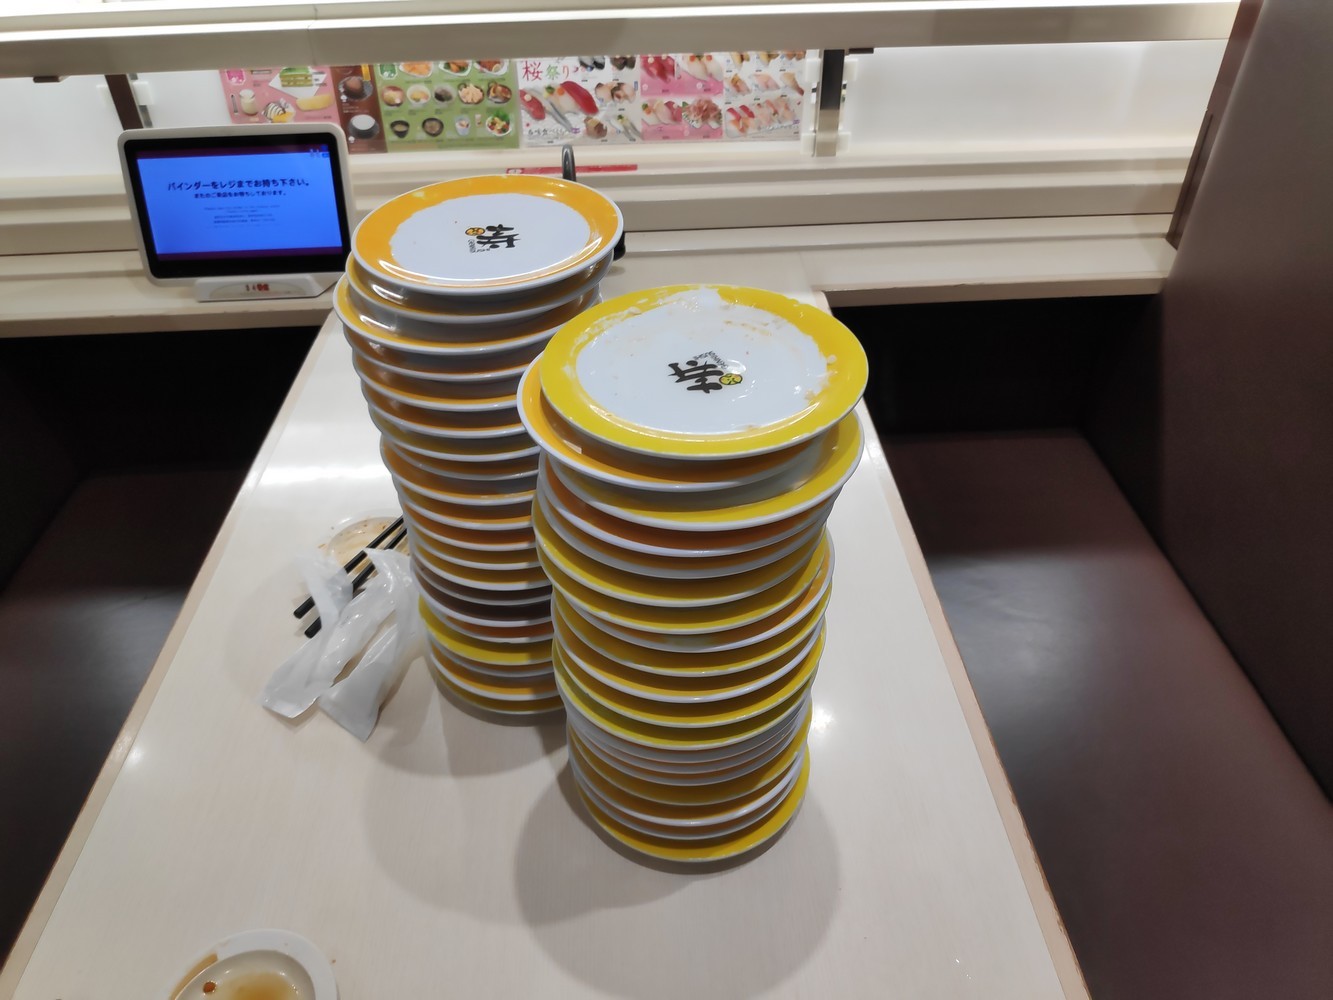
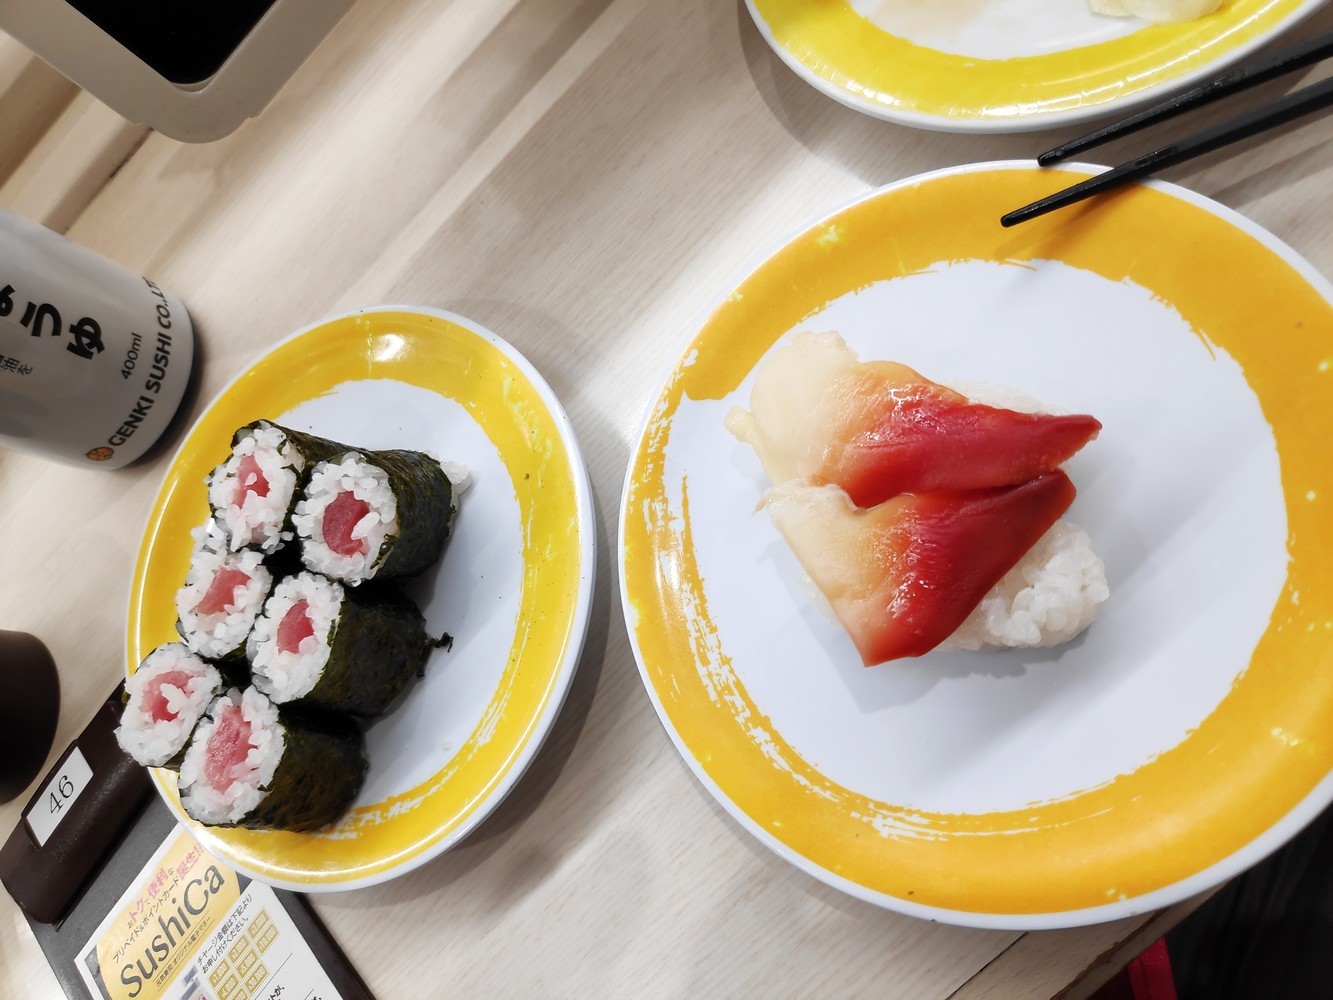
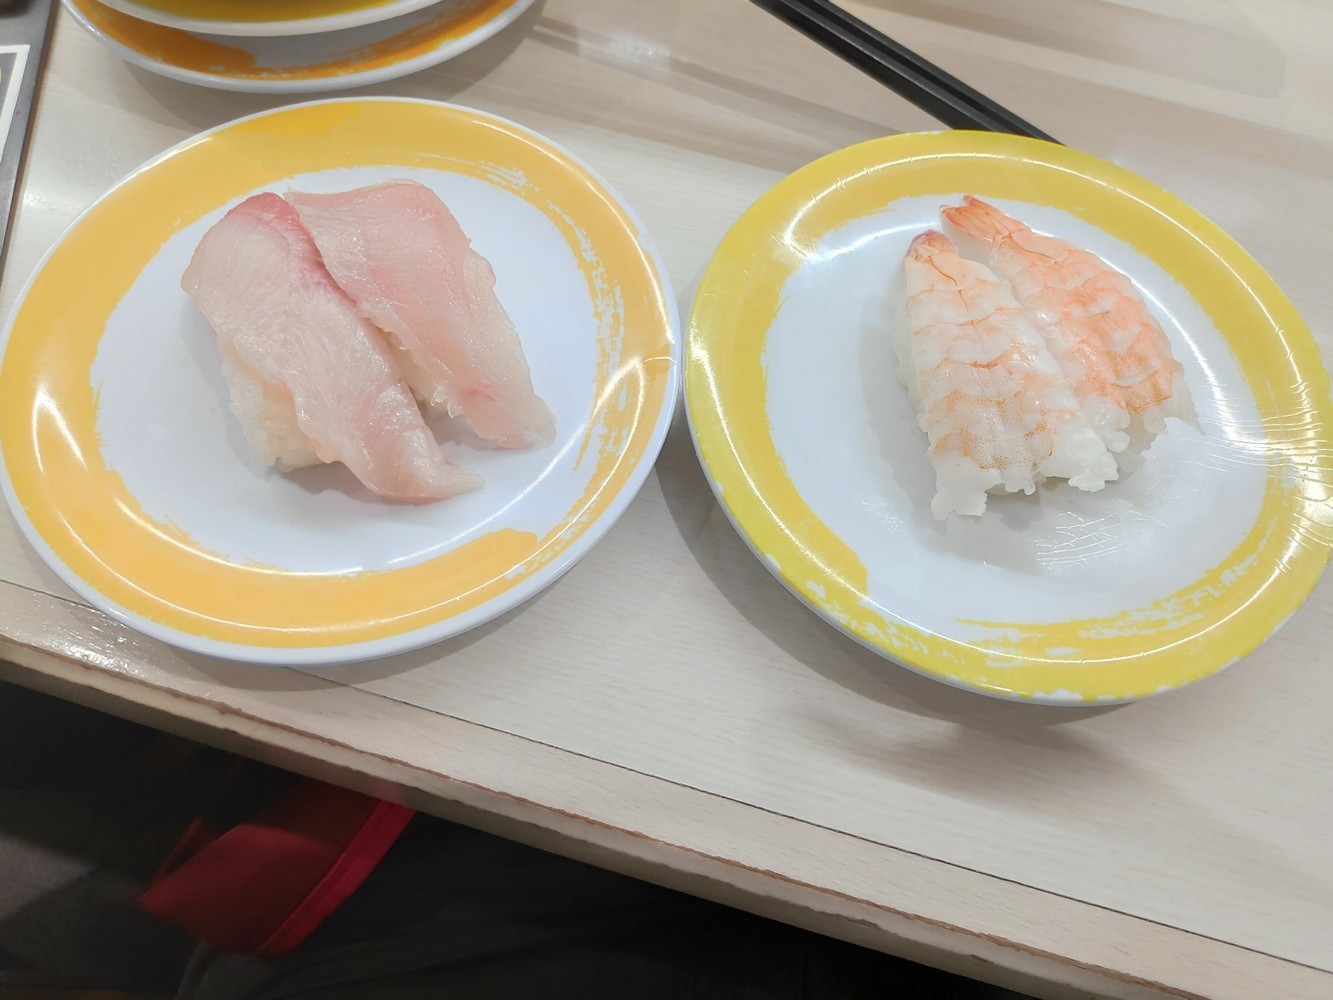
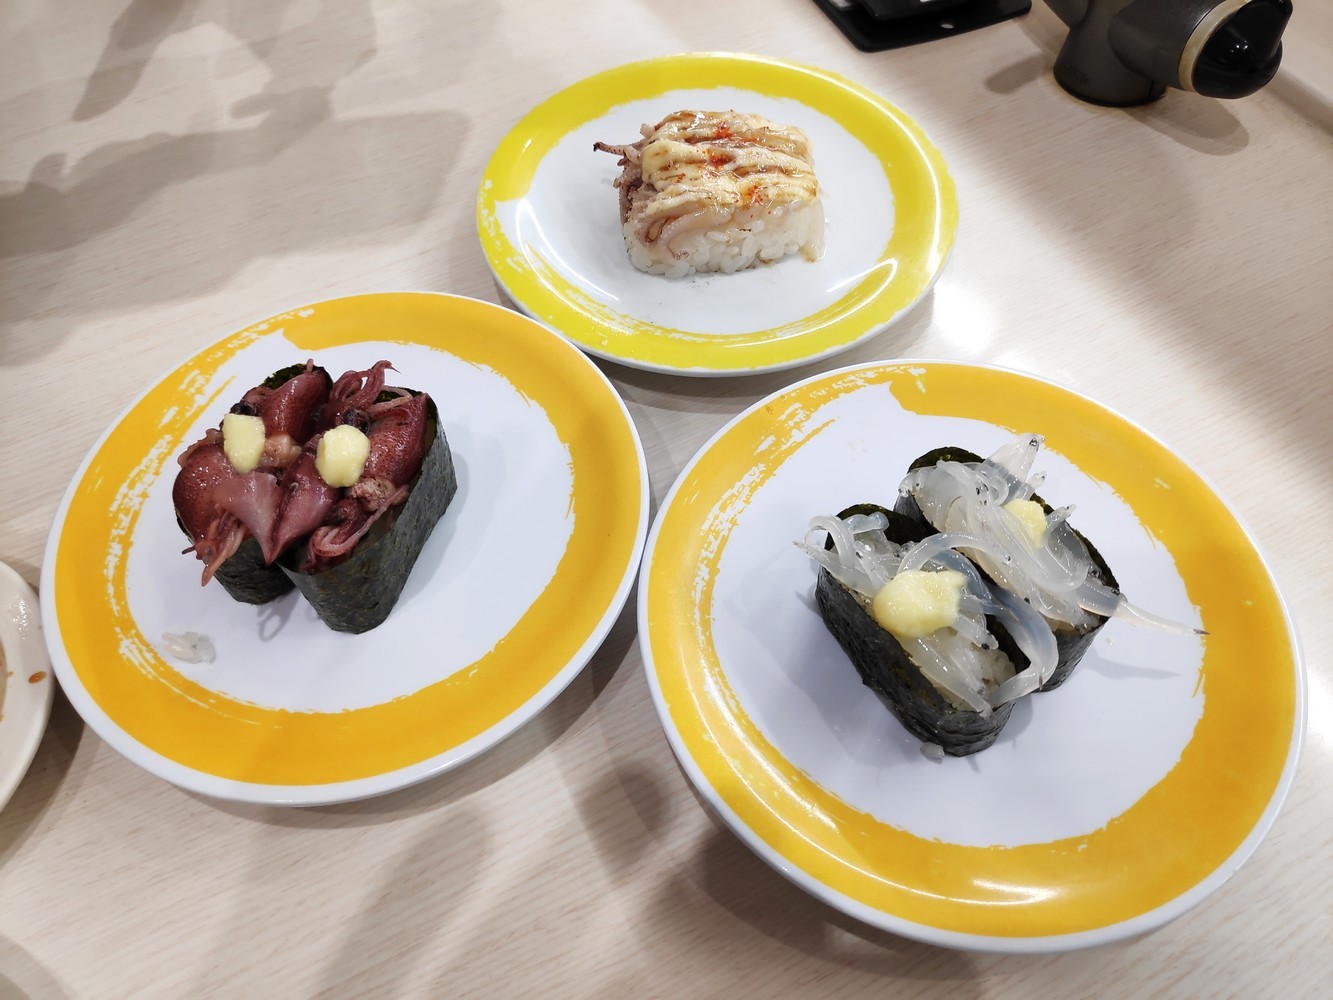
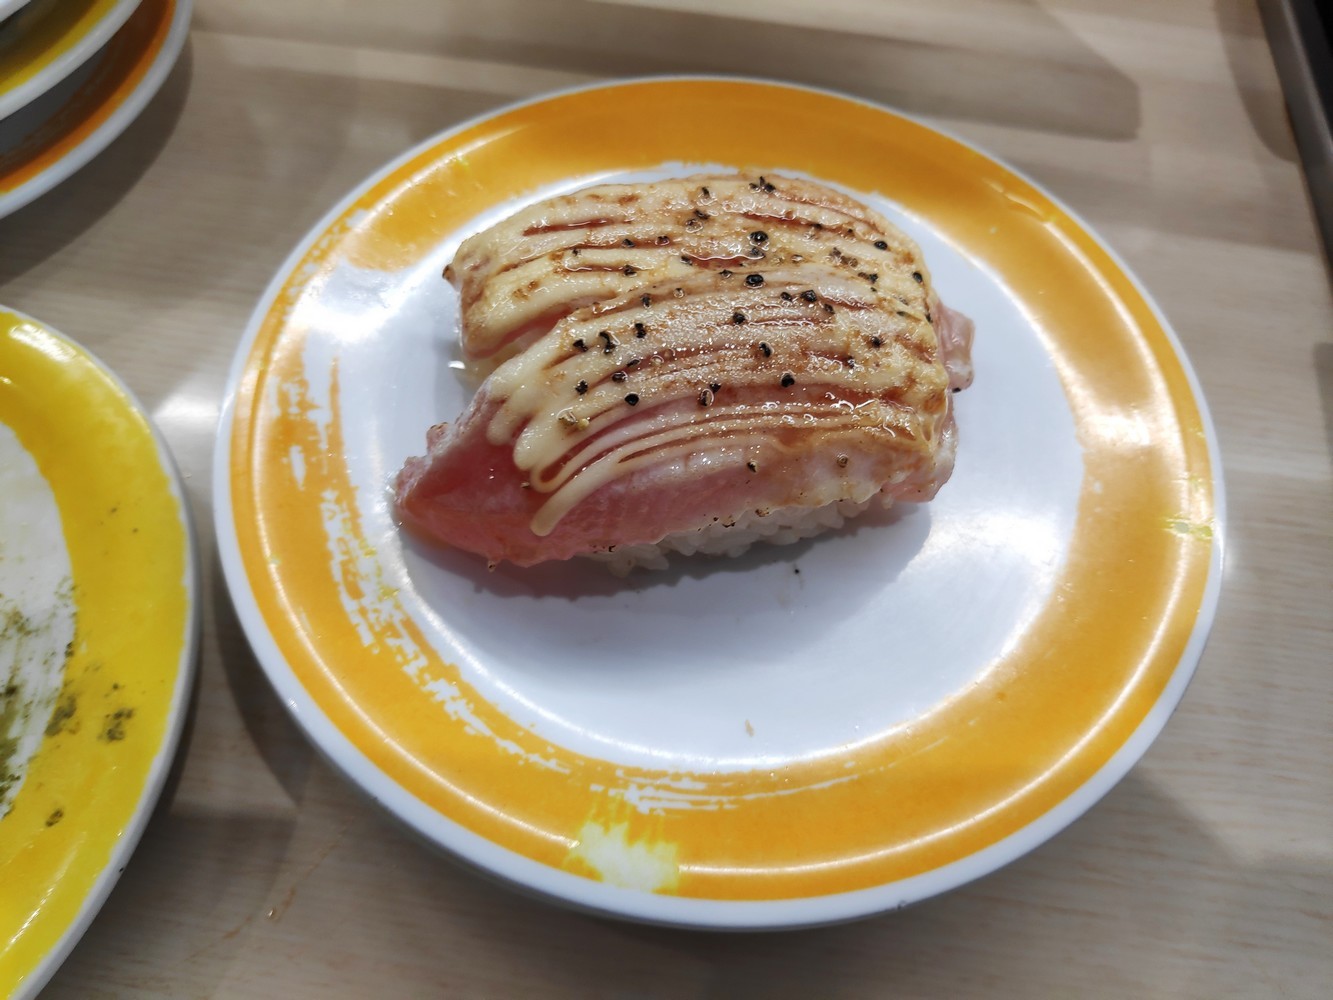
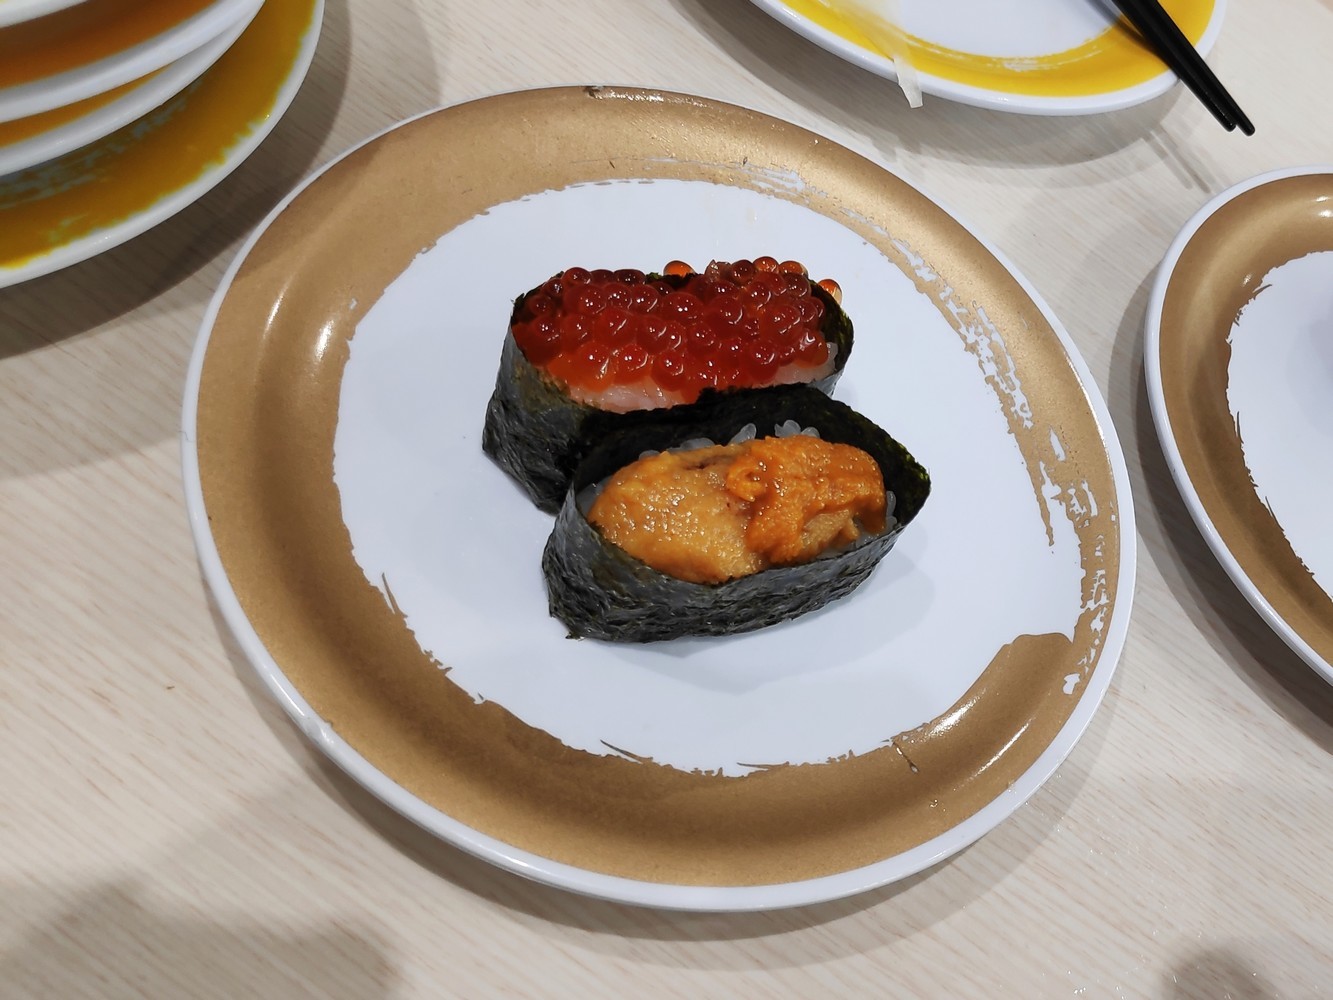
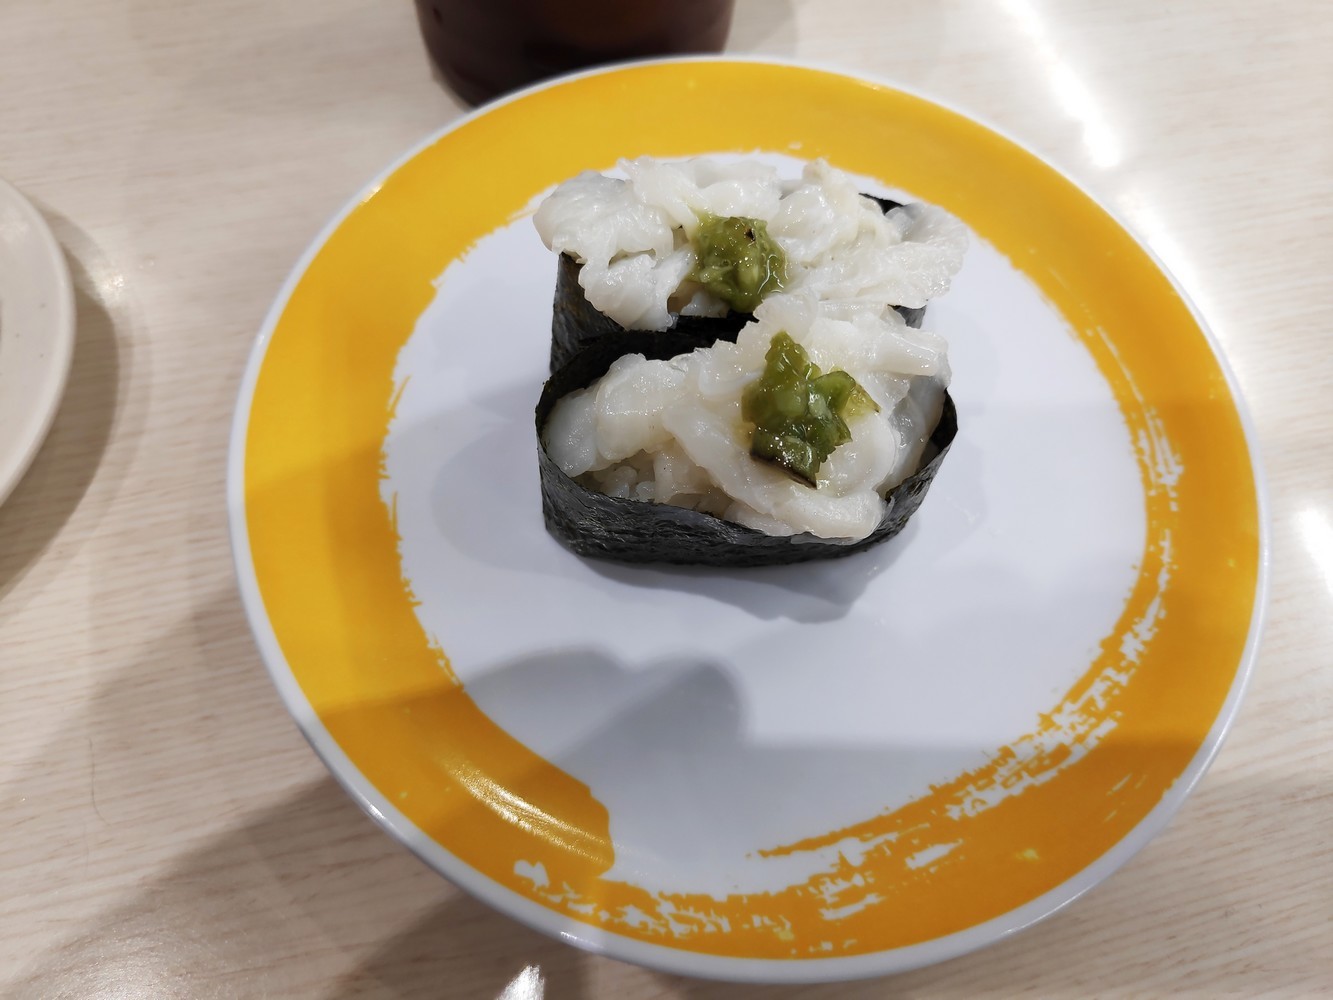
I recommend trying the Genki Sushi Restaurant. The concept is that each table has a tablet which is used to order food. When you’ve made your choice, your small plates of sushi will come to you via a system of trays placed on rails. Payment is by the plate, but it’s not very expensive. However, there are different kinds of sushi, some are more expensive than others (the plates are different colours).
When you arrive at the restaurant, you’ll see that people are already waiting outside, it’s because you have to enter to register, before going back to wait outside. When your turn is coming, they’ll call you but don’t worry you won’t wait for too long.
Day 4: citytour
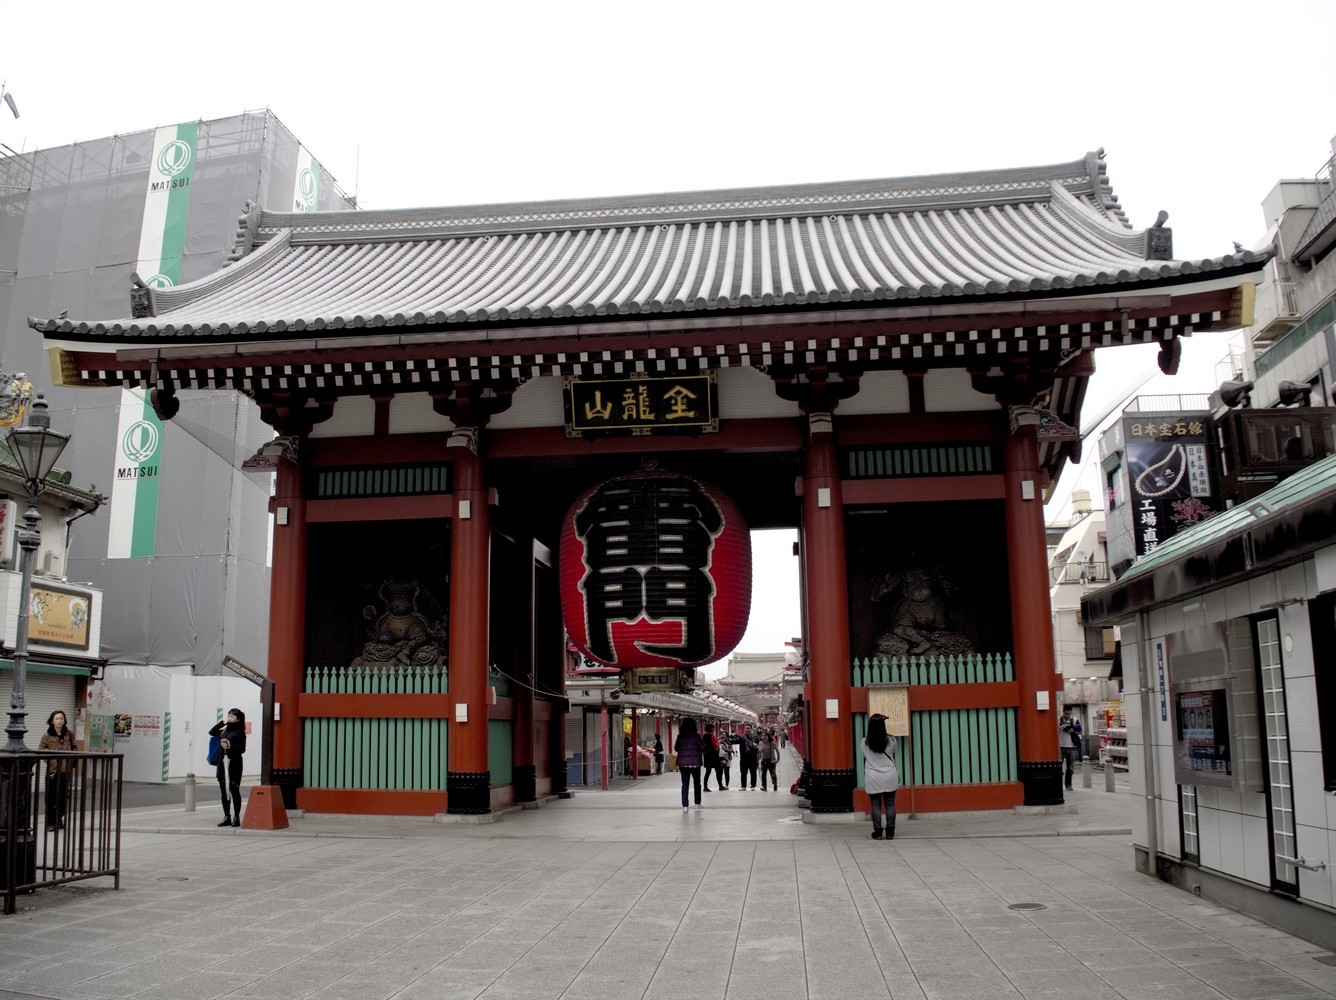
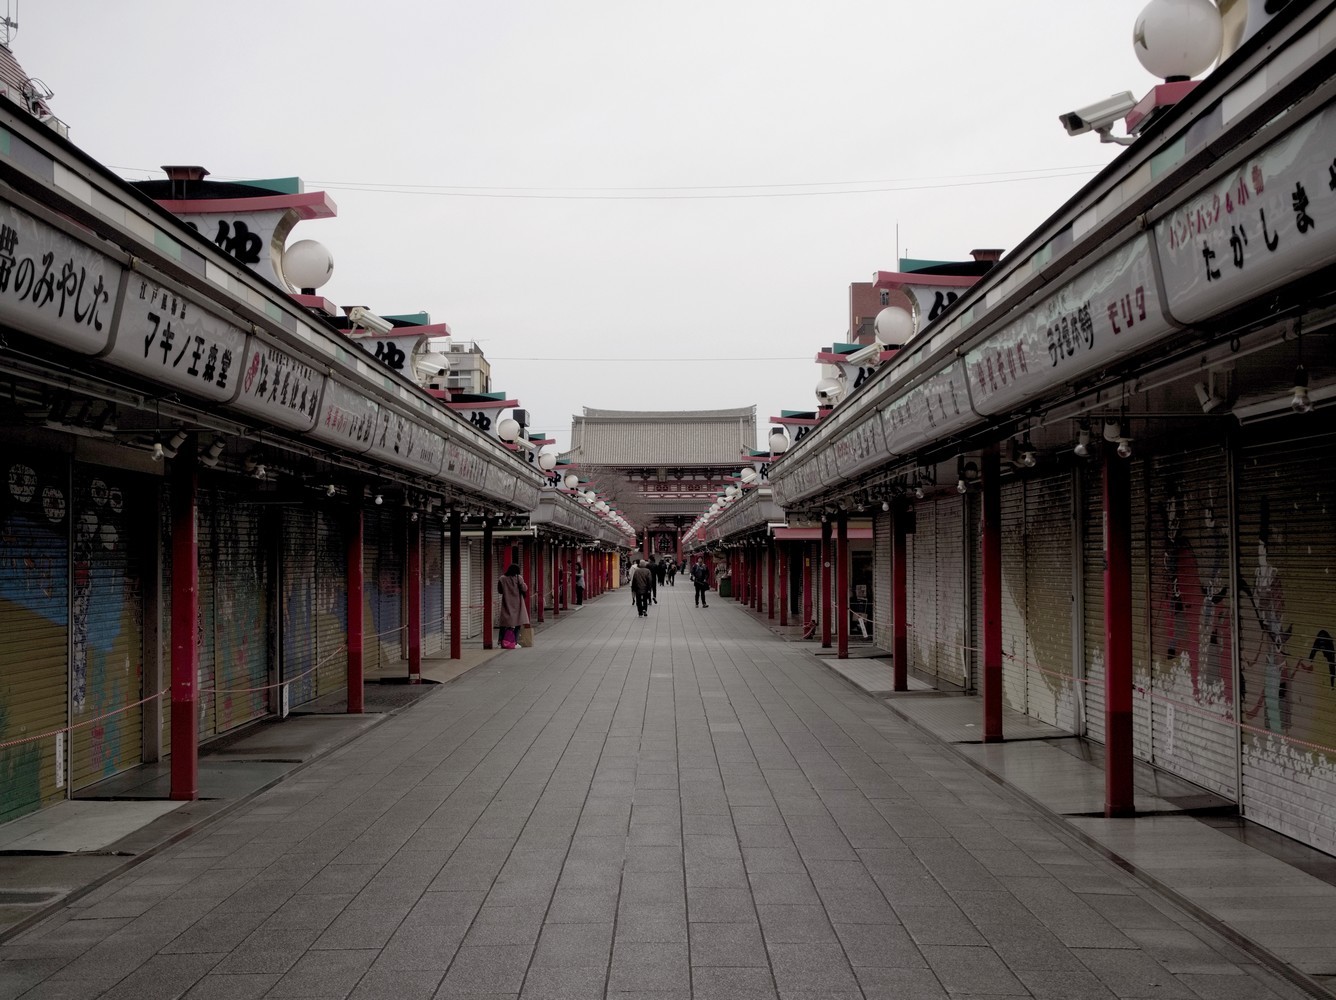
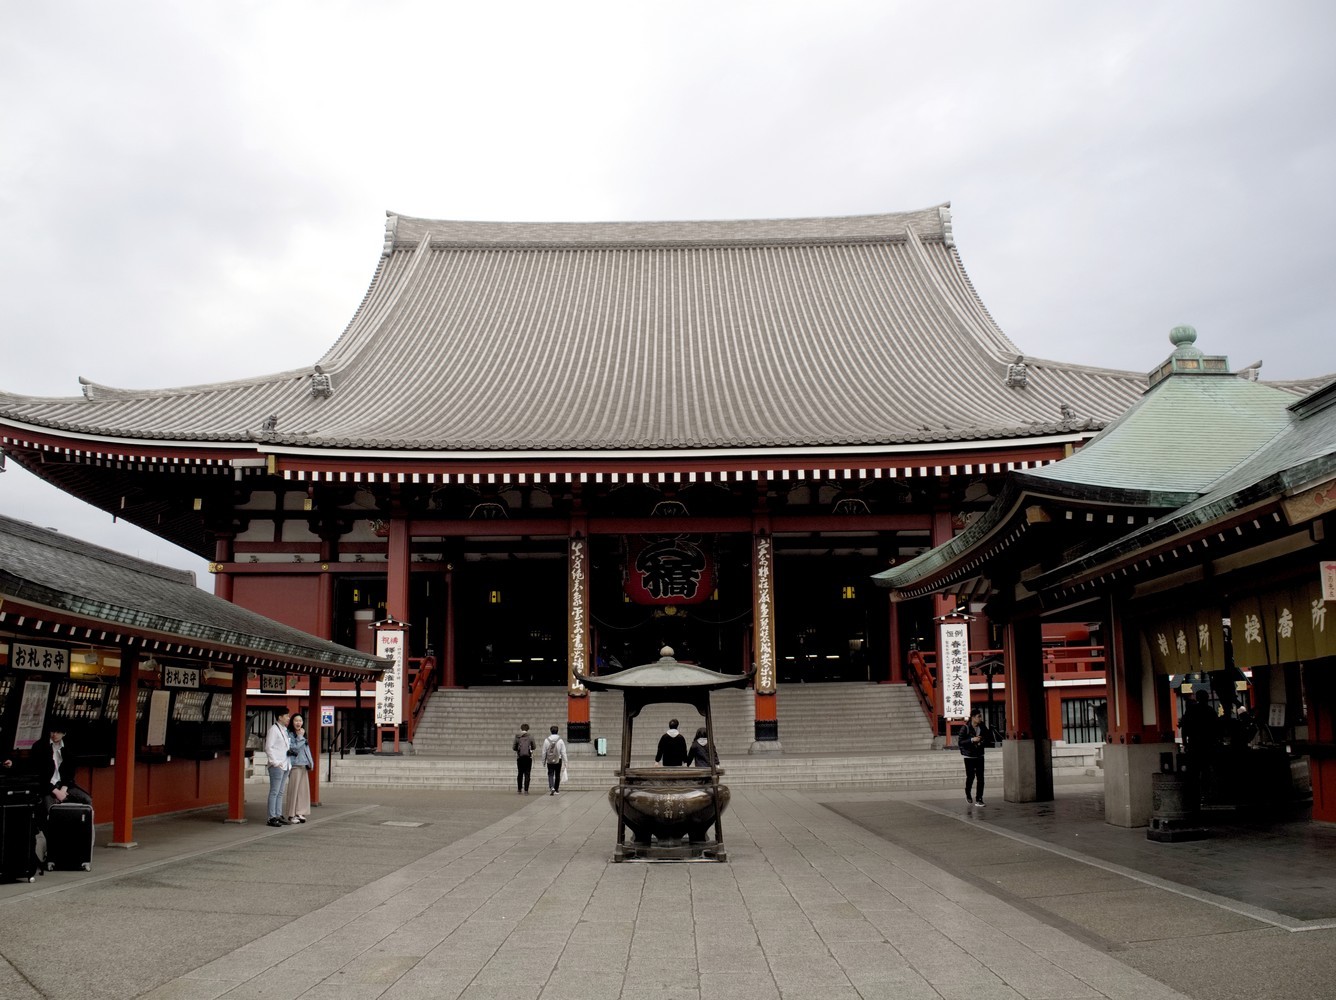
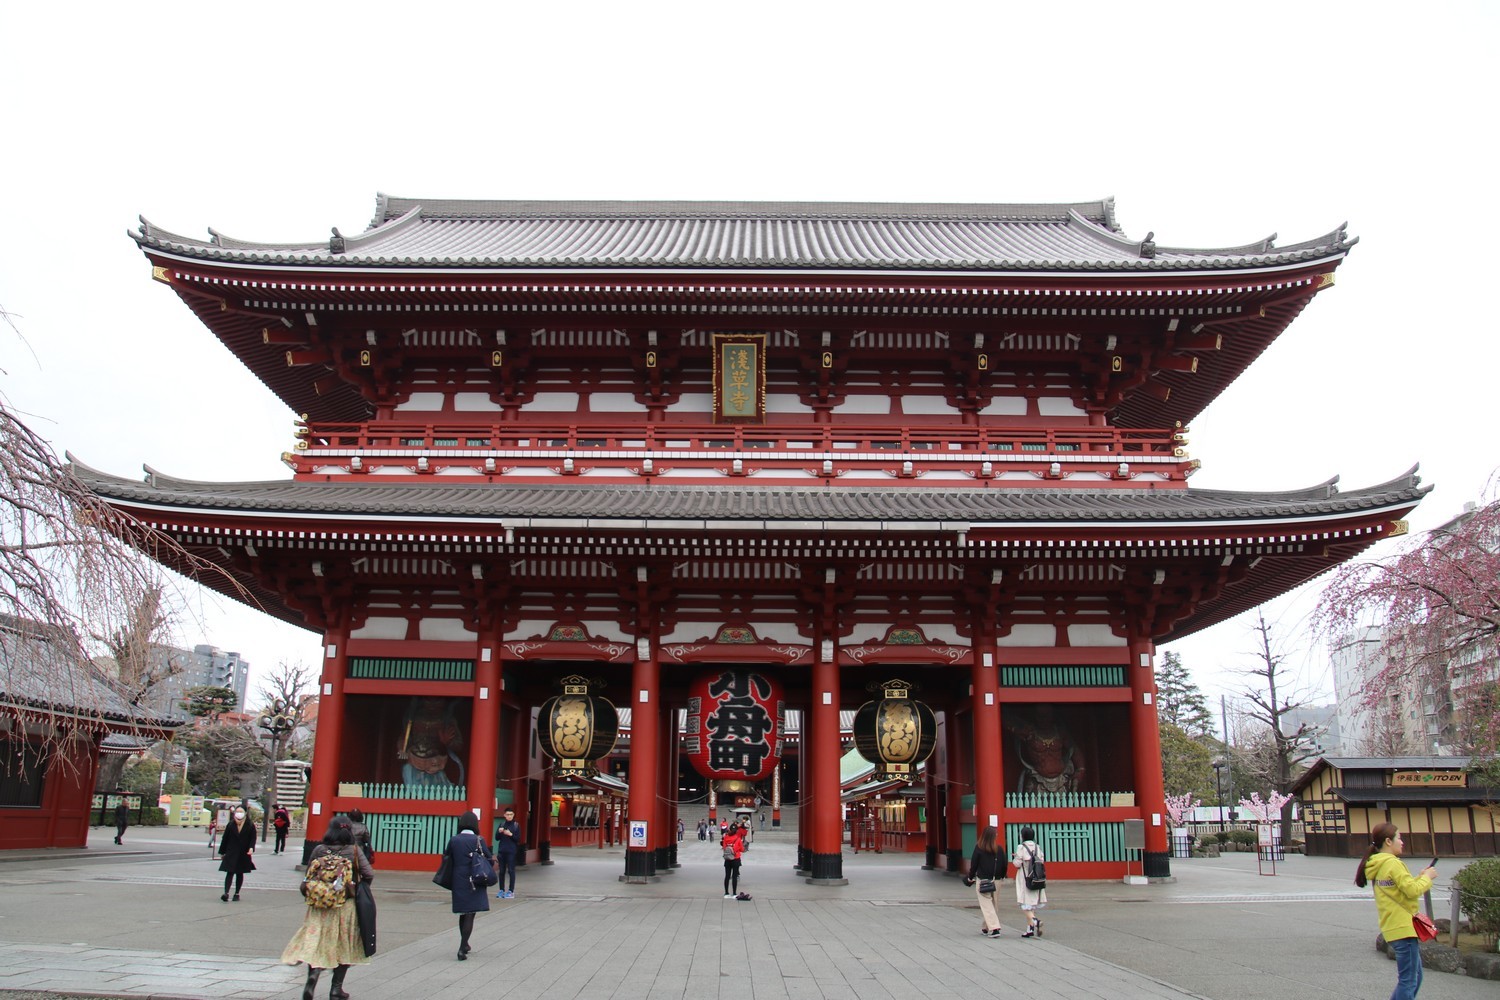
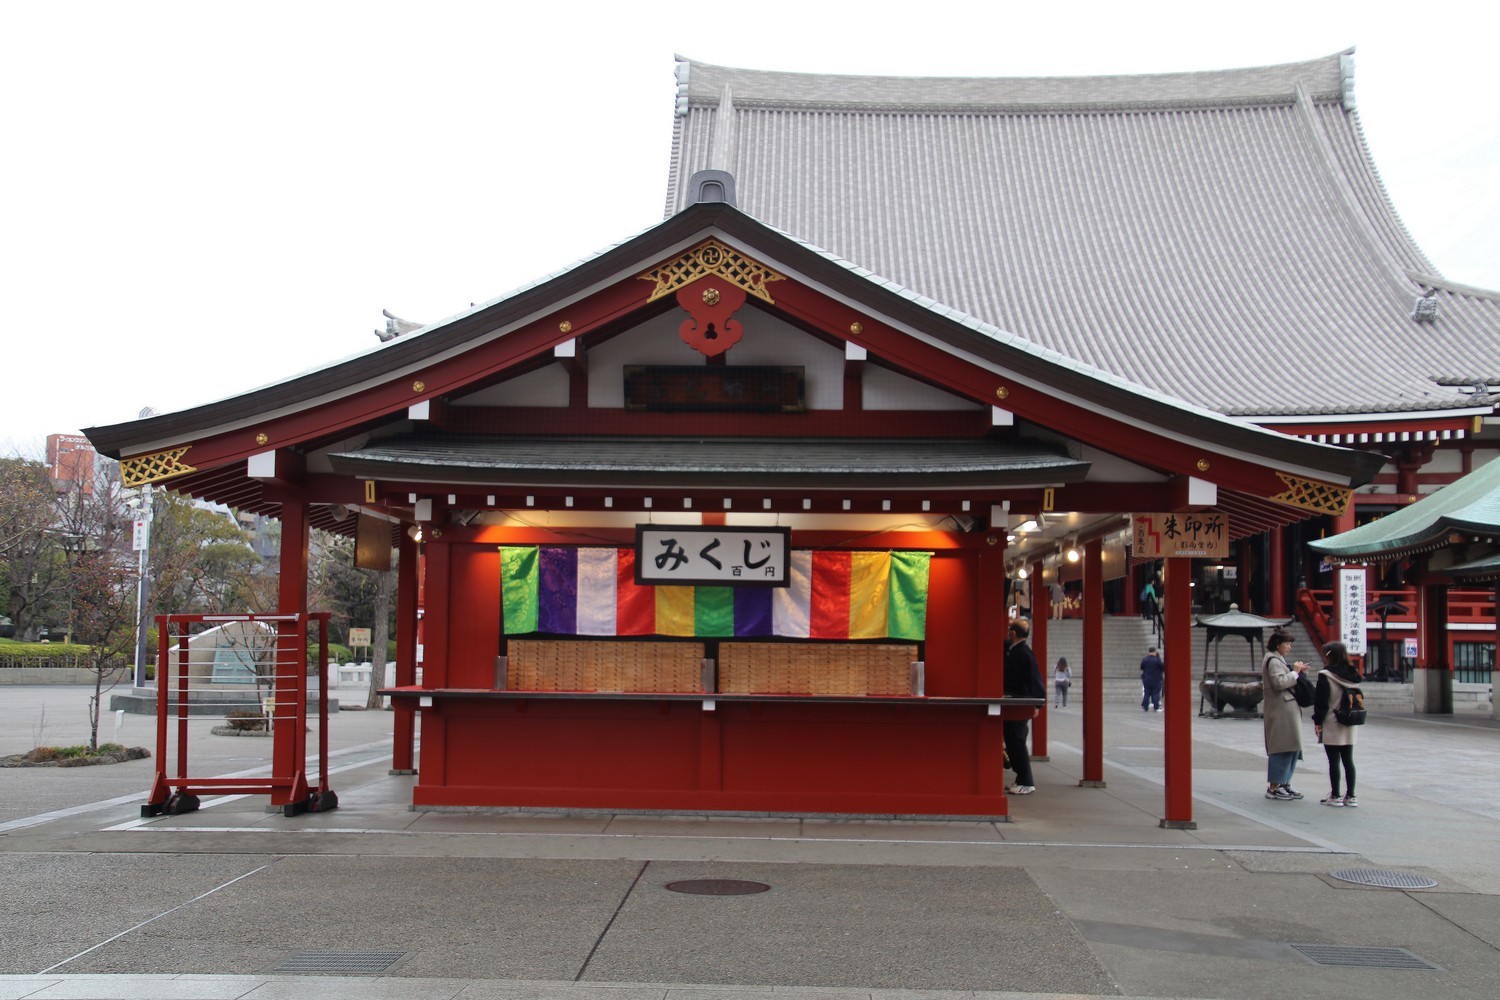
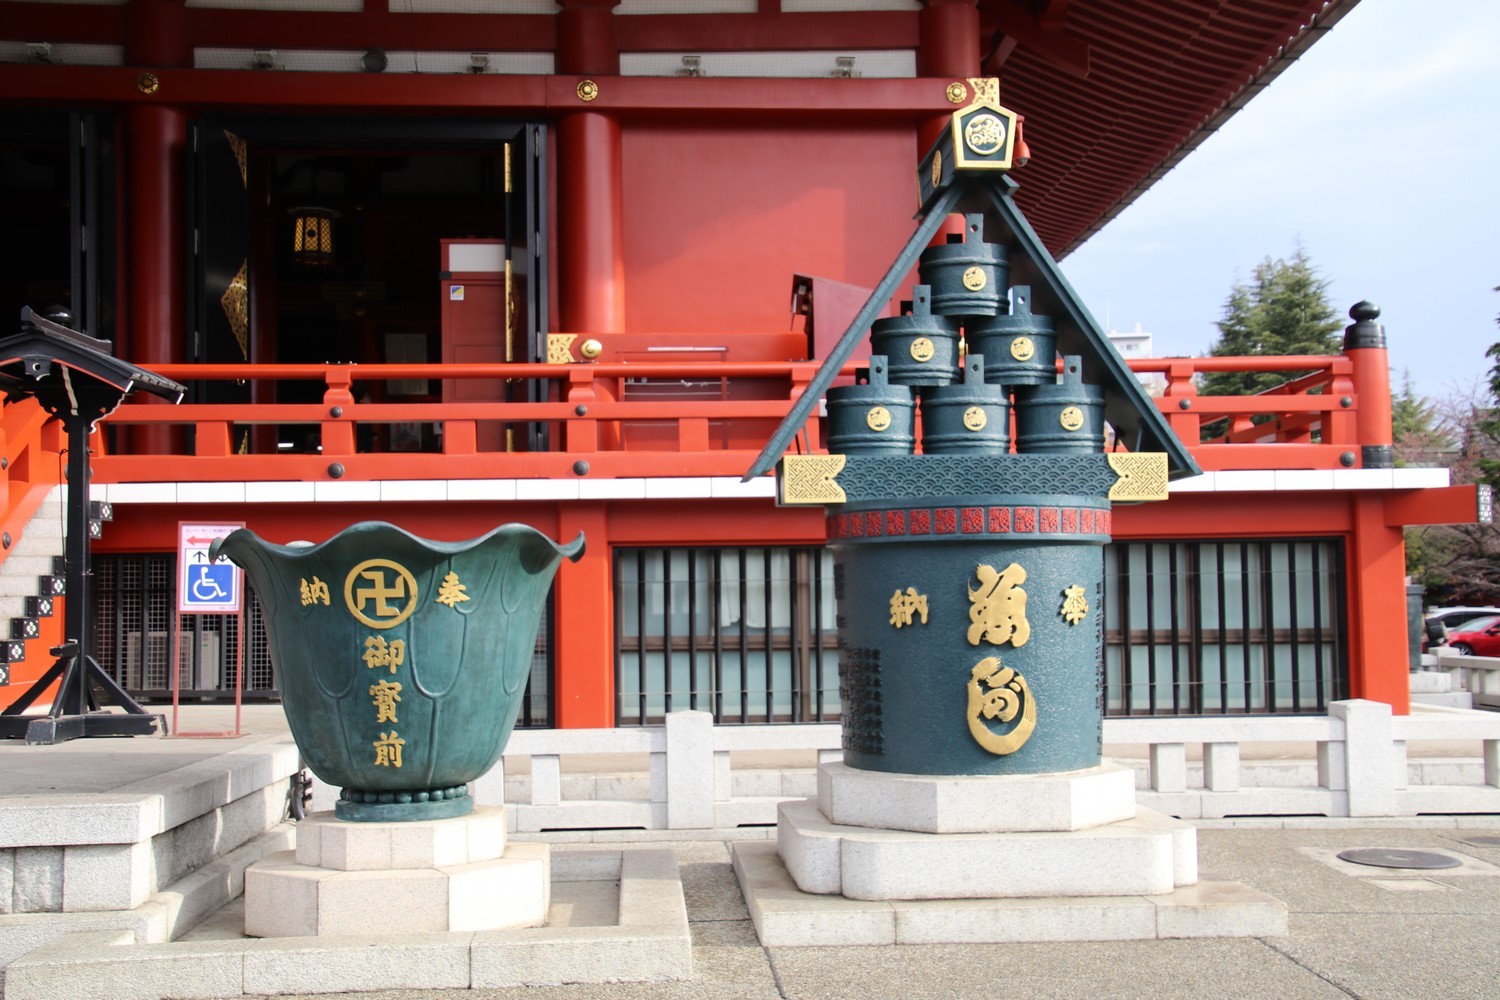
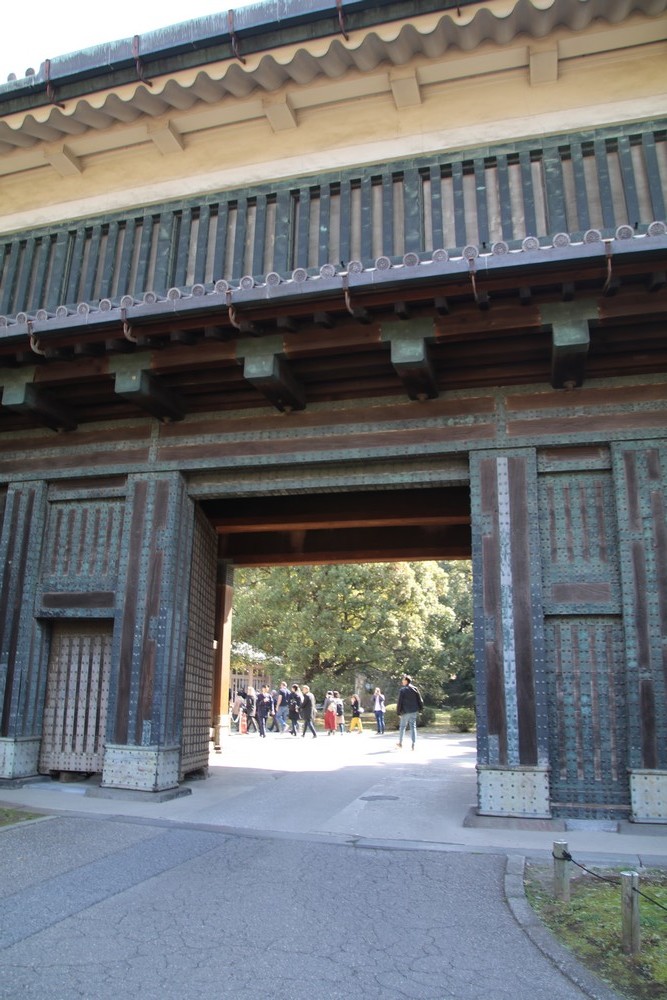
For this last day in Tokyo, you’ll have to get up quite early again in order to go to the Senso-ji Temple. For this, you have to get off at the Asakusa Subway Station. When getting out of the station, you have to walk a little bit, in the opposite direction of the building which looks like a big nose, and you’ll then see a kind of big door which marks the entrance to the temple. From there, you’ll have to walk along a large street in order to reach the temple and you may also spot a few small temples on the side.
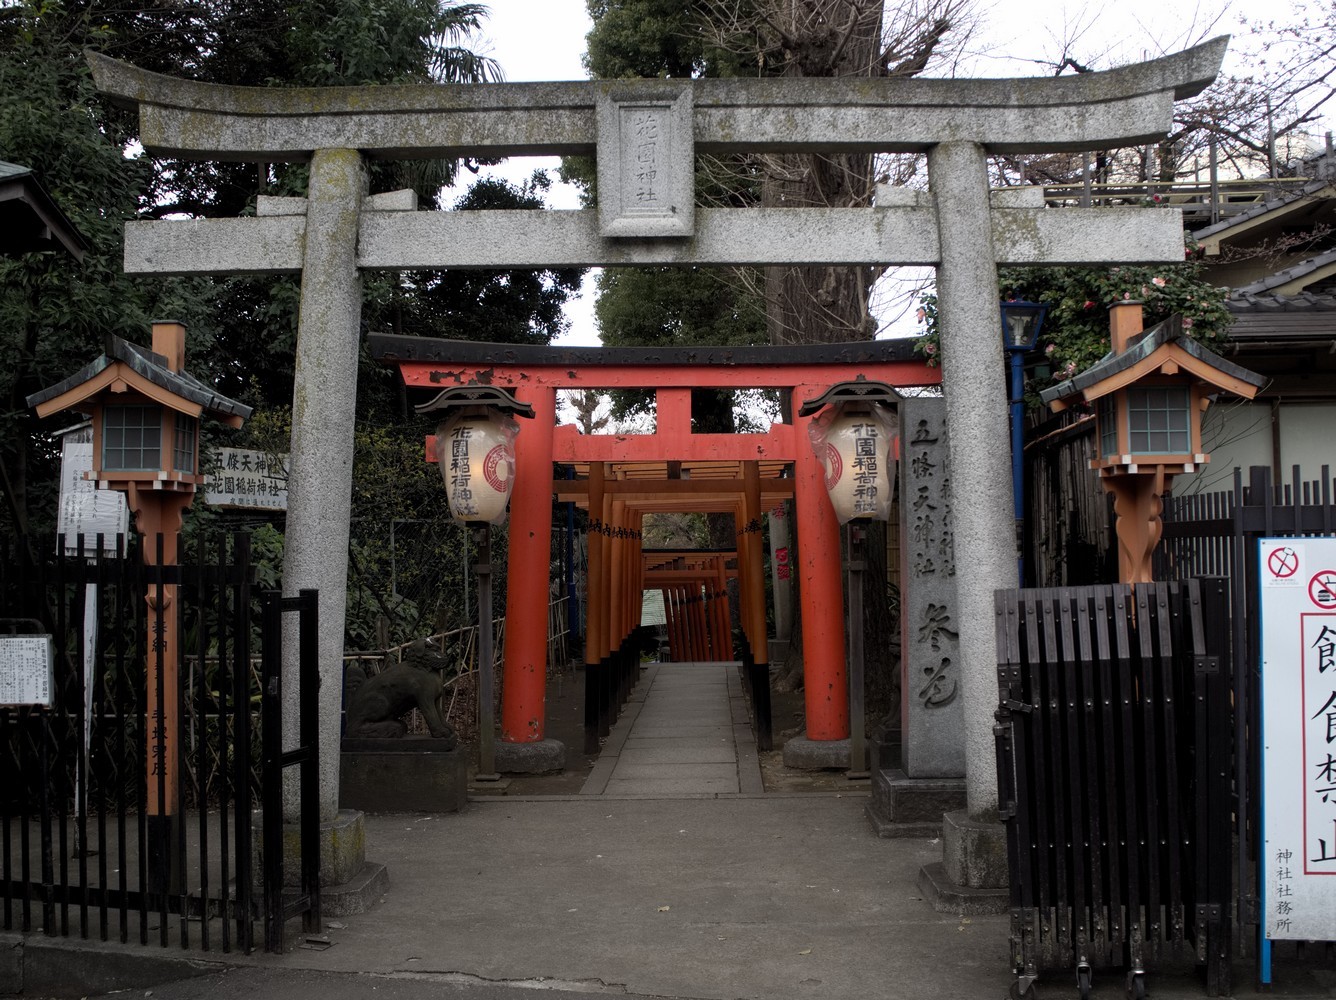
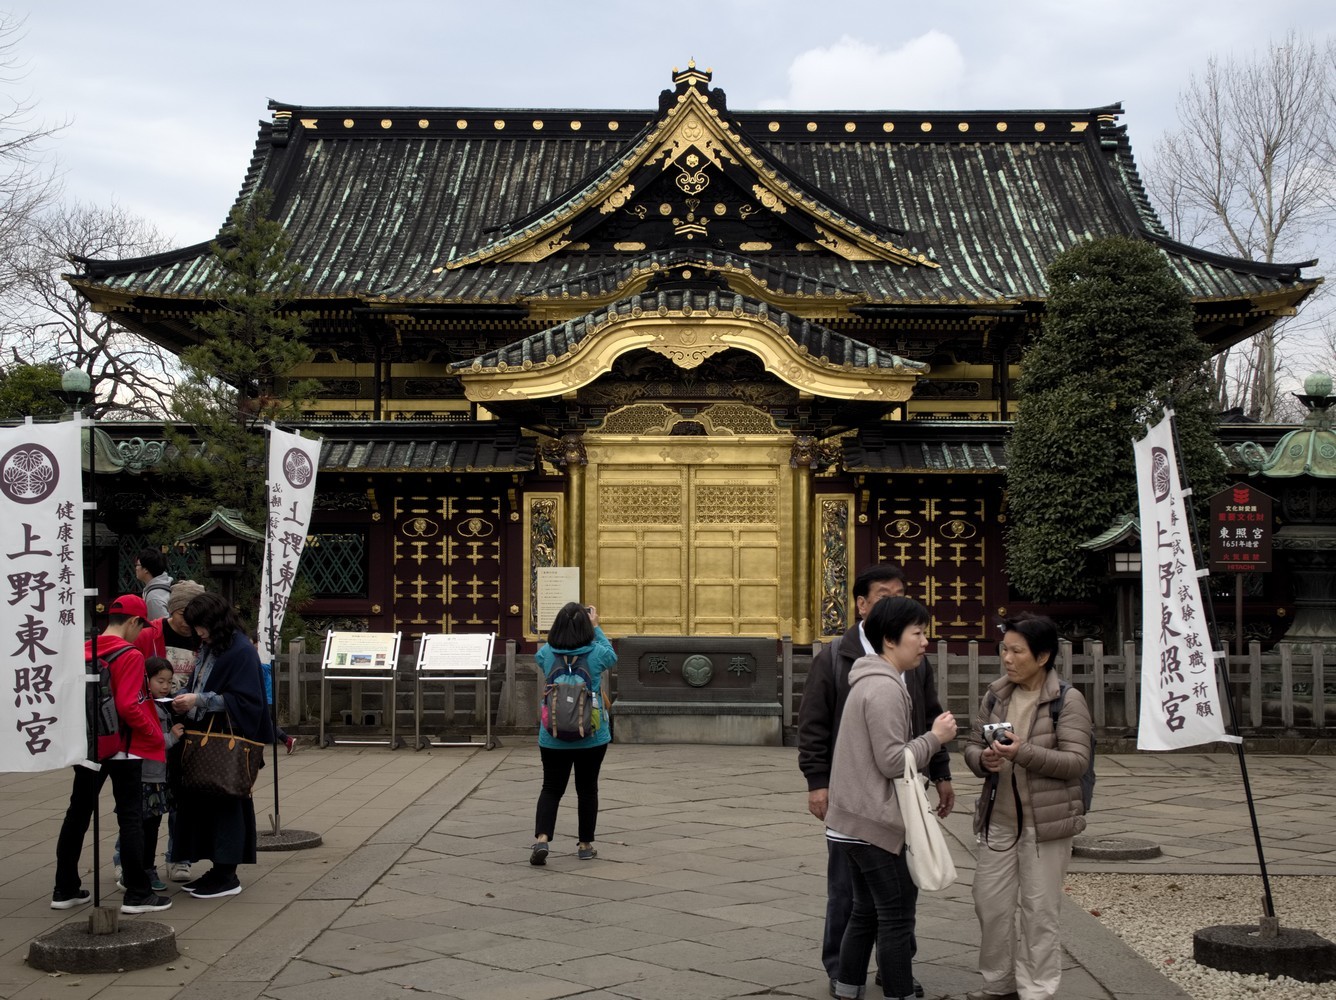
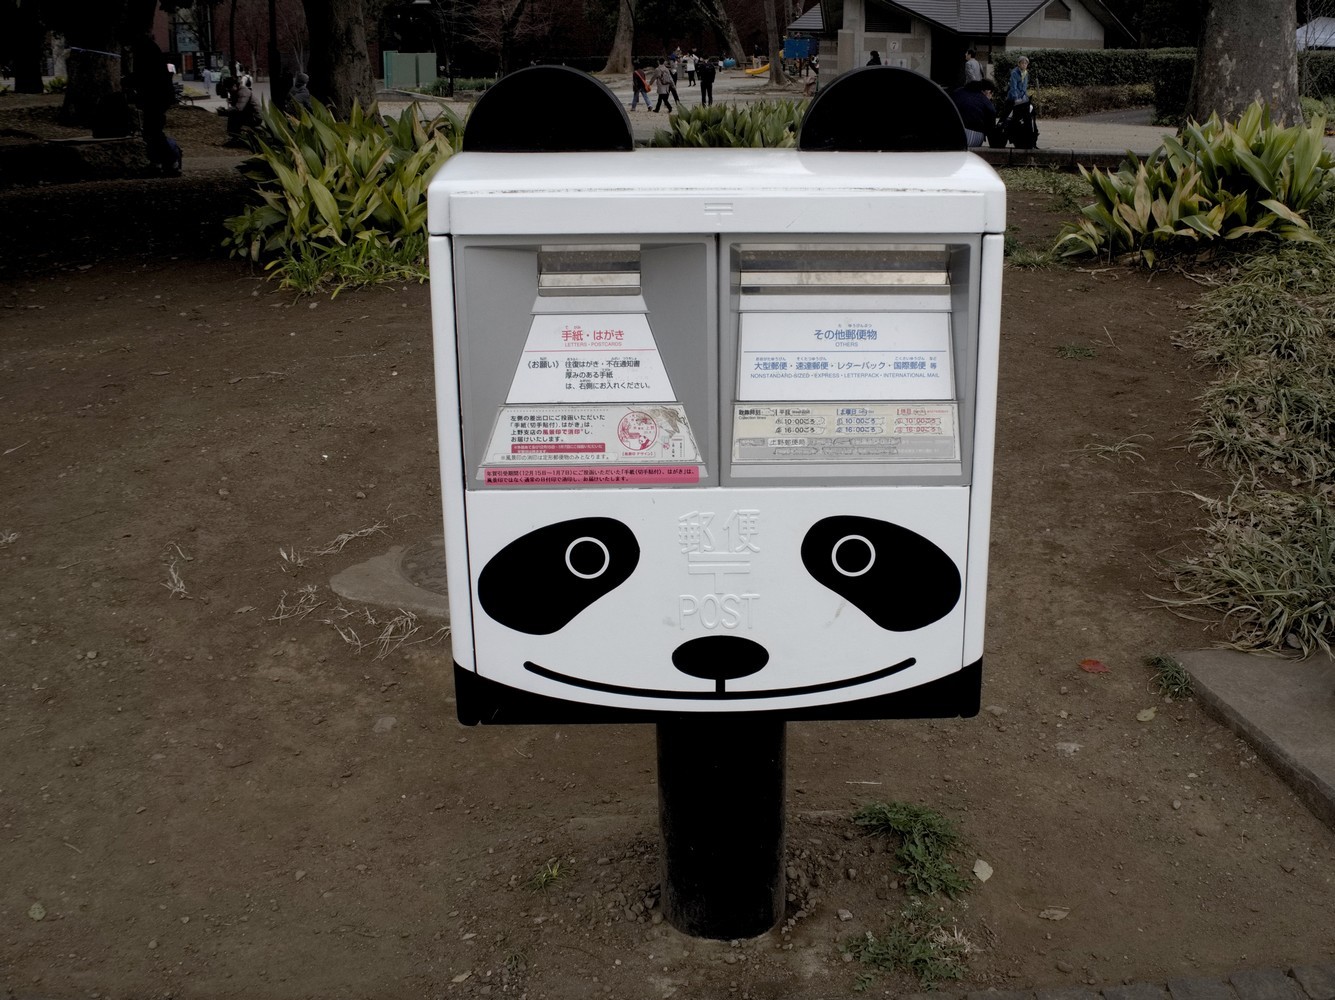
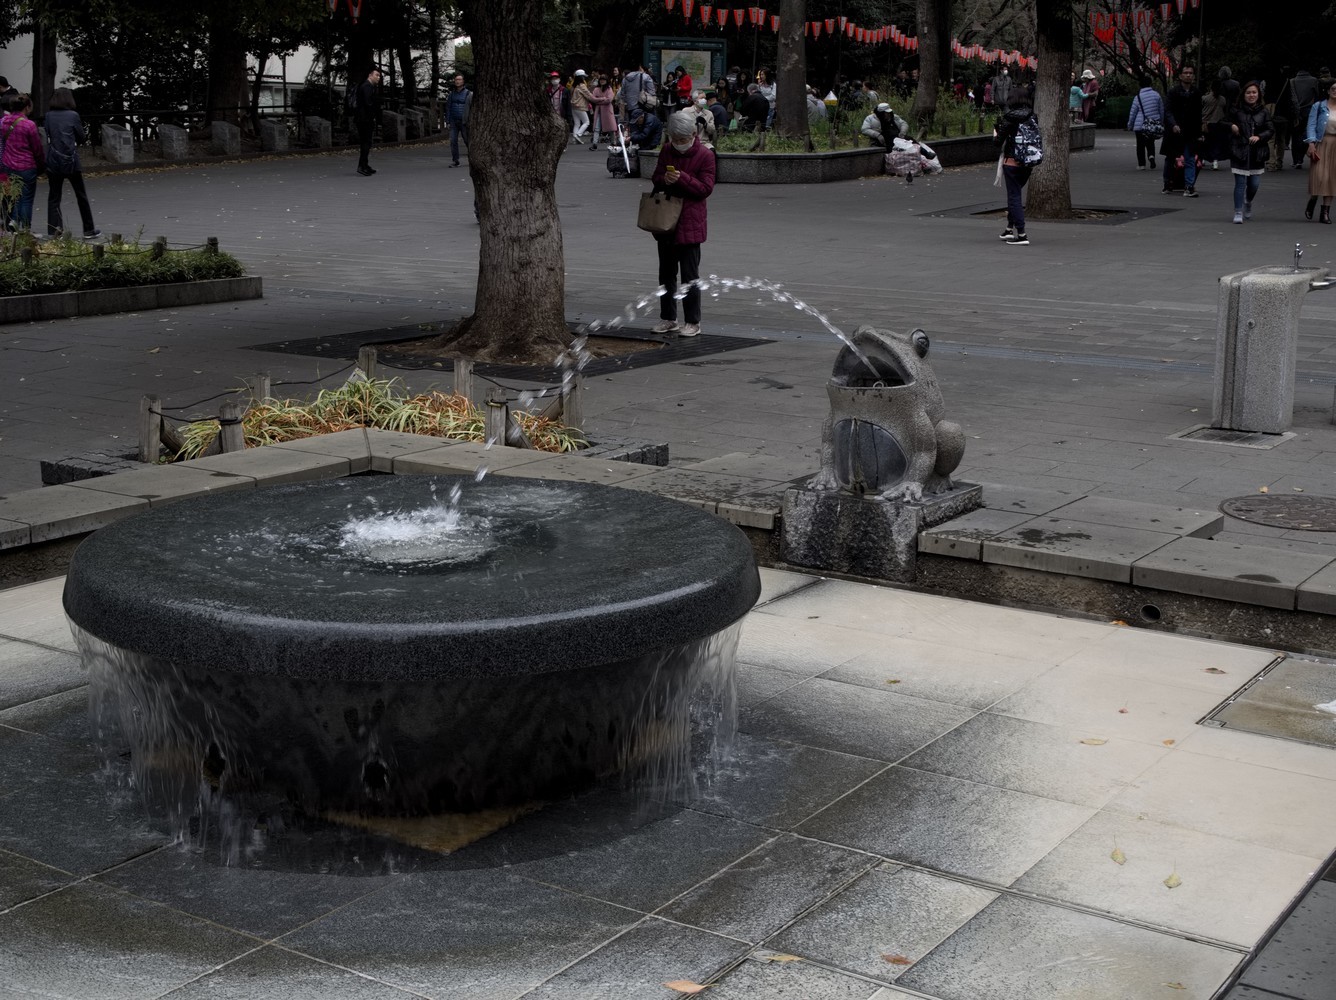
After your tour of Senso-ji Temple, head to Ueno Park where you can visit Tokyo Museum, Toshogu Shrine, and the Zoological Garden.
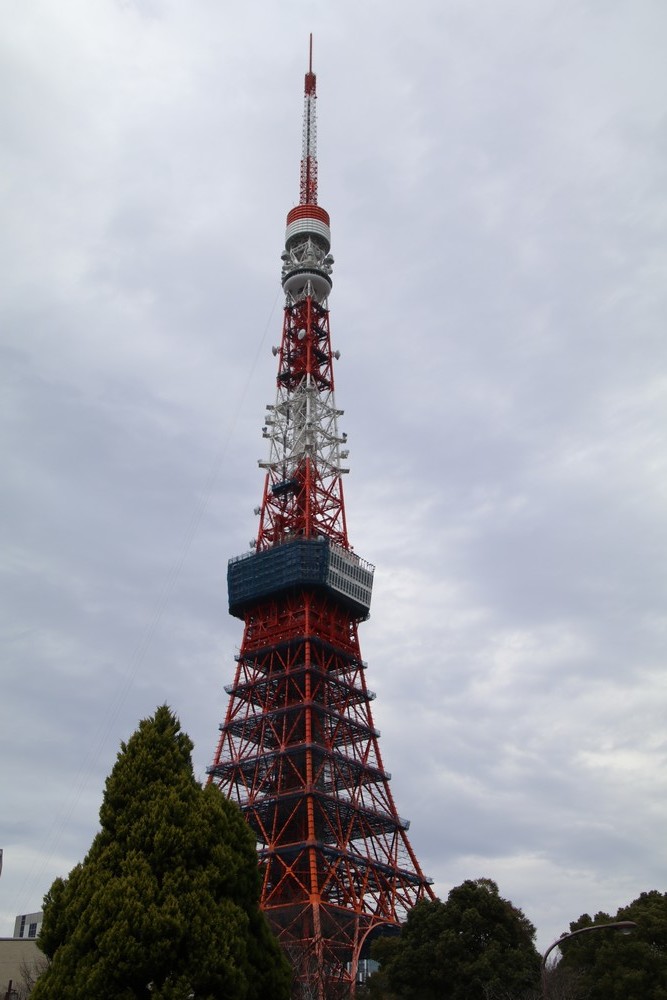
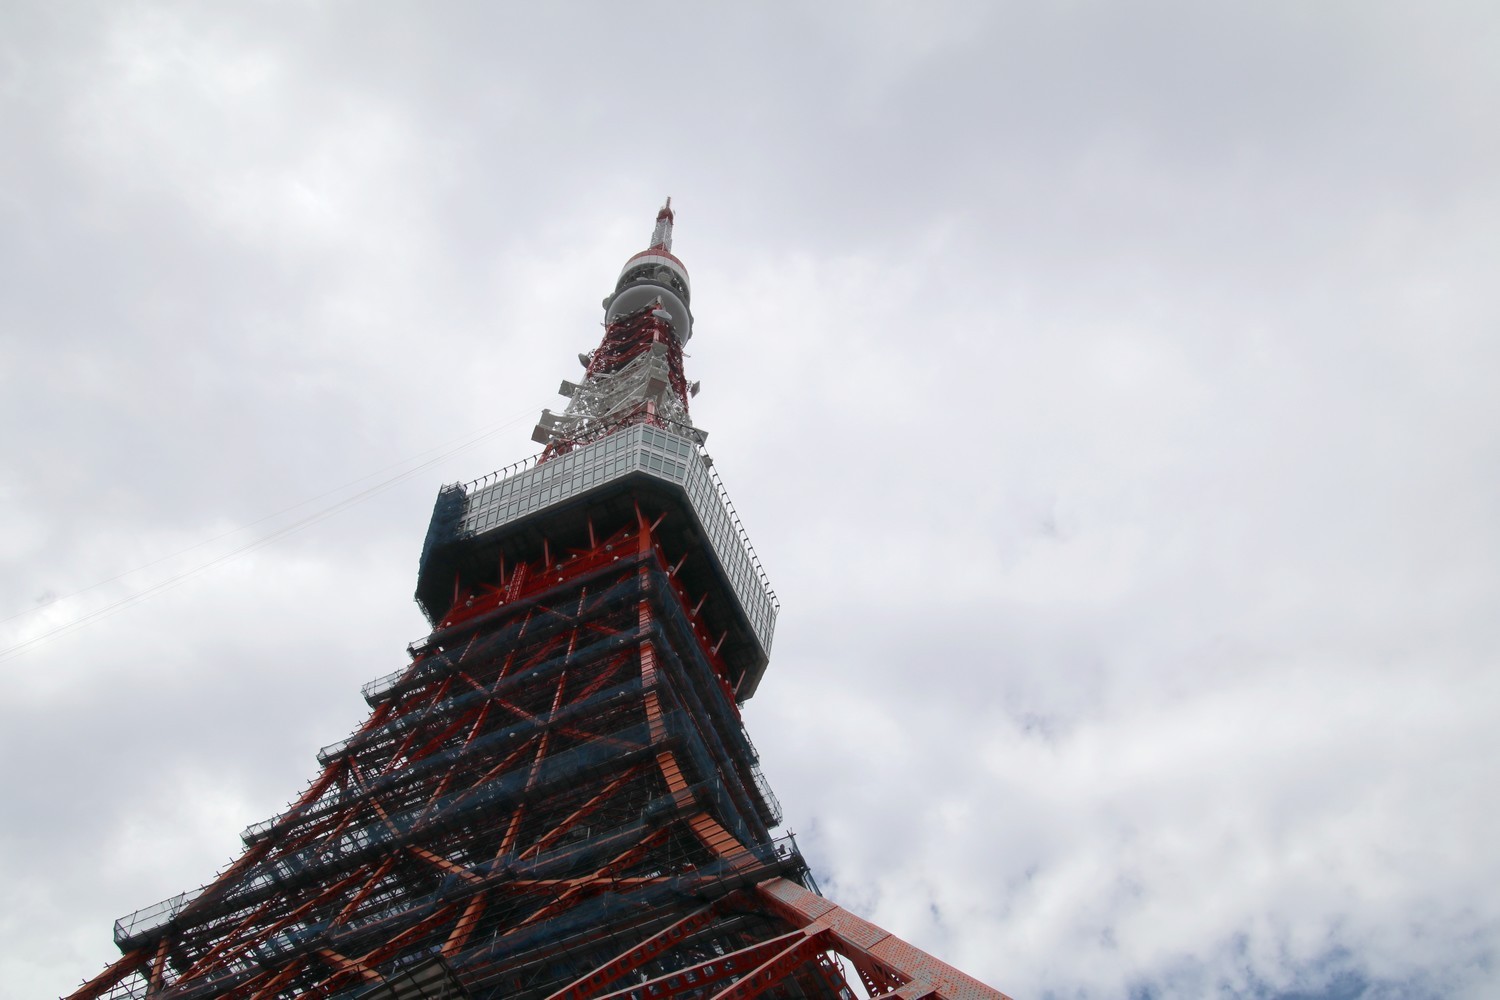
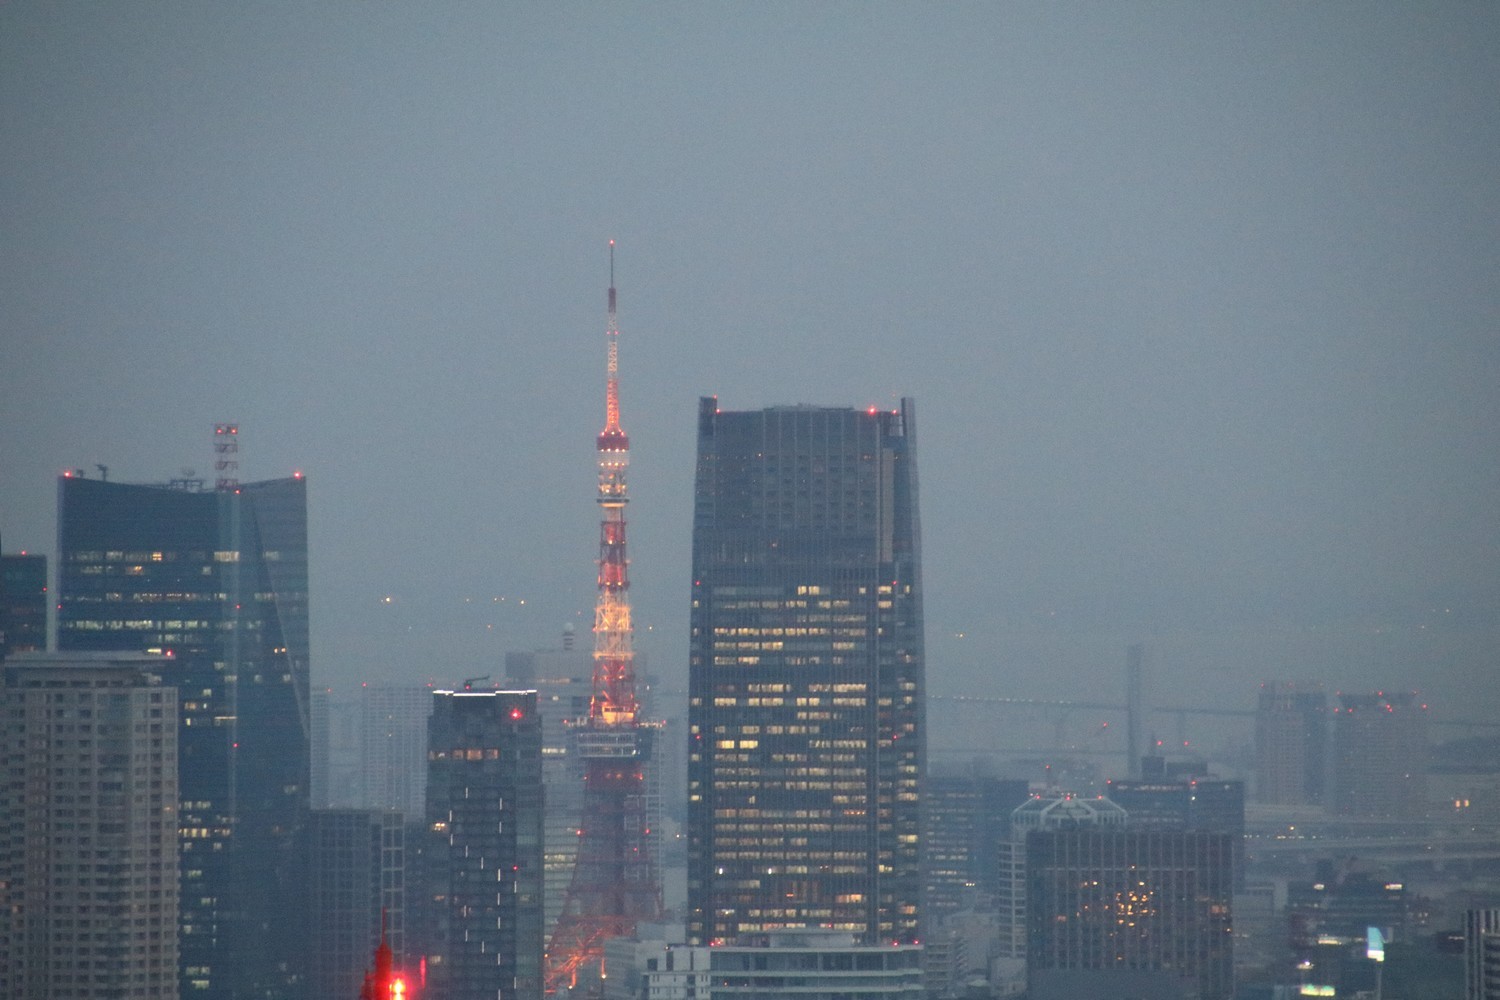
Once you’re done exploring the park, head to Tokyo Tower, the Japanese Eiffel Tower! To get there, get off at Akabanebashi Subway Station. When leaving the station, follow the directions in order to reach the tower and you should quickly see it.
Tip: you can also click on the link down below from your smartphone, to open the itinerary to follow on google maps: « Odaiba » walking tour
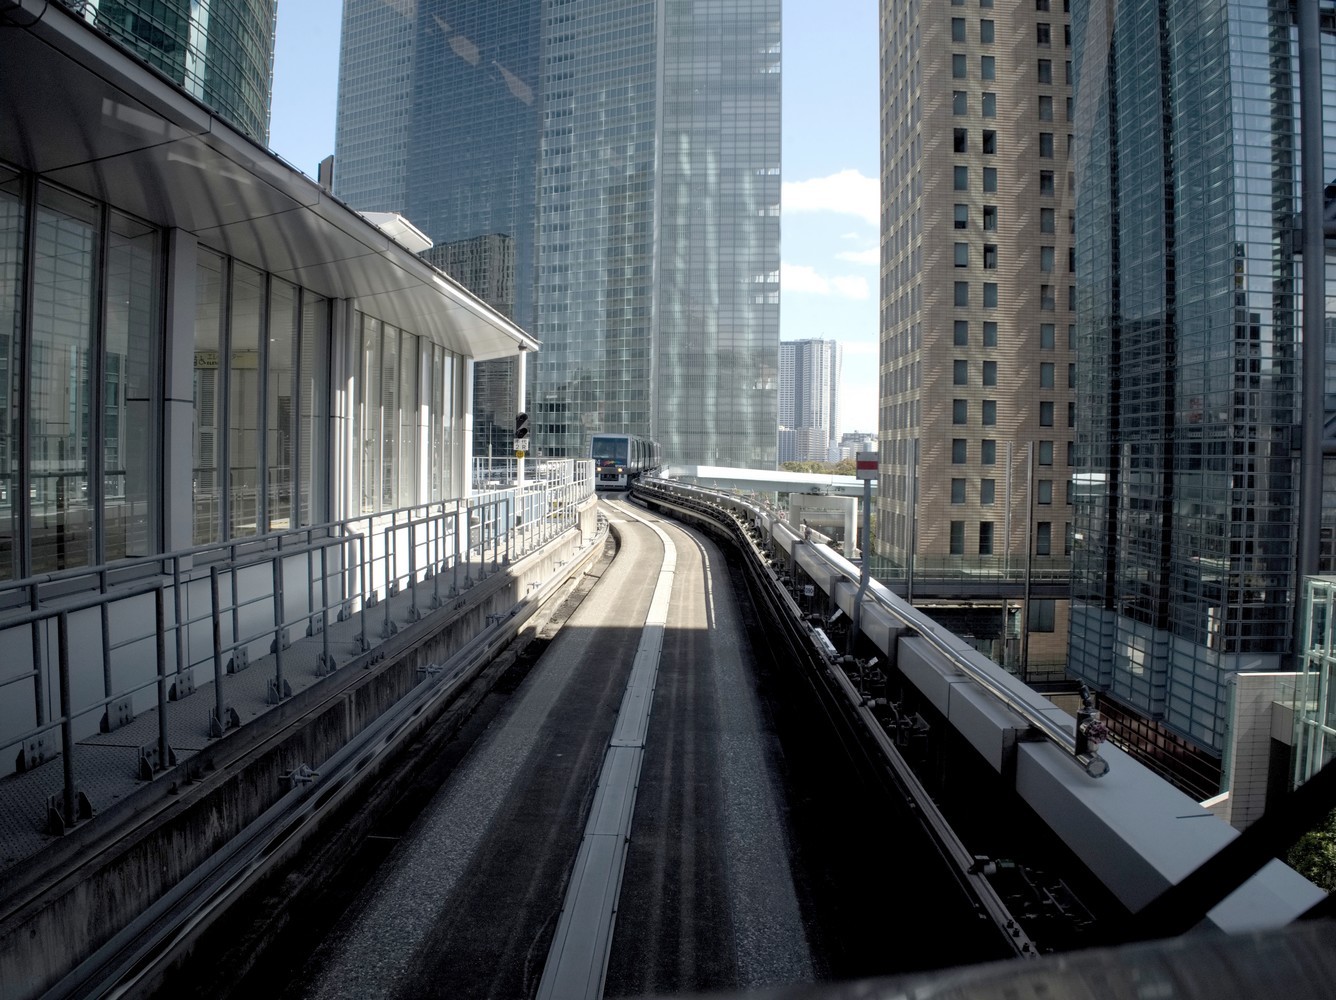
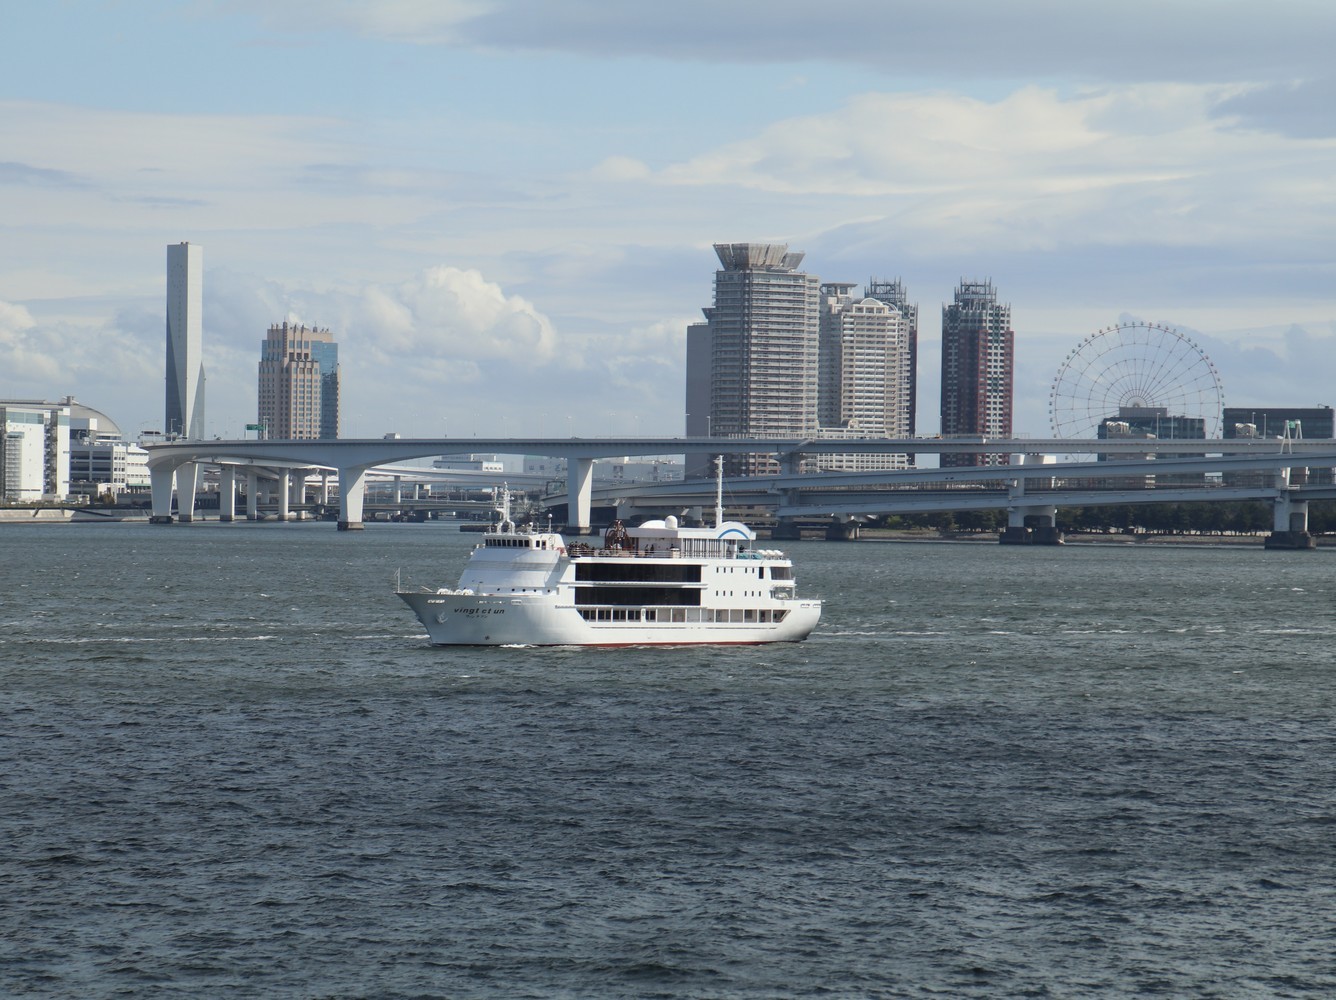
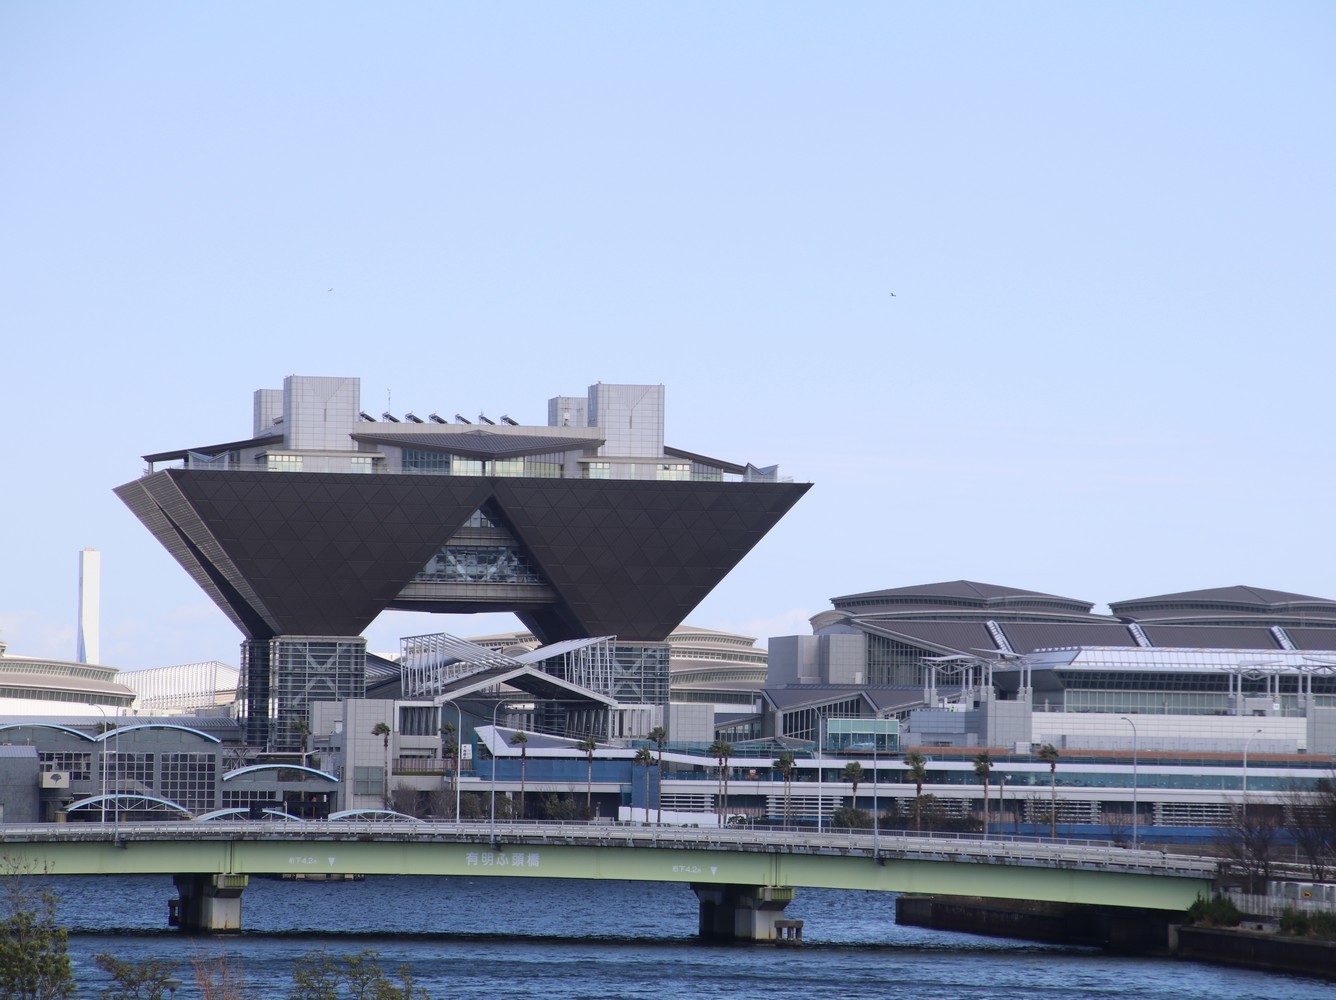
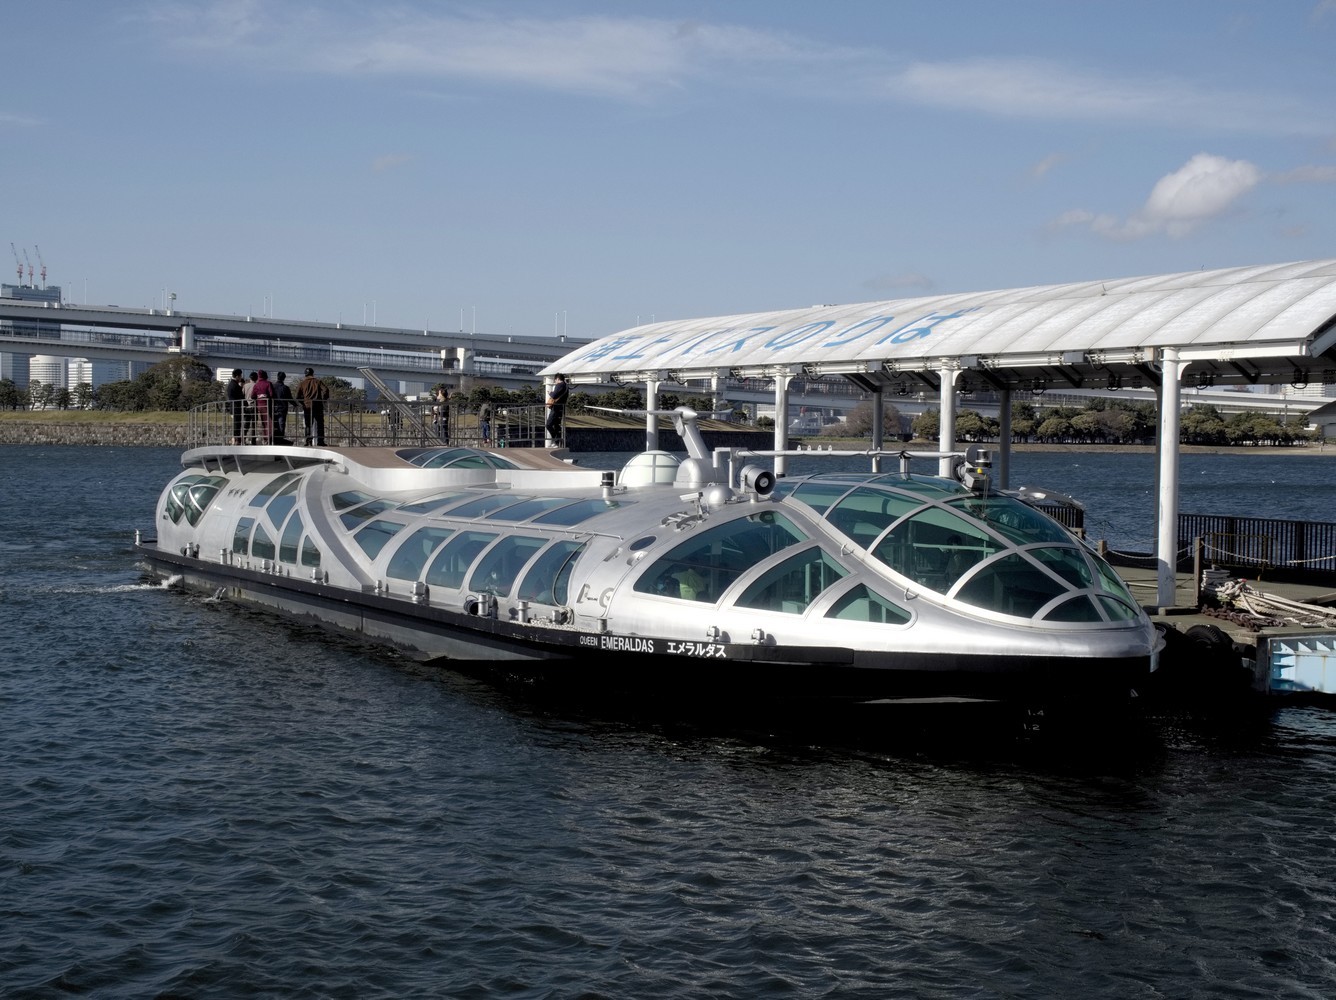
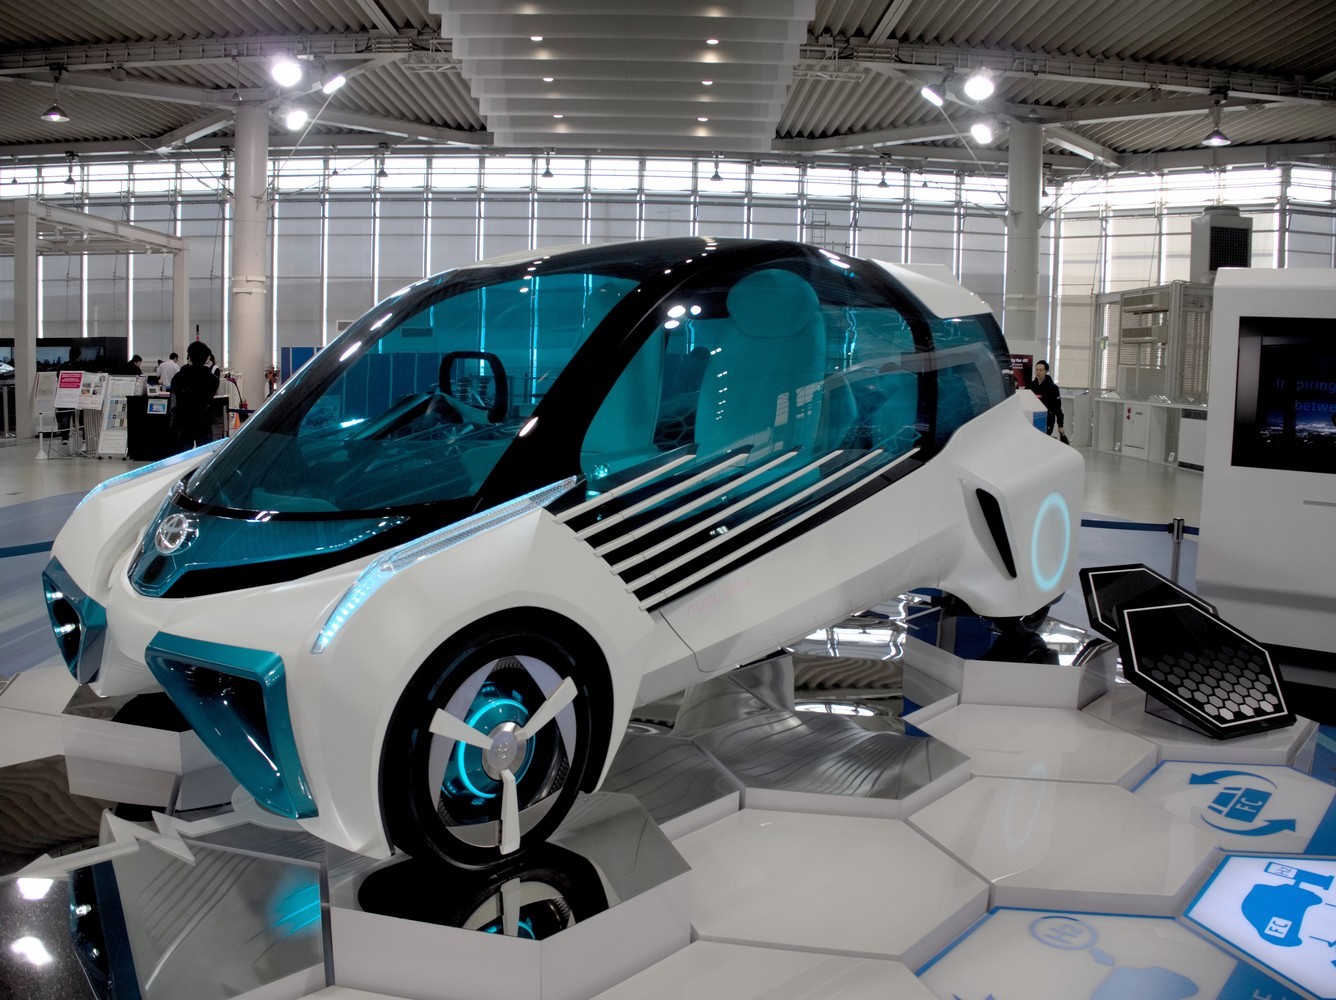
After lunch, it’ll be time to go to explore Odaiba District which is a kind of small island connected to Tokyo by a bridge. The best way to get there is to take the Yurikamome Automatic Line, where you can take the driver’s seat in order to observe the landscape from the front of the train. Otherwise, it’s also possible to cross the bridge on foot but it’s about a 30-minute walk. If you prefer taking the train, I recommend getting off at Ariake Station in order to walk around the neighborhood and to visit the various sites. First you’ll pass through a park, where you’ll be able to see Tokyo Big Sight which has quite an interesting architecture. Then, you’ll cross a bridge and can see a Ferris wheel. Right next to it, there’s the Toyota Mega Web Building which can be visited for free. On your way out, you can go strolling at Venus Fort which is a shopping centre. Then, you’ll pass by the Fuji TV headquarters before reaching the river. Over there you’ll see a replica of the Statue of Liberty. To get back to town, you can retake the automatic train at Odaiba-kaihin koen Station. A single ticket costs around ¥350.


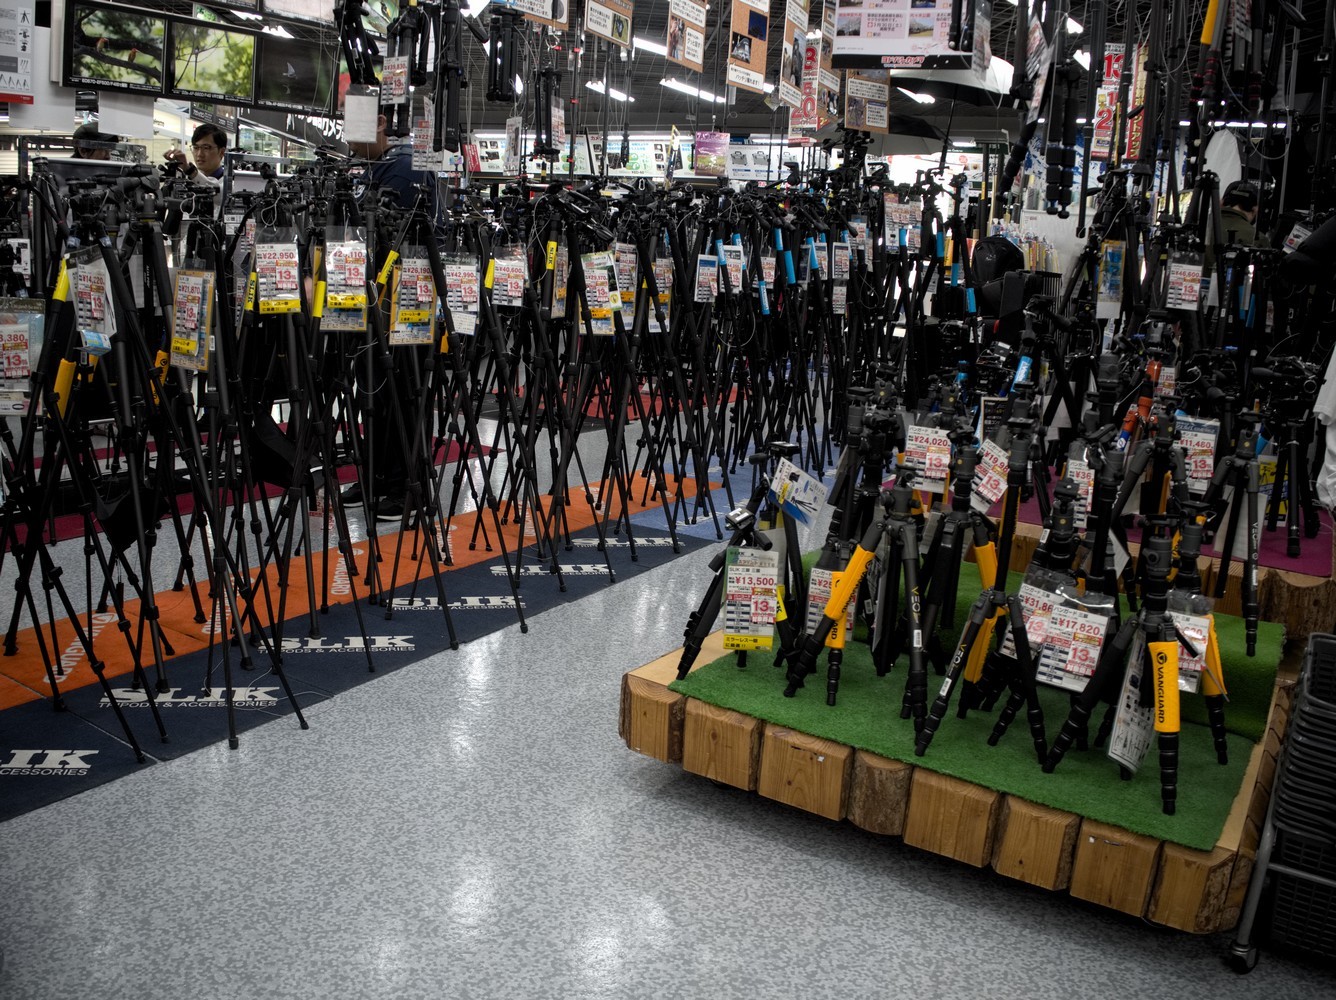
To end this last day of sightseeing, head to the Akihabara District which has a lot of electronics stores. Over there you can stroll through the streets of the neighborhood in order to discover what kind of electronic objects the Japanese are inventing!
Tips
Money
Japanese yen
When going to Japan, the best thing to do is to get yen in cash, as credit cards are not accepted everywhere. To do so, you’ll have to go to the money exchange office, you can either bring cash to change it over there, or either change it before leaving. And if you need money at the airport, just change what you need there, you’ll change the rest in town.
Transportation
Subway
In Tokyo, the most convenient way to get around is the subway. Everything is well indicated and the stations are always announced on board trains. The only thing you’ll need is a map, even though, with Hyperdia you can even do without it.
In order to take the subway, you can:
- buy single tickets, fares range from ¥170 to ¥300
- use PASMO or SUICA cards
- buy a 24H / 48H / 72H subway pass, fares range from ¥ 800 / ¥ 1,200 / ¥ 1,500. It’s clearly the best option because it’s really worth the money. You can go to check the Tokyo Metro Website to find out where you can buy it.
Tip #1: with the JR Pass, you can take the JR Yamanote Line that draws a loop around Tokyo. It can be very useful when going on day trips close to Tokyo, because you won’t need to buy subway tickets.
Tip #2: you can also use the Hyperdia Website in order to plan your subway routes, it will tell you which lines to take.
Hyperdia
It’s a website that gives train timetables and that allows you to plan all your trips. The information provided is very accurate and the website gives not only the timetables but also the type of train, the journey time, and also the most important information, the platform number. You’ll see that in the train stations in Japan, there are a lot of trains and therefore just as many platforms. So for sure you could look for your train and its platform number on the TVs, but with the website, you’ll have these information right away and even before arriving at the station. This will save you a lot of time. And the best thing to do is to search the itinerary on your phone, on the way to the station, that way you’ll find out the platform number as soon as you arrive and could directly go to wait for the train. There is also a mobile app, but the mobile website was more than enough for me on my trip.
Tip: I had also used it a lot while planning my trip. Since you’ll be traveling by train from city to city, it’s quite important to have a rough idea of the train times available for each route. Especially since sometimes, for half an hour sooner or later, the length of the journey can go from simple to double. If you follow the route I took, I would give you the schedules of the trains I took, in each post about the different cities.
About the search, it’s quite simple, after going to the website hyperdia.com, all you have to do is to enter the departure and the arrival stations, as well as the desired date and time of departure. Just before clicking on « Search », click on « More options » to uncheck « Airplane », « Airport Shuttle Bus » et « NOZOMI / MIZUHO / HAYABUSA (SHINKANSEN) ». In the search results, the website will suggest several routes, it is up to you to select the one that suits you best. But the first one is usually the best.
Direction
To find your way in Japan, to get to all the sightseeing places, I highly recommend using Google Maps, especially if you take the data SIM card. But if you don’t, don’t worry because it works even without having an internet connection, it’s just that the « walking » routes won’t be available, you’ll only have the « driving » routes. But it’s still quite OK because it gives you a rough idea of the location, depending on your position. To do so, you have to save the map before going, or even while there, as long as you have an internet connection. On your smartphone, in the application, click on your profile picture at the top right of the screen, and then click on « offline maps ». Then click on « select your own map » and zoom out the map until you see the area you want to save. If the area to be saved is too large, then you’ll have to repeat the operation several times.
Tip: for your trip, I highly recommend getting a prepaid data SIM card which allows unlimited access to high-speed internet through your phone in Japan. And don’t worry, it comes pre-cut with all available formats (standard, micro, and nano SIM). And of course tethering is allowed. It’s not that expensive and it’s really convenient, it costs $23 for 8 days (there are different rental periods available with decreasing prices). This not only allows you to use Google Maps to find your way, but also to use the Hyperdia website, that gives real time train timetables (more details just down below). And I didn’t have any connection troubles during my trip.
In my opinion, Pocket Wifi is not an option to consider, because in addition to being much more expensive than the data SIM card, while providing exactly the same service, it makes an additional box to charge and carry around everywhere.
Remember to download the activation guide in order to set-up the SIM card.
Restaurants
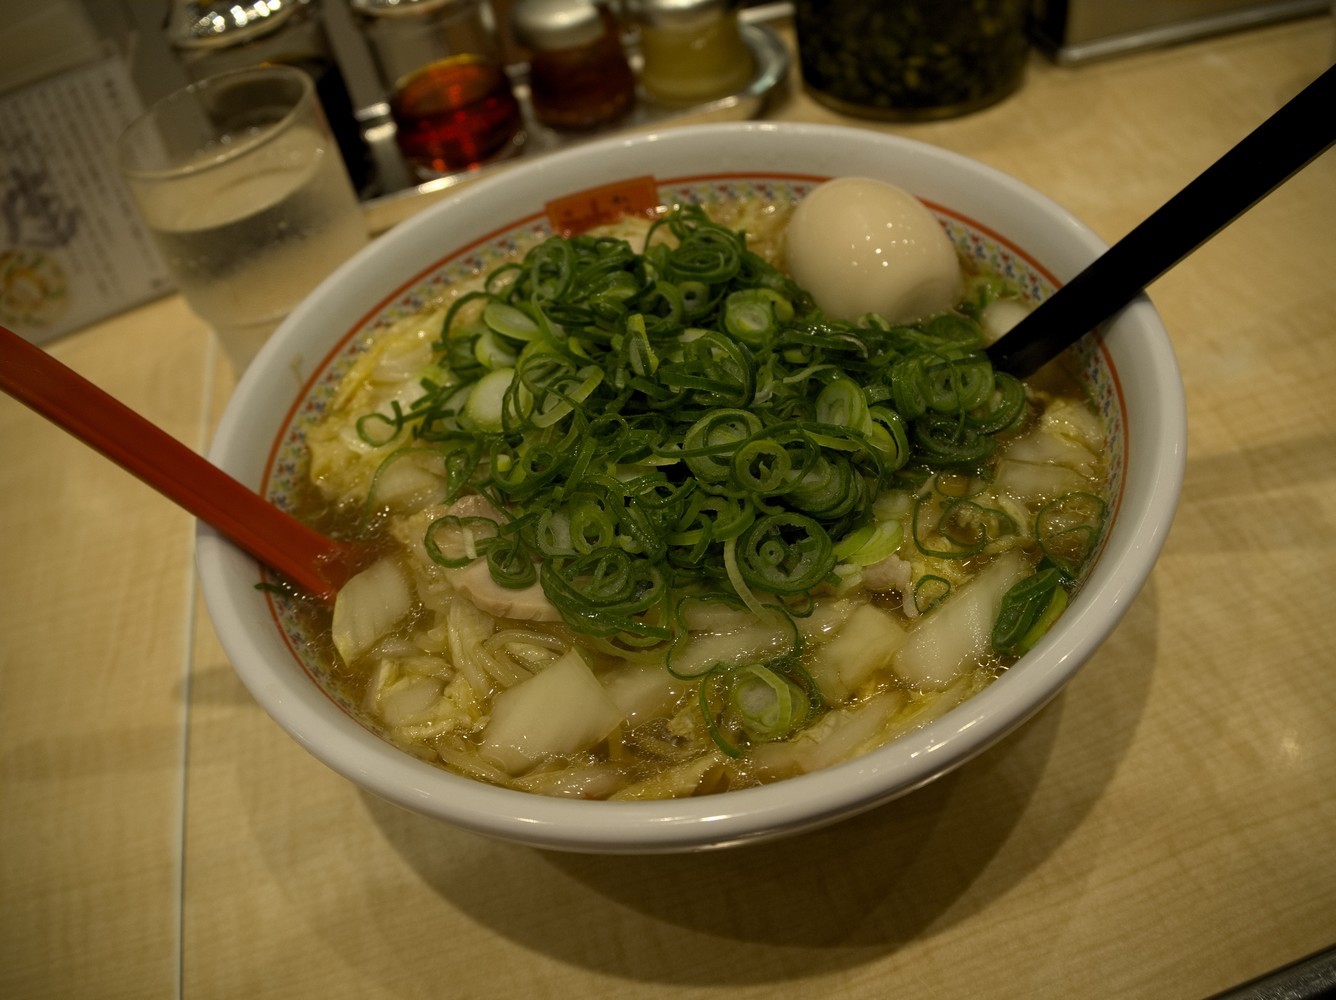
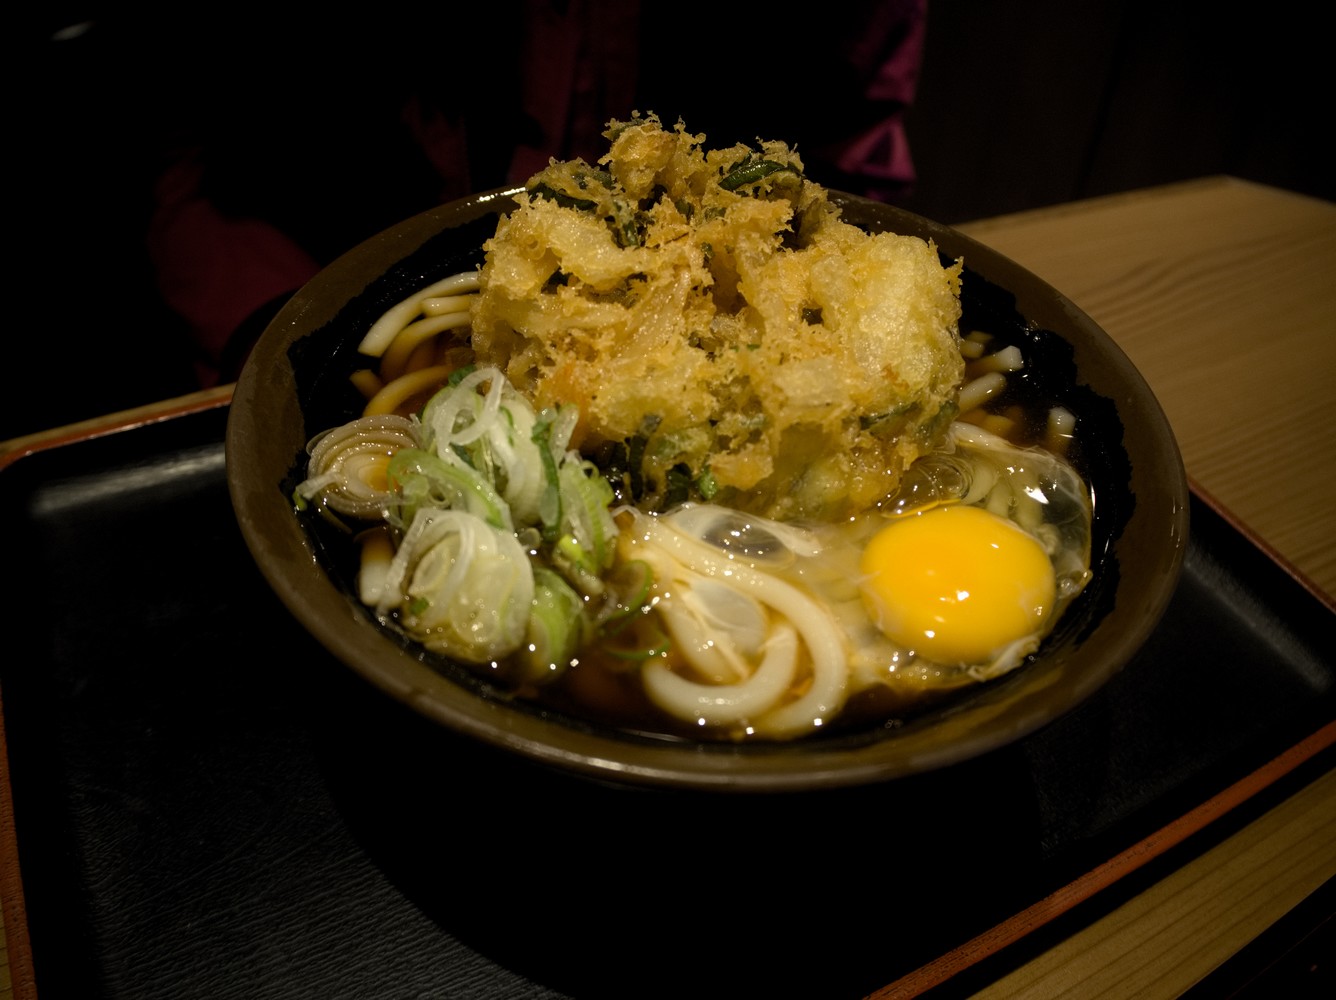
In Japan, in restaurants, food is not much more expensive than in France. The special thing is just that you’ll always find the miniatures of the dishes on display in front of each restaurant, which is very convenient for choosing where you want to eat. You’ll also see that there are some kinds of noodle fast food restaurants, where you can find all kinds of noodle bowls at rock bottom prices. And this is the perfect place if you are in a hurry, because in front of the restaurant there is an order kiosk, you make your choice, you pay, and when you enter the restaurant, your order is usually already available! You’ll also notice that the Japanese gulp down their bowls of noodles at breakneck speed.

Tip: NEVER leave tips in Japan, the Japanese would consider it rude and insulting!
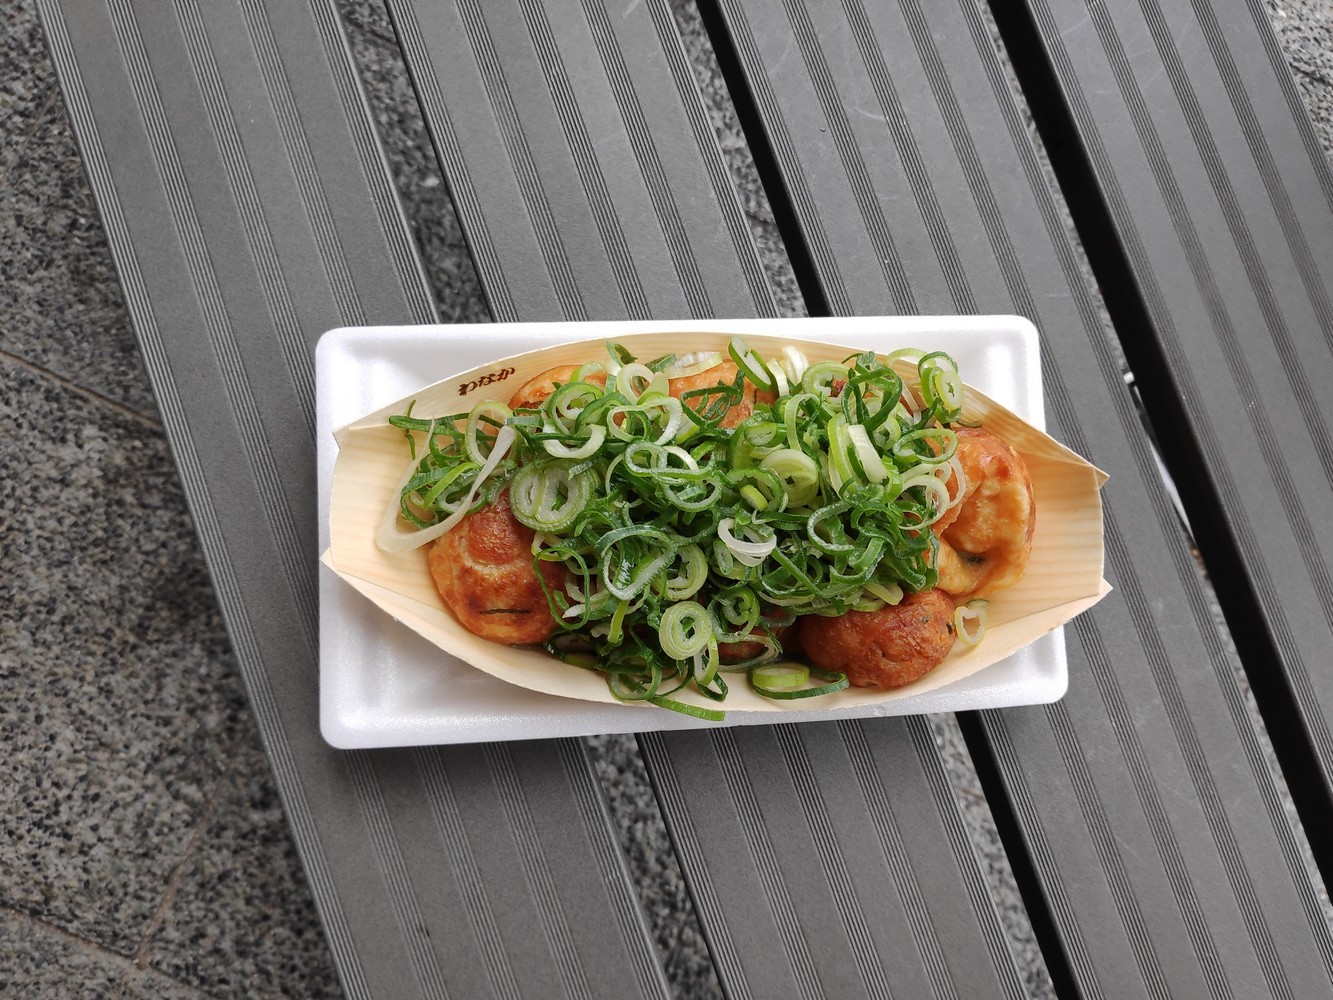
You could also try small nibbles you can find in some small stalls located on the edge of streets.

Hotels
I highly recommend booking a hotel located close to a subway station, and especially to Ueno Subway Station because it’s very convenient. Not only for your arrival and departure, because you can reach your hotel or the station on foot, but also for sightseeing, because Ueno Station is both a subway station and a JR train station (JR Yamanote Line). So you can either take the subway with a subway pass, or the train with a JR Pass.
On this trip, I stayed at the Ueno Hotel.
Description: rooms are pretty small, but the inside is clean and functional. In the bathroom, you’ll find a shower and high-tech toilet. There are tea and coffee machines available in the lobby. And you’ll also find some tables where you can eat.
Price: about €60 per night for 2 people, in March.
Location: the hotel is located about a 5-minute walk from Ueno Station.
How to get there: when out from the station, take a left turn and when reaching a green structure, turn right. At the end of the street, turn left and continue walking straight ahead. You’ll then come across the hotel.
| Pros | Cons |
|---|---|
| good value for money | - |
| very convenient location | - |
| free Wi-Fi in the rooms | - |
| free left-luggage service | - |
Thanks for reading :)


