
Want to explore Kauai, the wildest of the Hawaiian Islands? Come on to see my tips for visiting the essentials in 2 days.
ITINERARY - HAWAII: here is the full itinerary for a tour of the Hawaiian Islands.
Kauai is the oldest of the main Hawaiian Islands. The island is not very big but you won’t be able to go around as there is no road that goes through the Na Pali Coast. Therefore you’ll have to travel the north shore and then the south shore. In addition, the island is nicknamed the island of chickens because it’s home to thousands of wild chickens, you’ll see them everywhere!
With that being said, let’s go to see the details of the schedule:
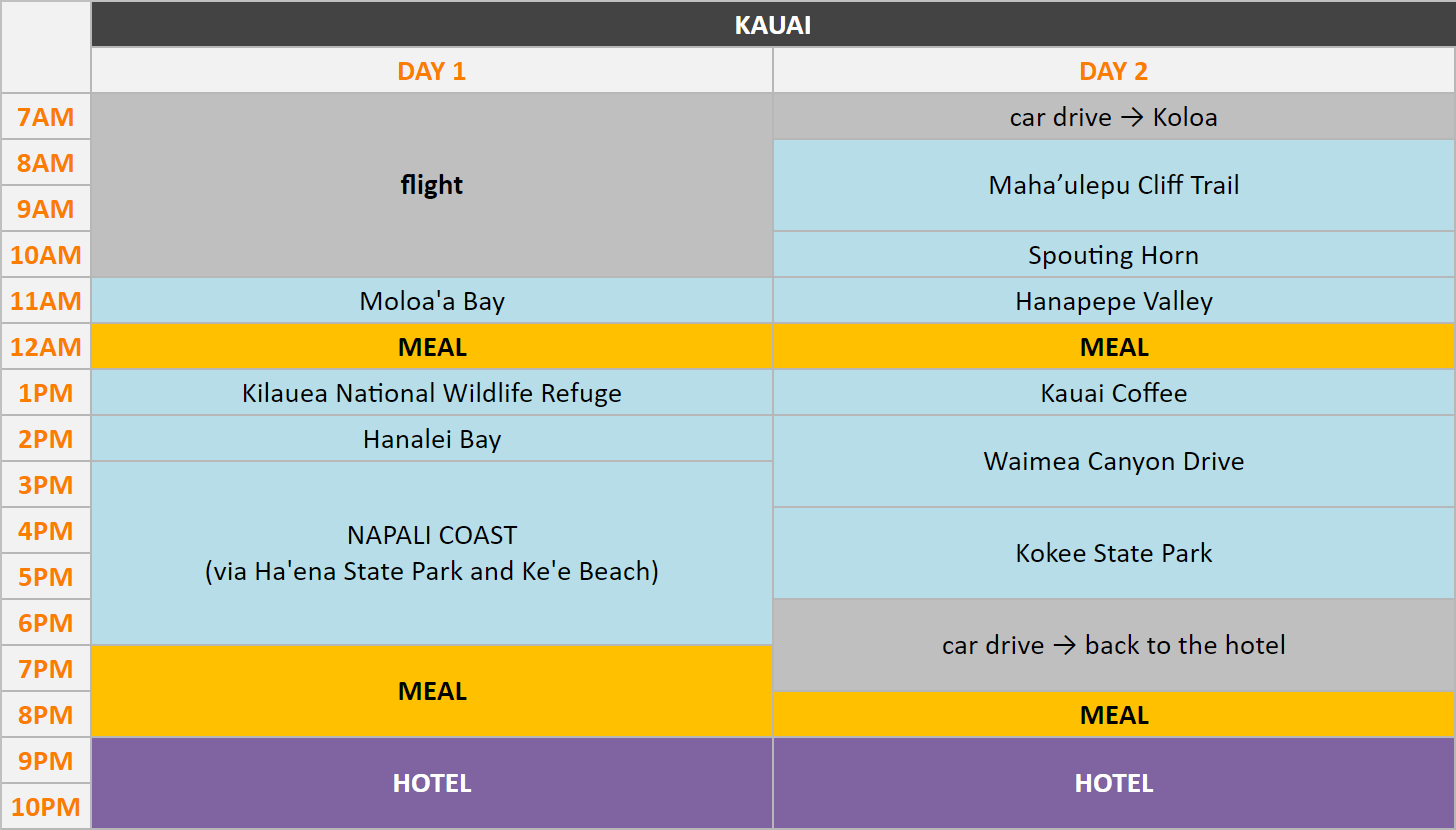
Day 1: north shore
Tip: you can also click on the link down below from your smartphone, to open the itinerary to follow on google maps: « north shore » tour
To get started, after getting off the plane, go to pick-up your rental car, and drop off your suitcases at the hotel, before starting the sightseeing.
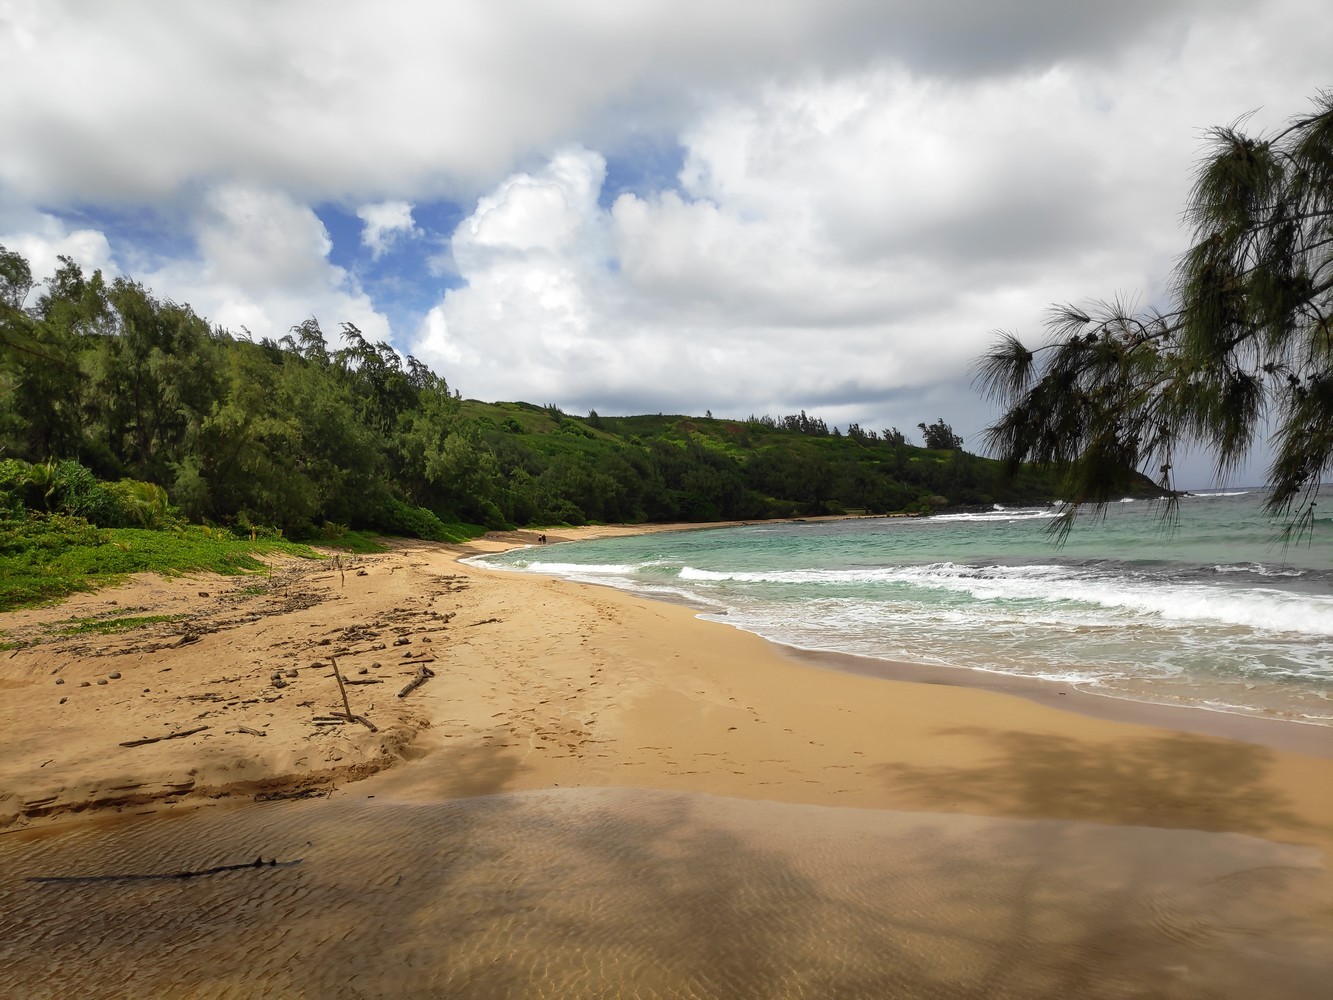
Begin by taking the road that leads to the north shore. The first stop will be Moloa’a Bay Beach. You’ll see that it’s a nice little beach, and since it’s quite hidden you’ll almost be alone overthere! You can even go to swim (don’t forget your swimsuit) or have a picnic on the beach.
Tip: for the picnic, you can for example go to take some food at the catering section of Foodland supermarket (more details in the « Tips » section, at the end of the post).

After this stop at Moloa’a Bay, continue driving and stop at the Kilauea National Wildlife Refuge. Over there you’ll be able to see a lighthouse but not only because it’s also a refuge for seabirds. Admission fee is $5 per person but the « America the Beautiful » pass is accepted.
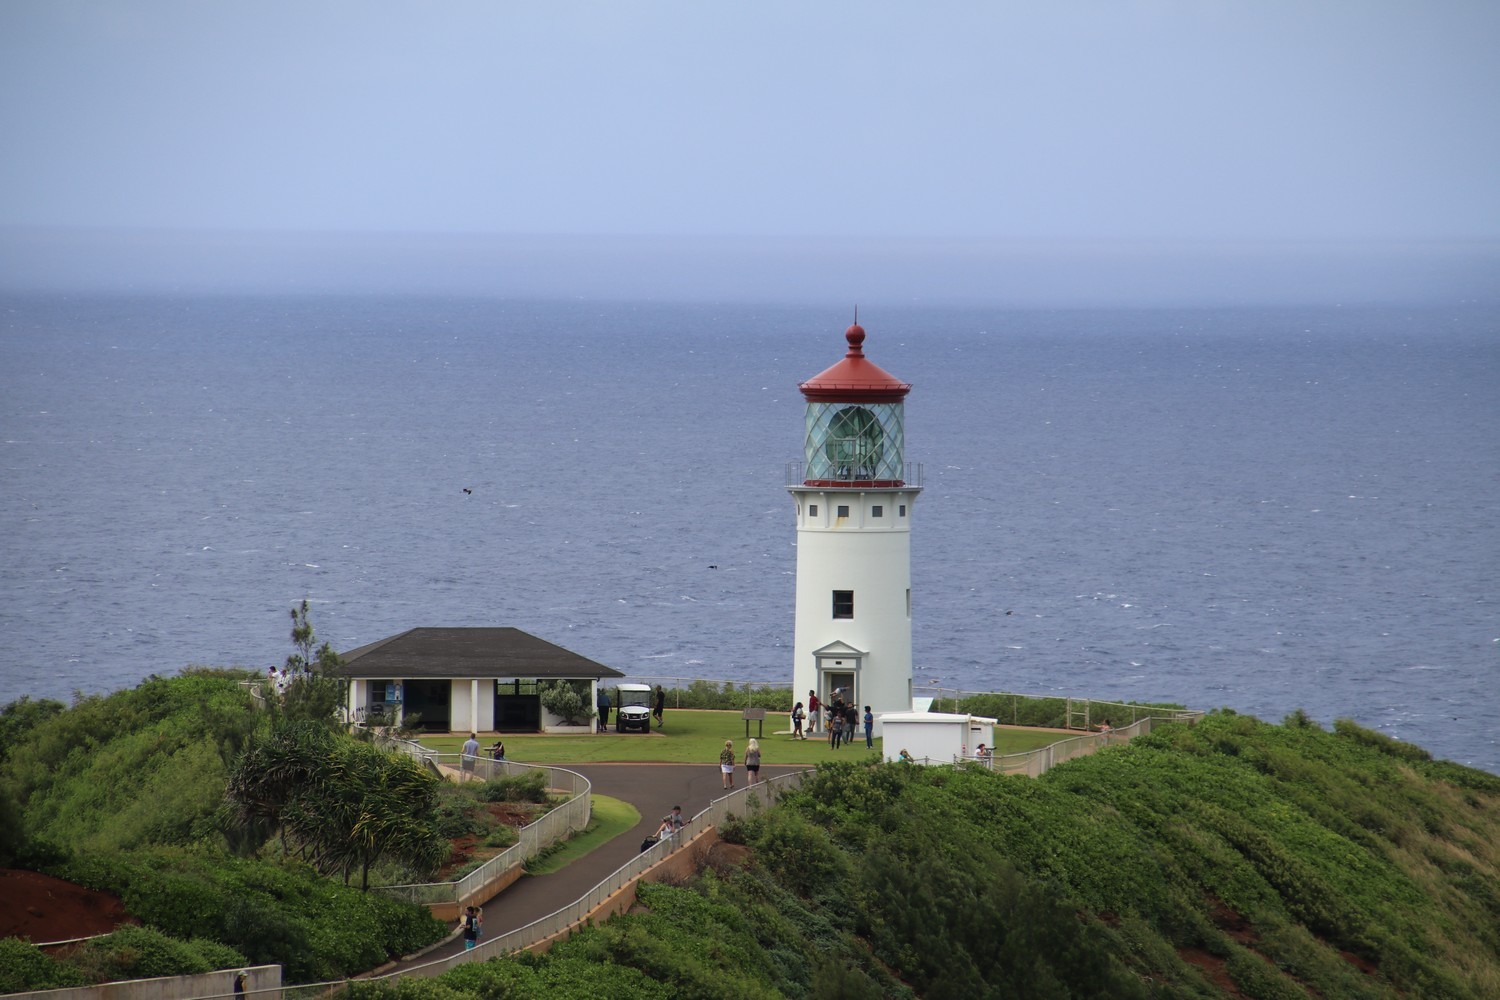
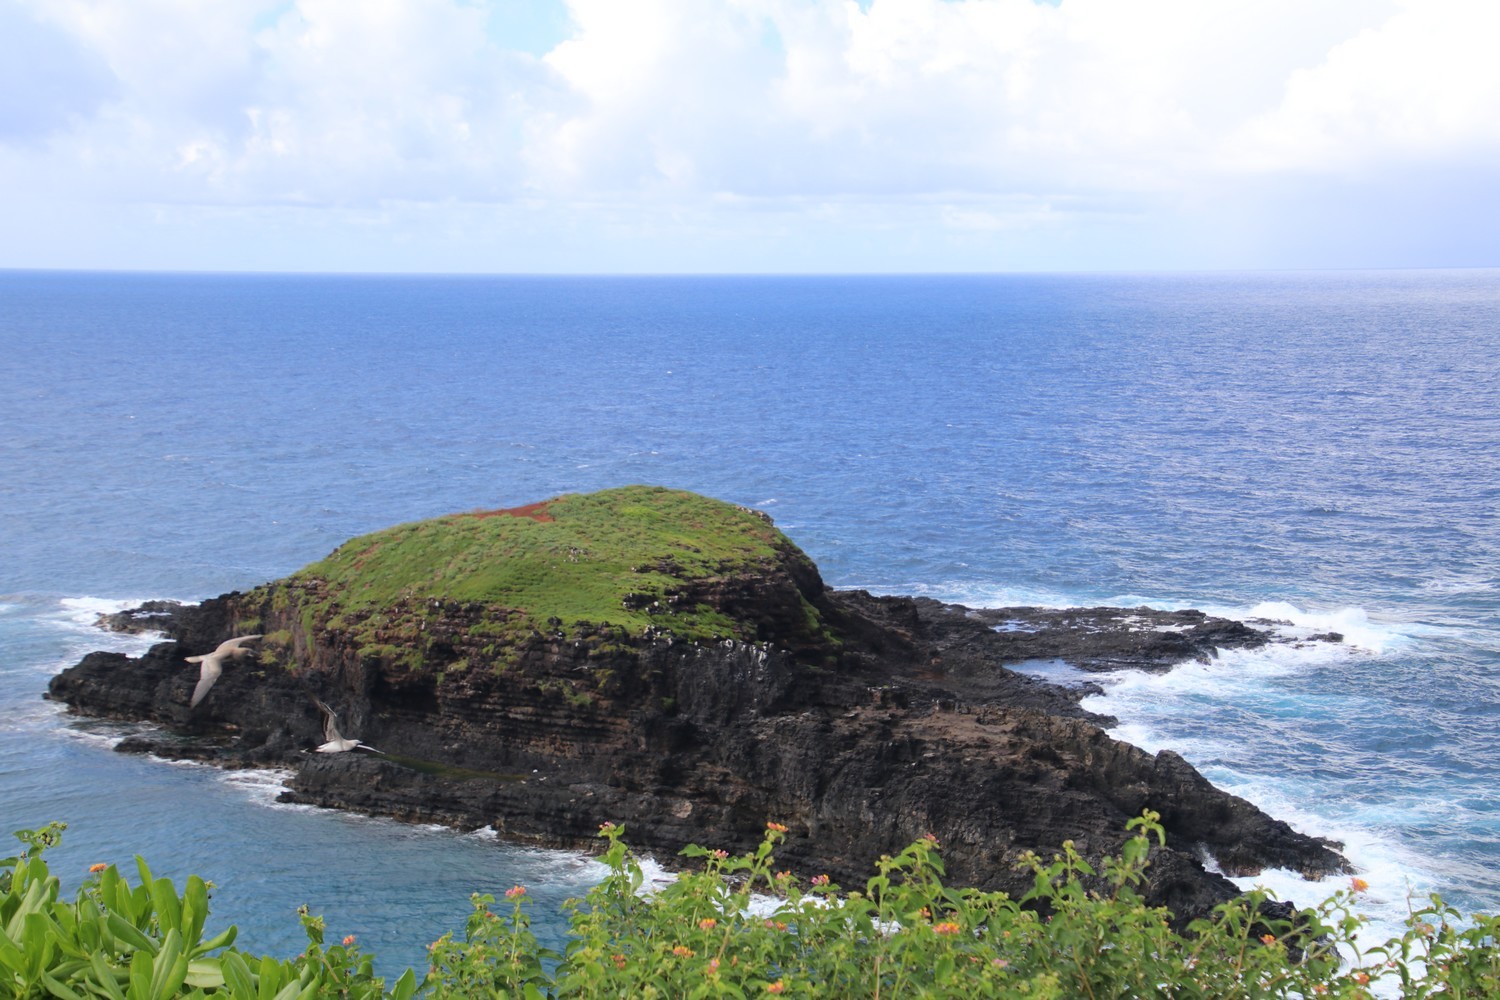
Tip: it’s the only place in the Hawaiian Islands where you can buy the « America the Beautiful » pass. It gives access to all national parks in the United States for 1 year (for 1 car or 4 people where per-person fees are charged). It costs $80 but you can put 2 names on it, so if you know someone who is also planning a trip among America’s national parks, you can share the fee. If you buy the pass, the entrance to the refuge will be free, but if you don’t visit enough parks for the rest of the year, it won’t be a good option. For example, on the Hawaiian Islands, the pass is accepted at the Hawai’i Volcanoes National Park or at the Pu’uhonua o Honaunau Historical Park, both located on Big Island. And it’s also accepted at the Haleakalā National Park located on the island of Maui.
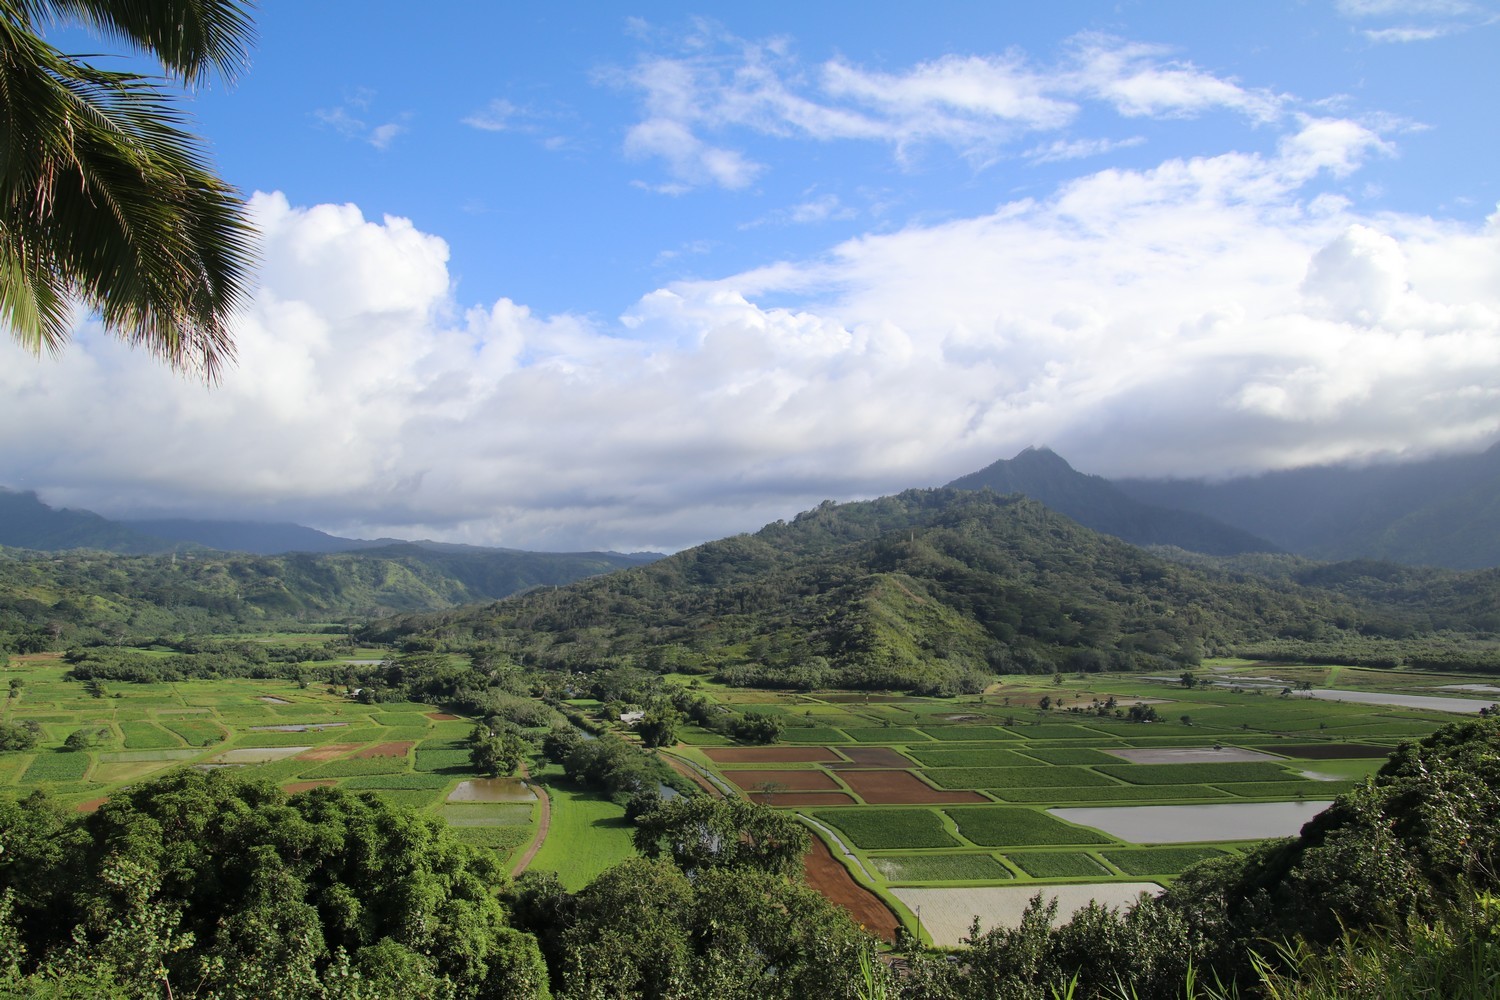
Once you’re done visiting, continue driving towards Hanalei Bay. On the road you can stop at the Hanalei Valley Lookout which overlooks taro fields. And a little further on the road, located in a curve, you can also stop at the Hanalei Bay Lookout.
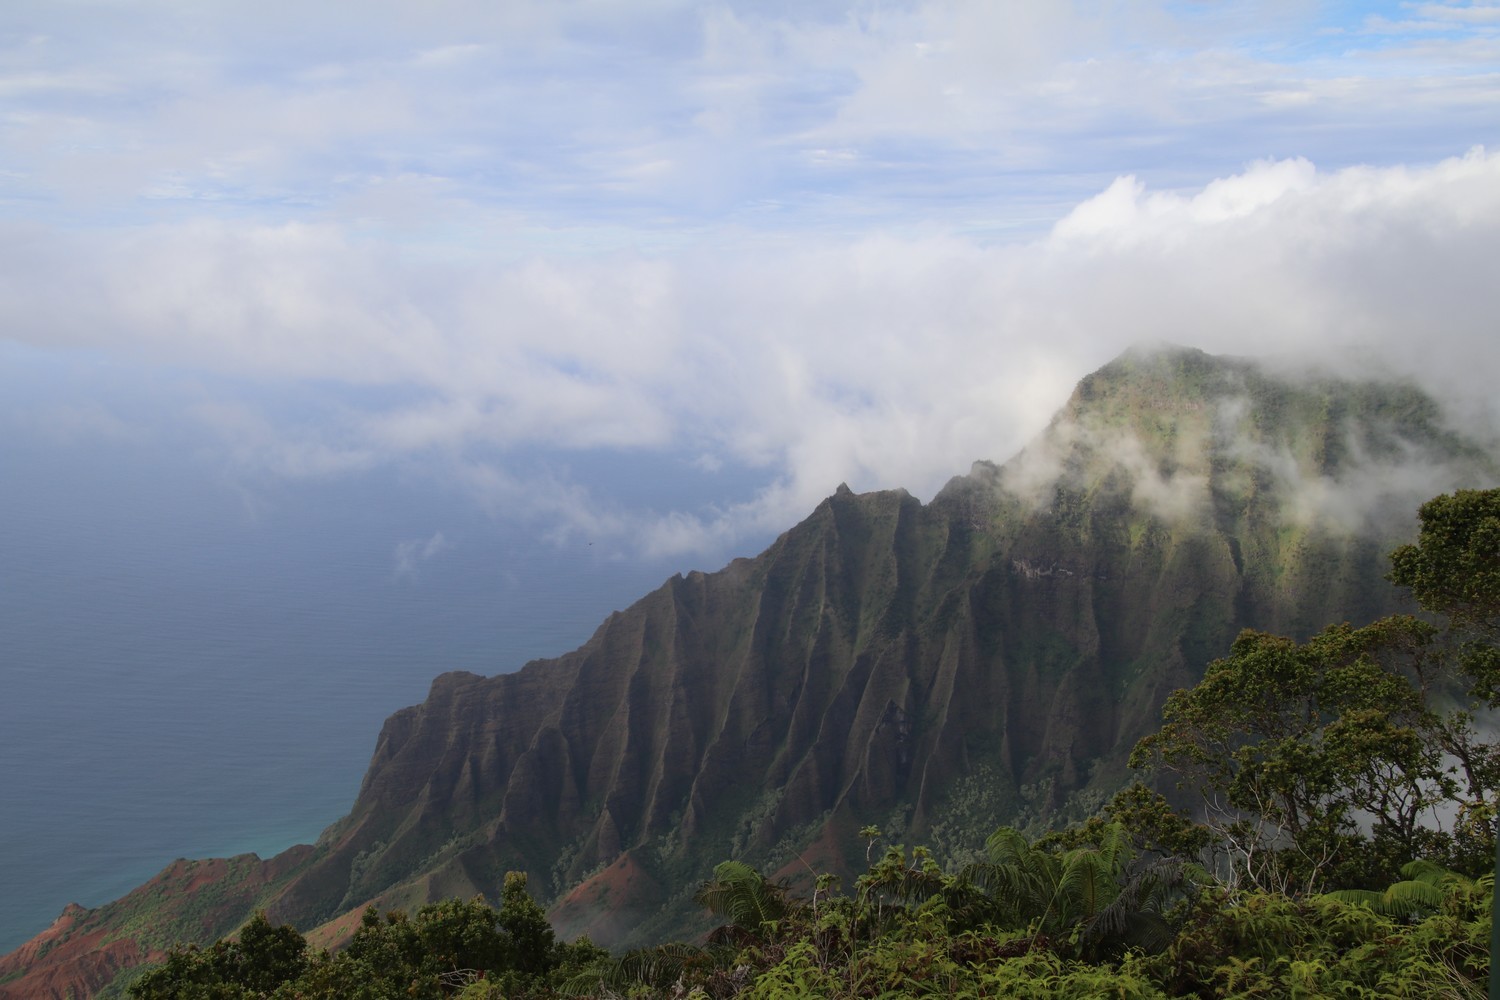
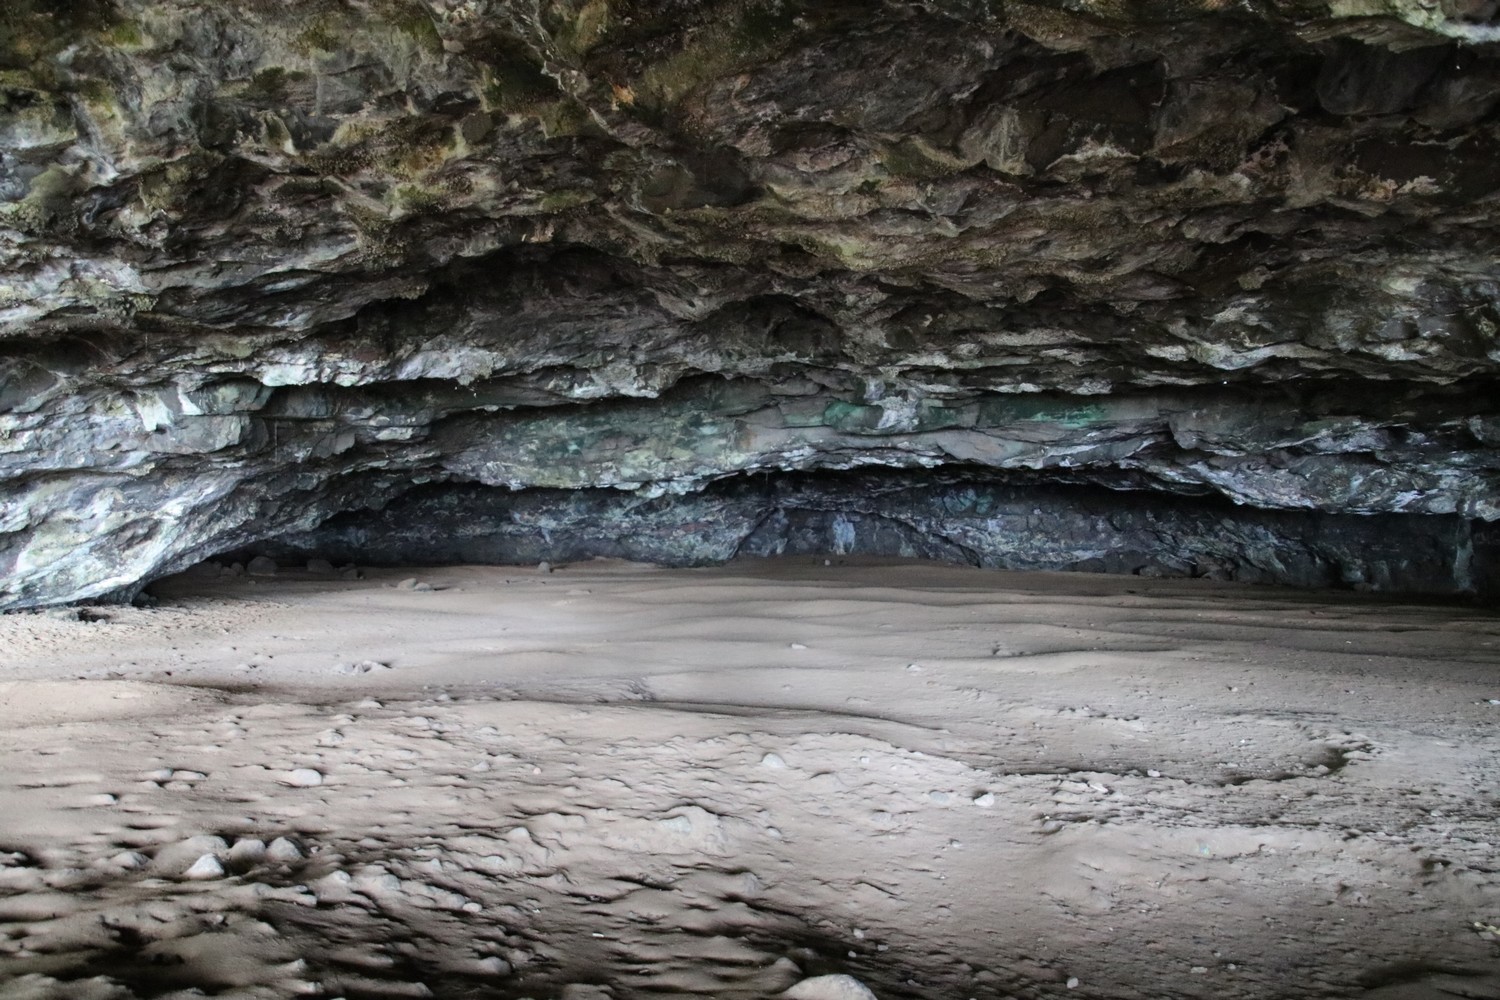
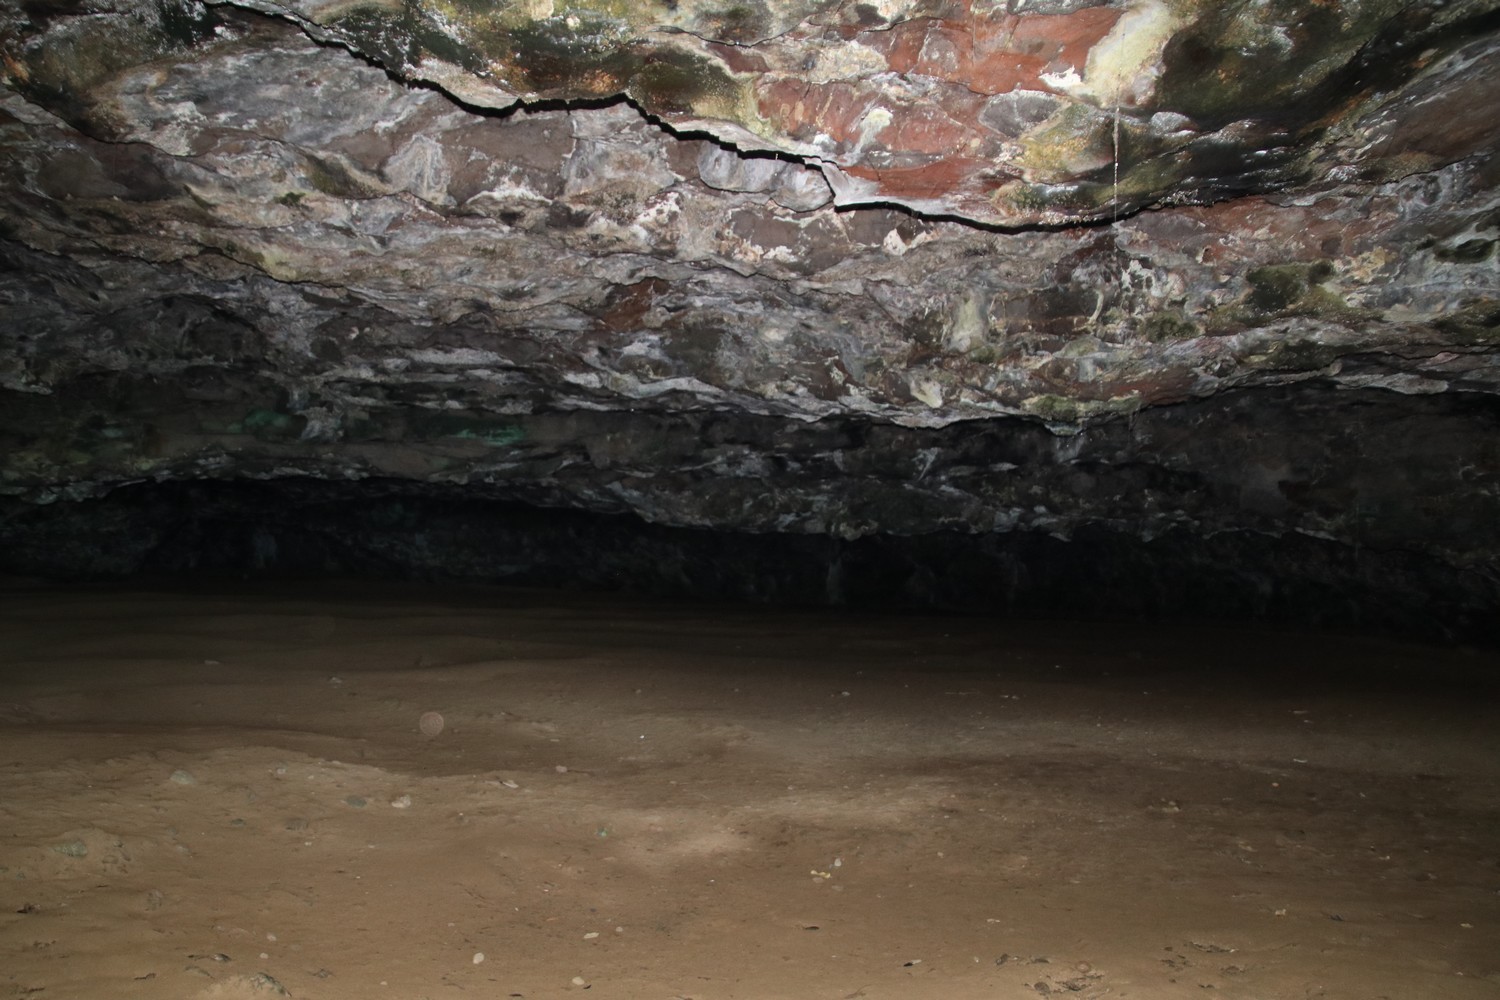
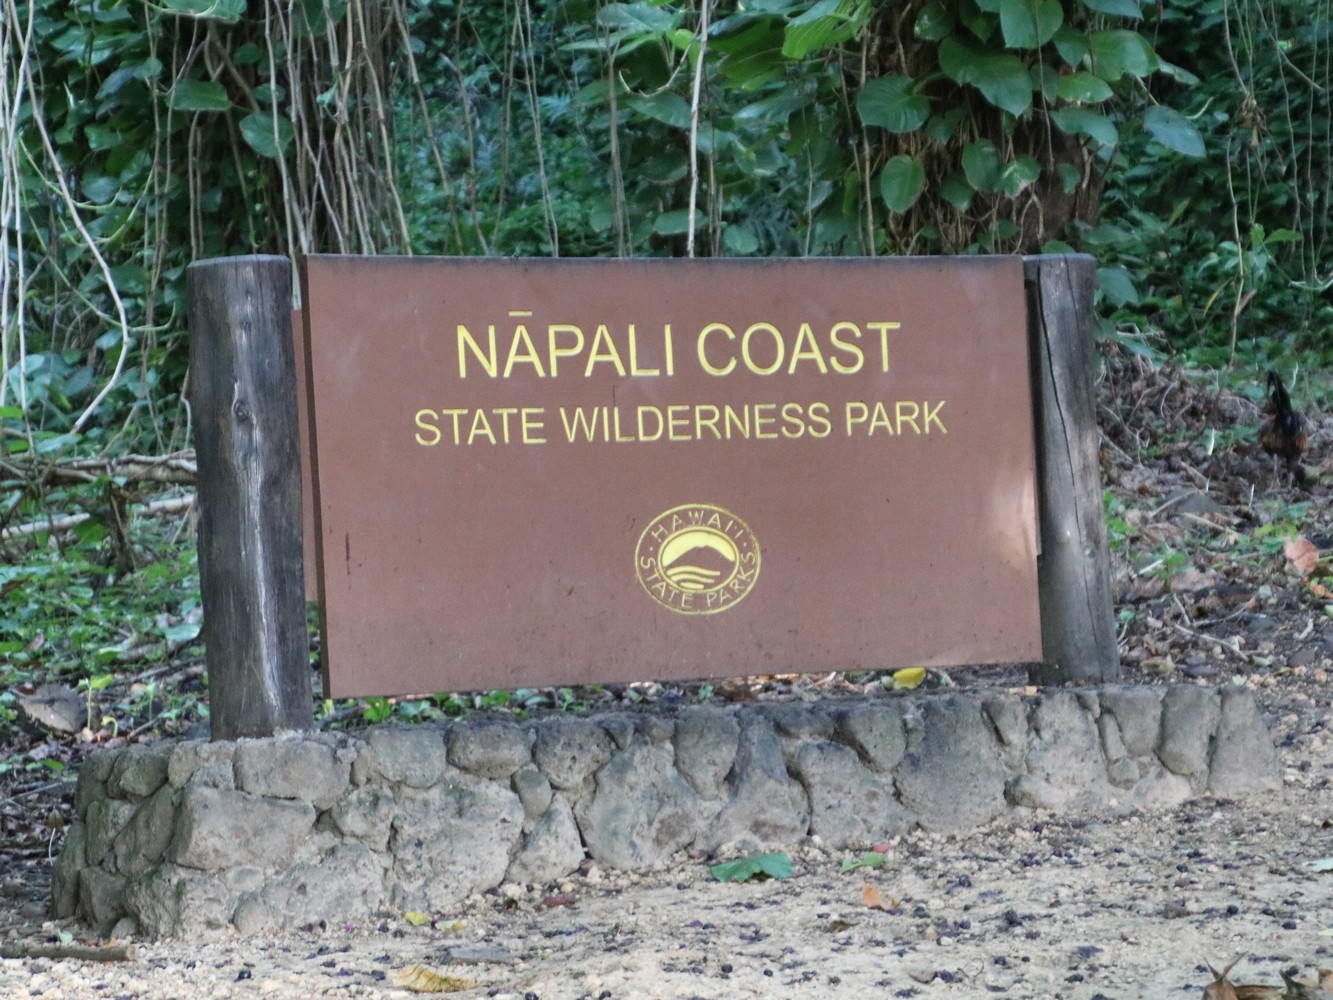
Then, you’ll have to drive until almost reaching the Na Pali Coast, where the road of the north shore ends. And go towards Haena State Park which houses the Maniniholo Dry Cave.
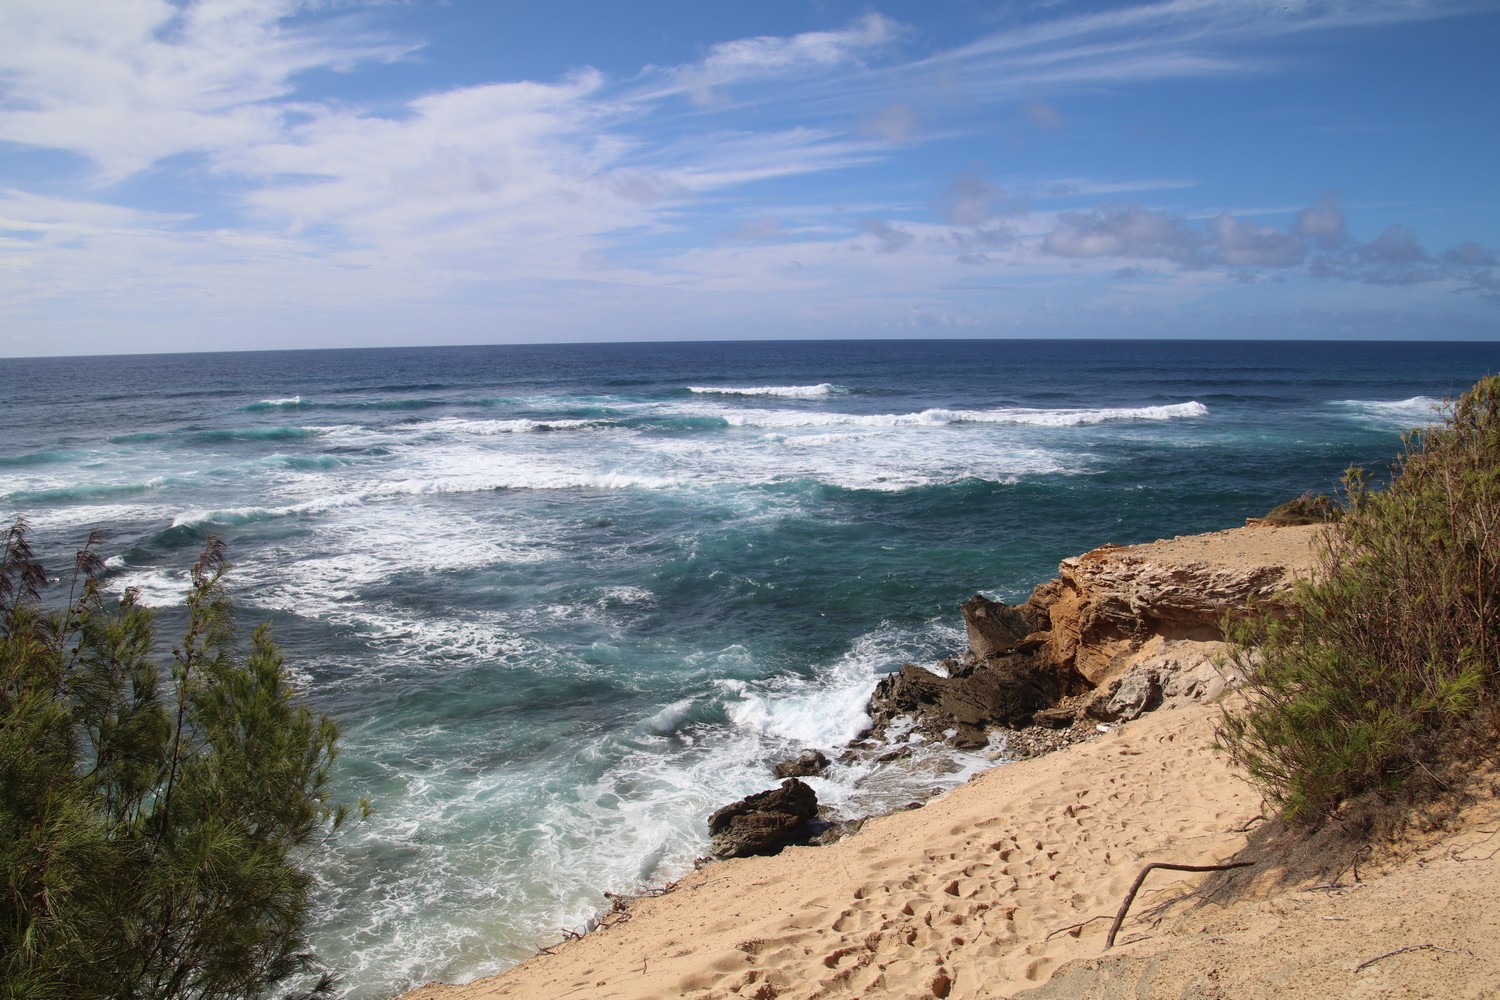
Then, it’ll be time to reach the last stop of the day: the Na Pali Coast and Ke’e Beach. Once there, you can attempt the first mile of the very difficult Kalalau Trail (or more than the first mile if you’re motivated) which allows you to climb the Na Pali Coast and enjoy the view. Finally, when coming back from the hike, head to Ke’e Beach where you can watch the sunset.

Day 2: south shore
Tip: you can also click on the link down below from your smartphone, to open the itinerary to follow on google maps: « south shore » tour
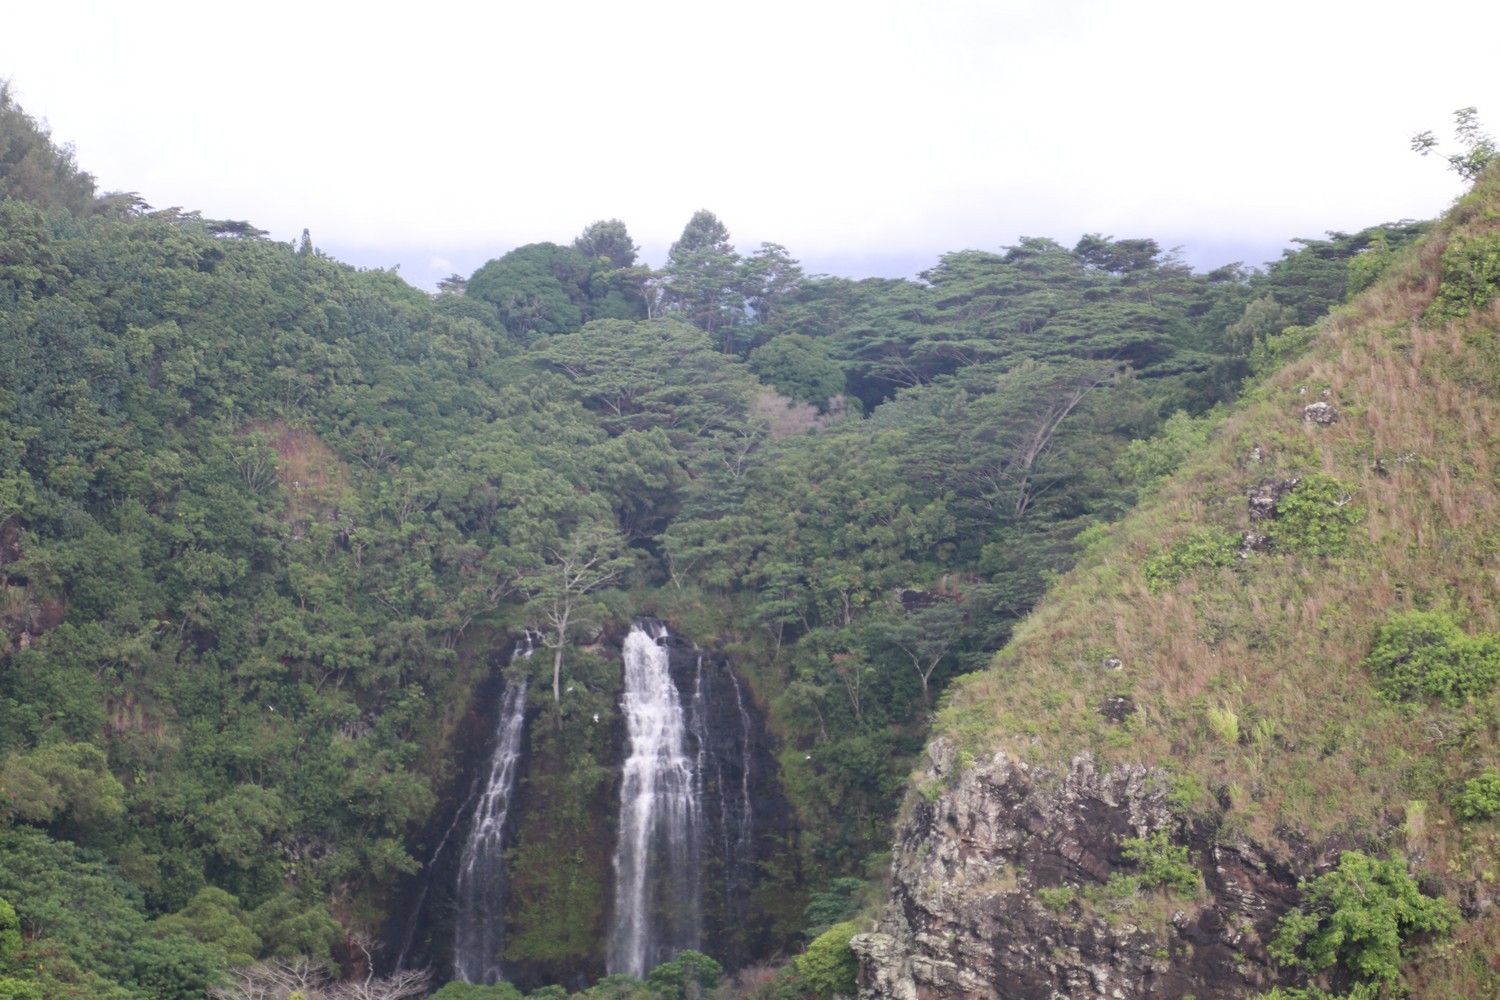
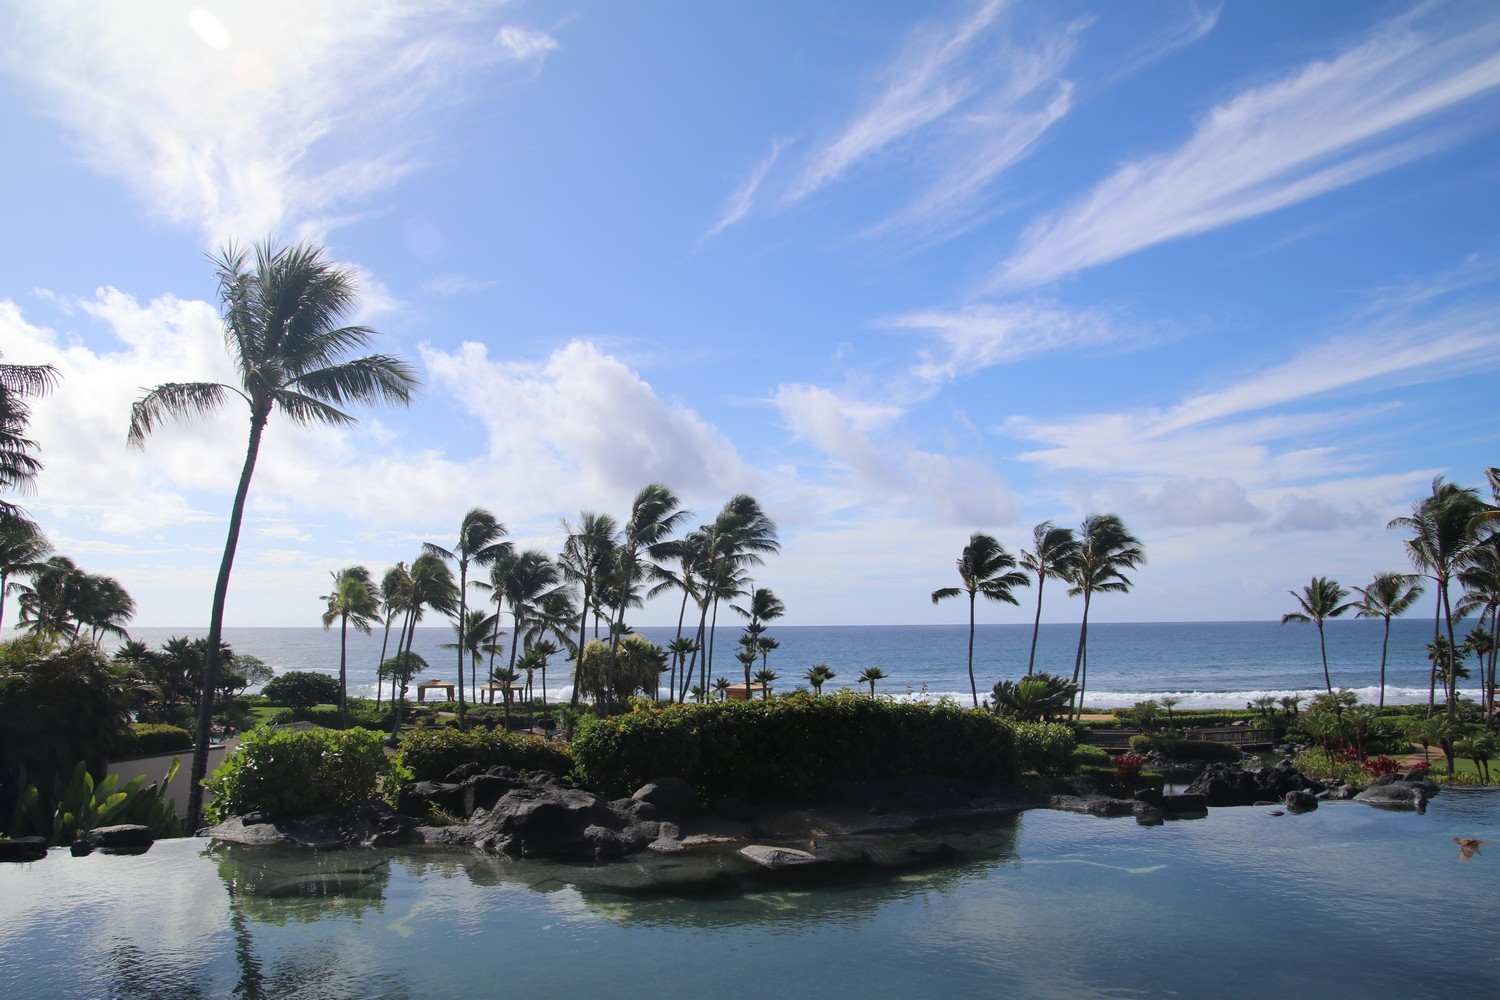
To start this second day, you’ll need to go to the Grand Hyatt Hotel located in Koloa. If you are coming from the north or east of the island, you can stop by the Opaeka’a Falls first. And before getting to Koloa, don’t miss the Tree Tunnel Road, it’s pretty nice. Once at the Grand Hyatt (you can park in the hotel parking lot), walk through the hotel in order to access the Maha’ulepu Cliff Trail. The trail leads to Gillin’s Beach and to get back to your car, you’ll just have to turn back.
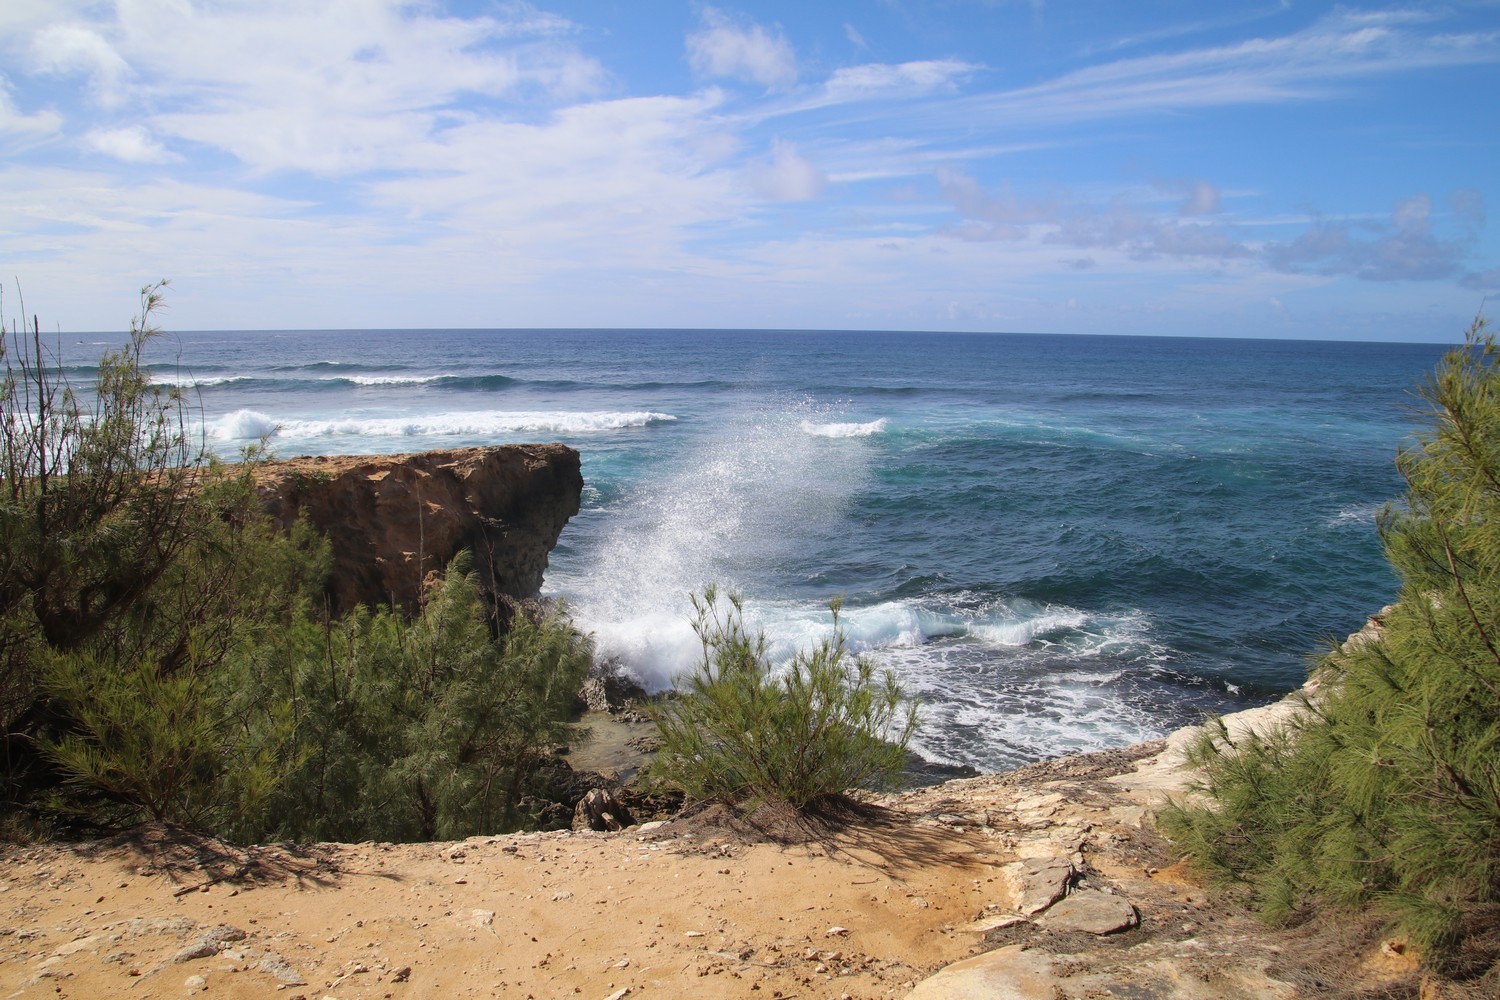
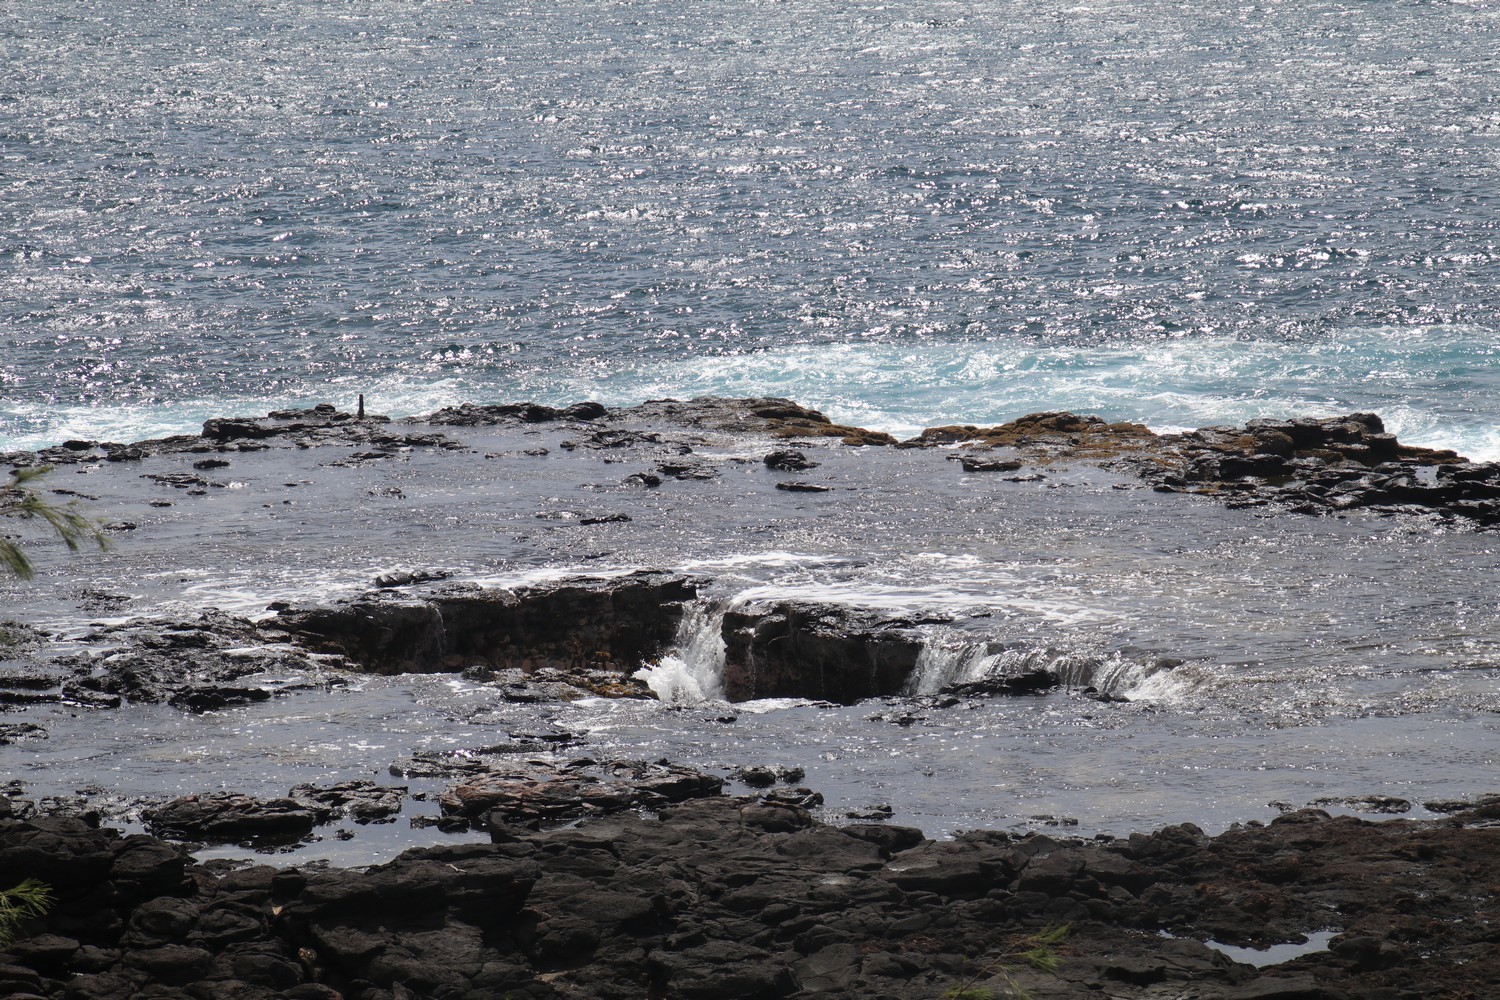
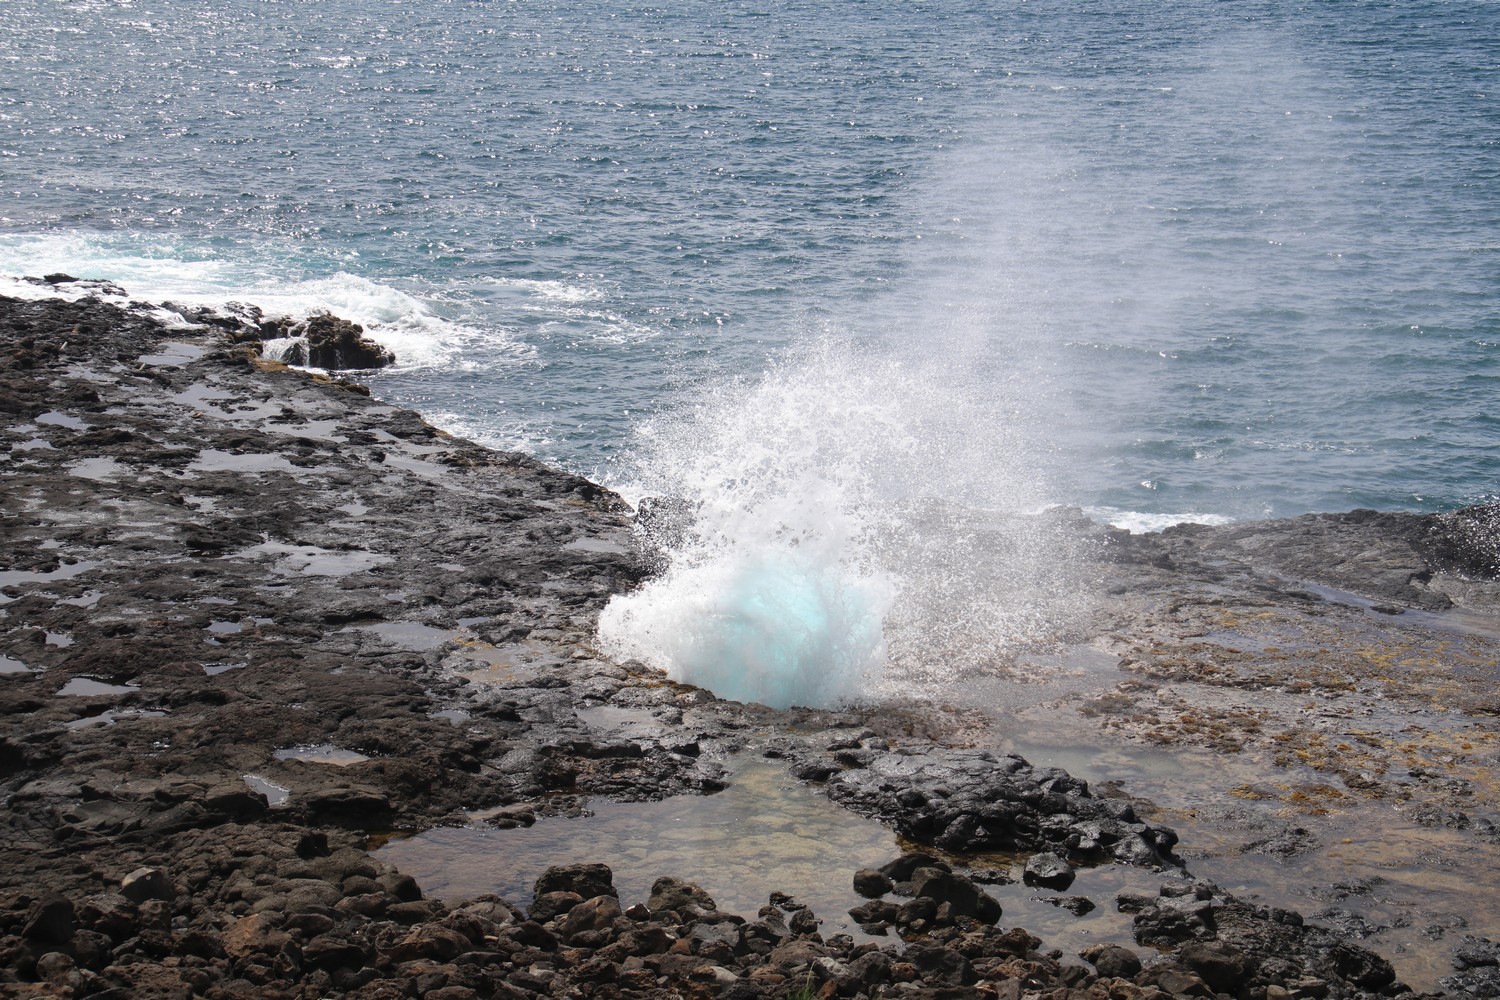
Once the hike is over, continue driving along the south shore. You’ll then arrive at Spouting Horn, it’s a hole in the rock where water comes in and creates a kind of geyser. It’s pretty funny to watch.
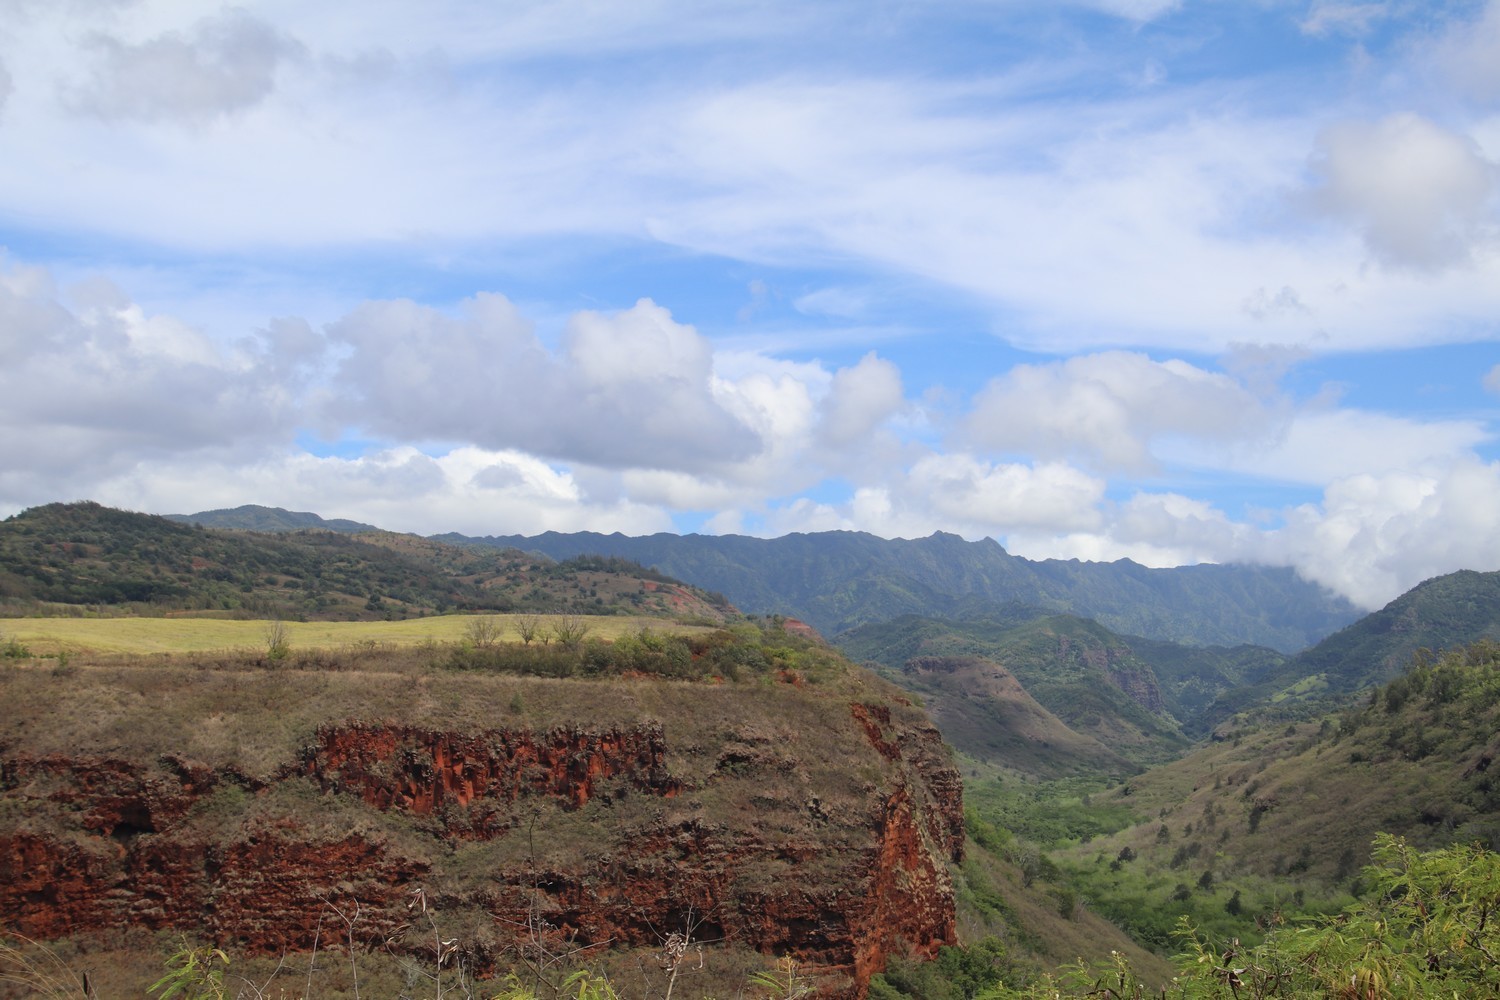
Then, head to Hanapepe Valley Lookout where you might recognize the Jurassic Park filming location! The view is pretty impressive.
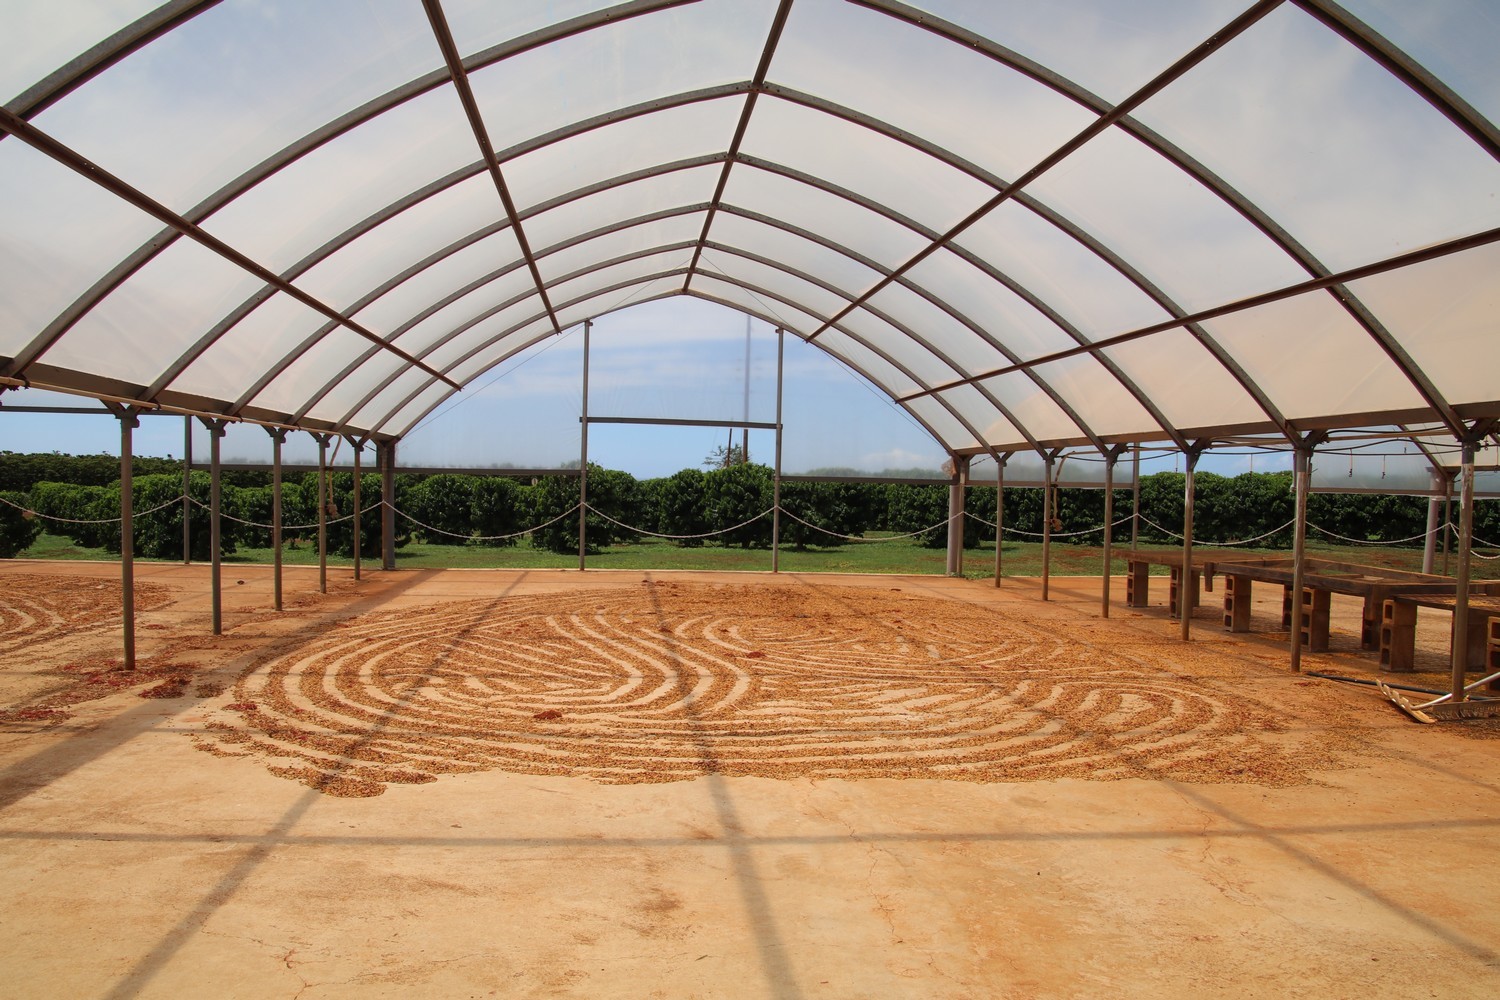
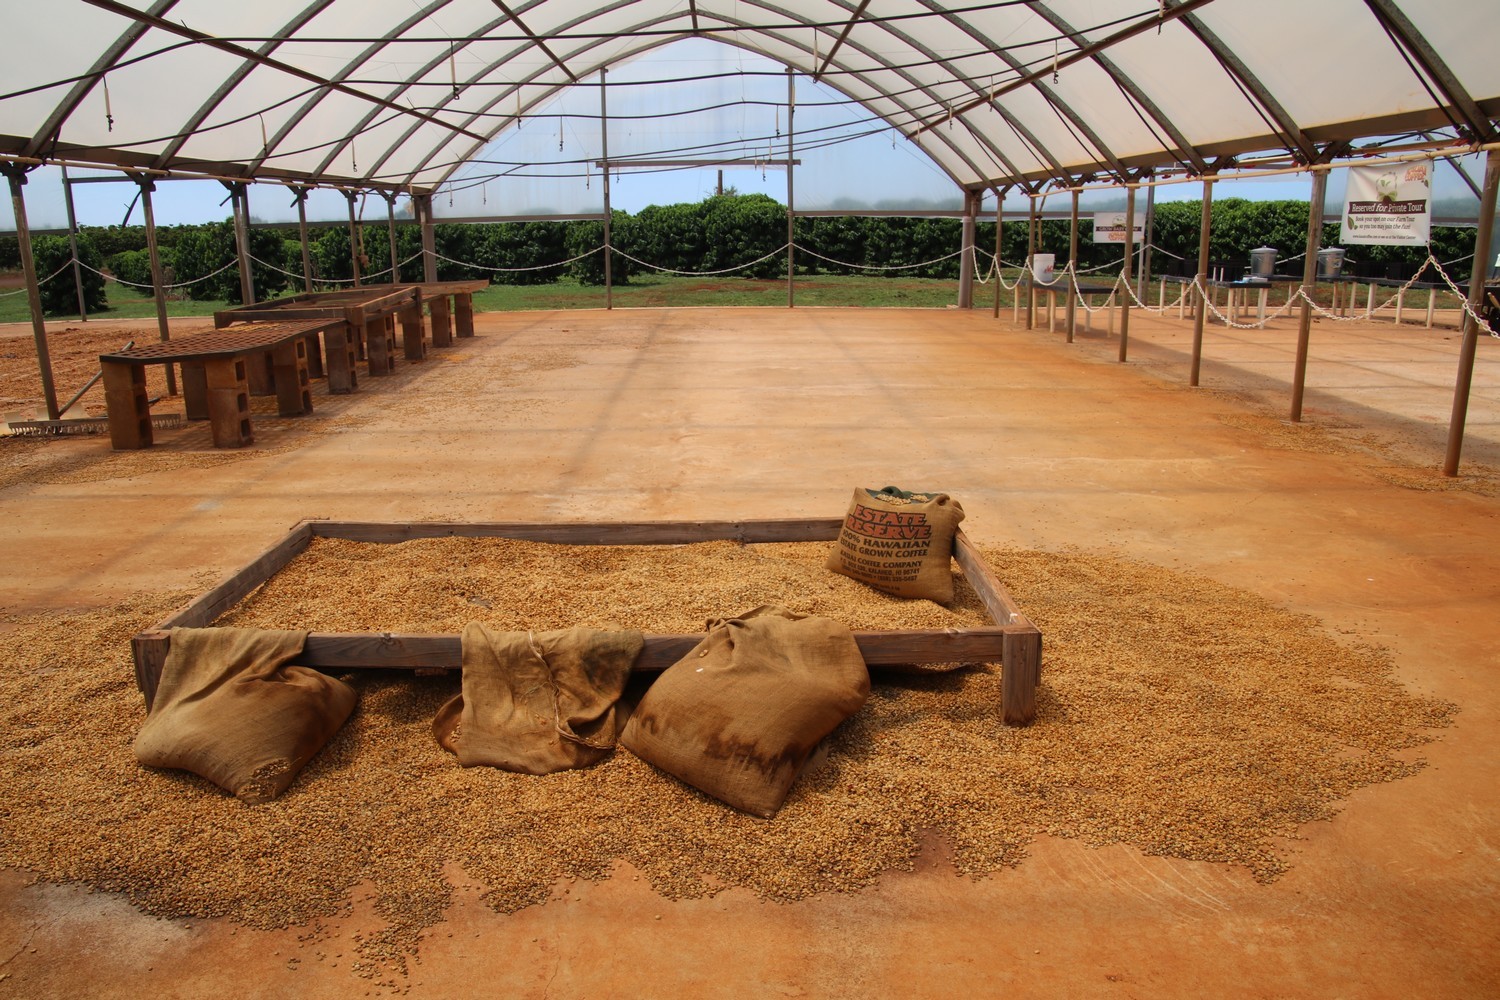
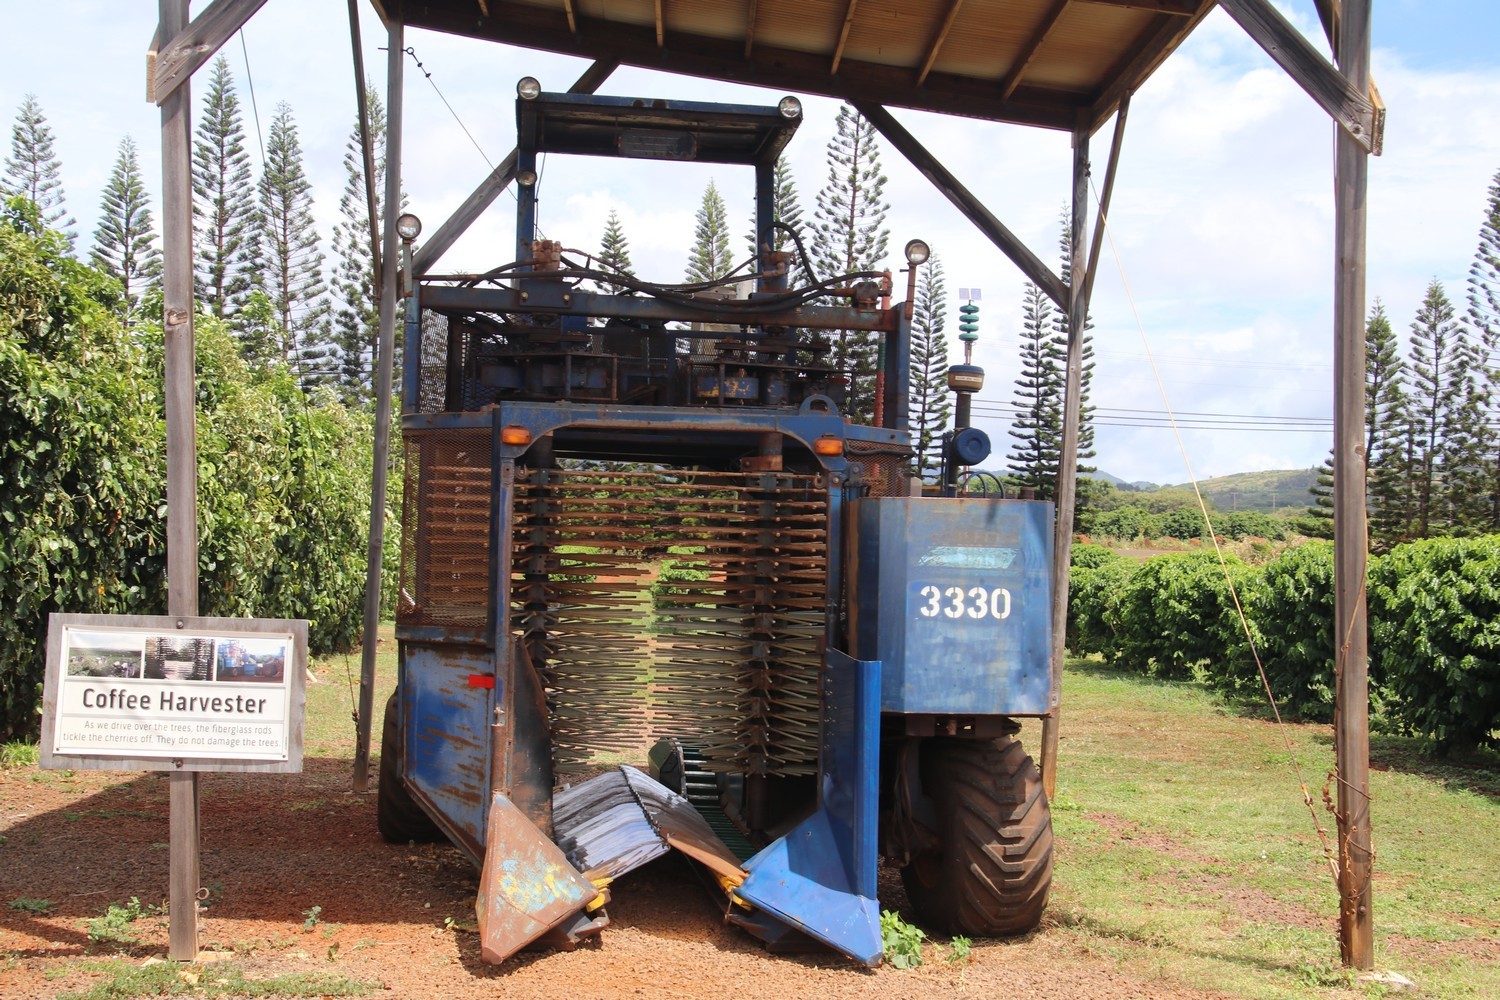
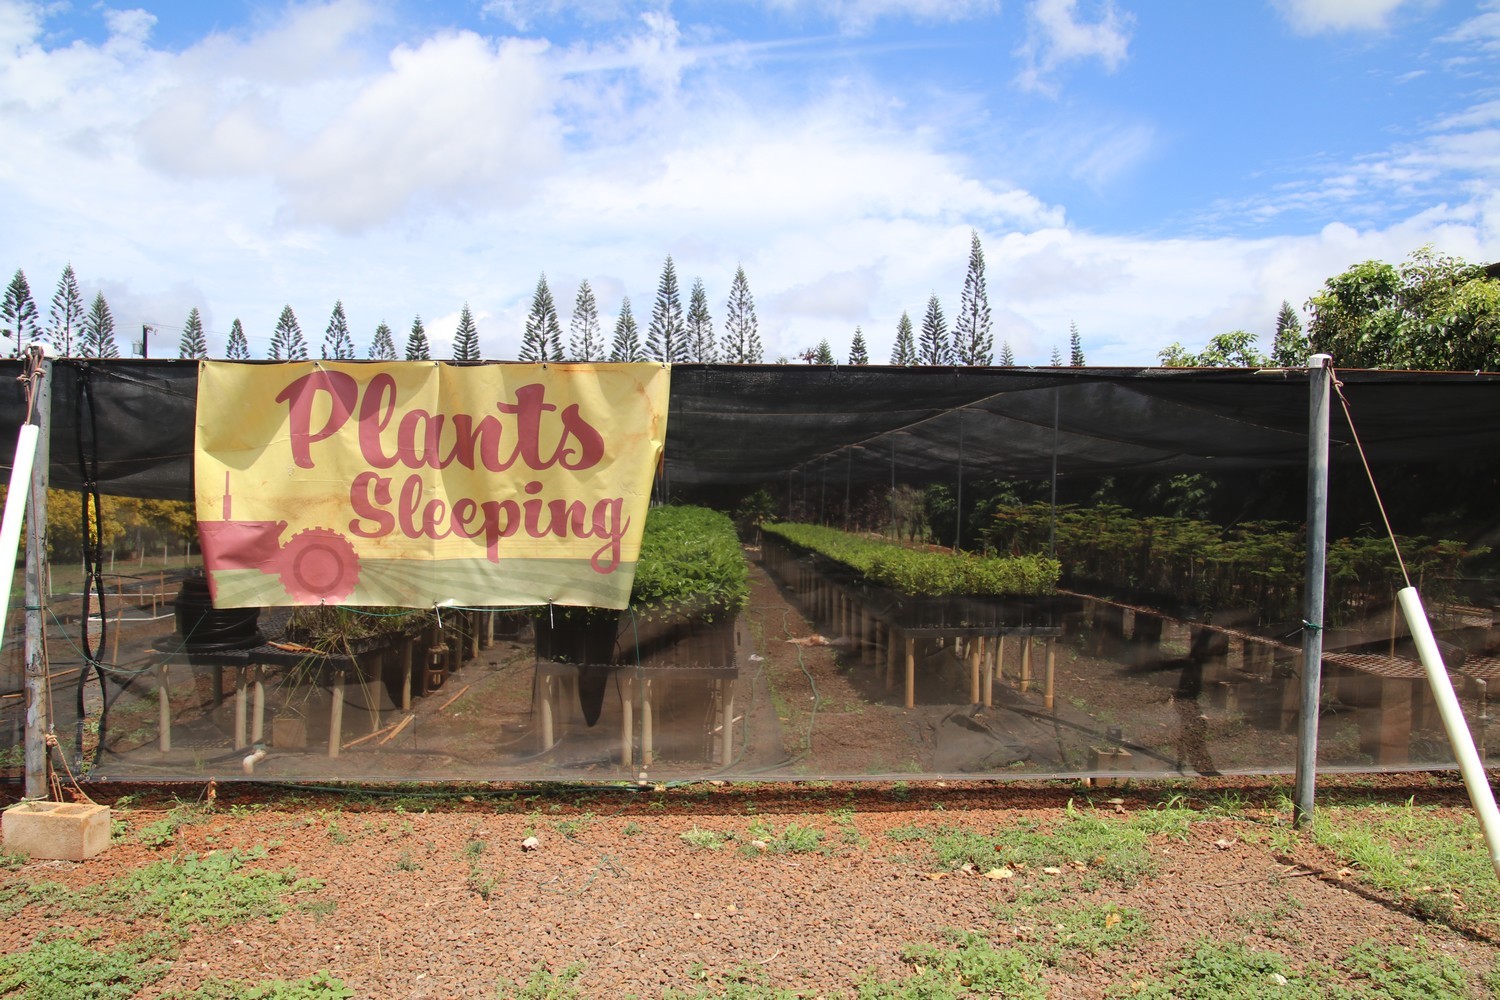
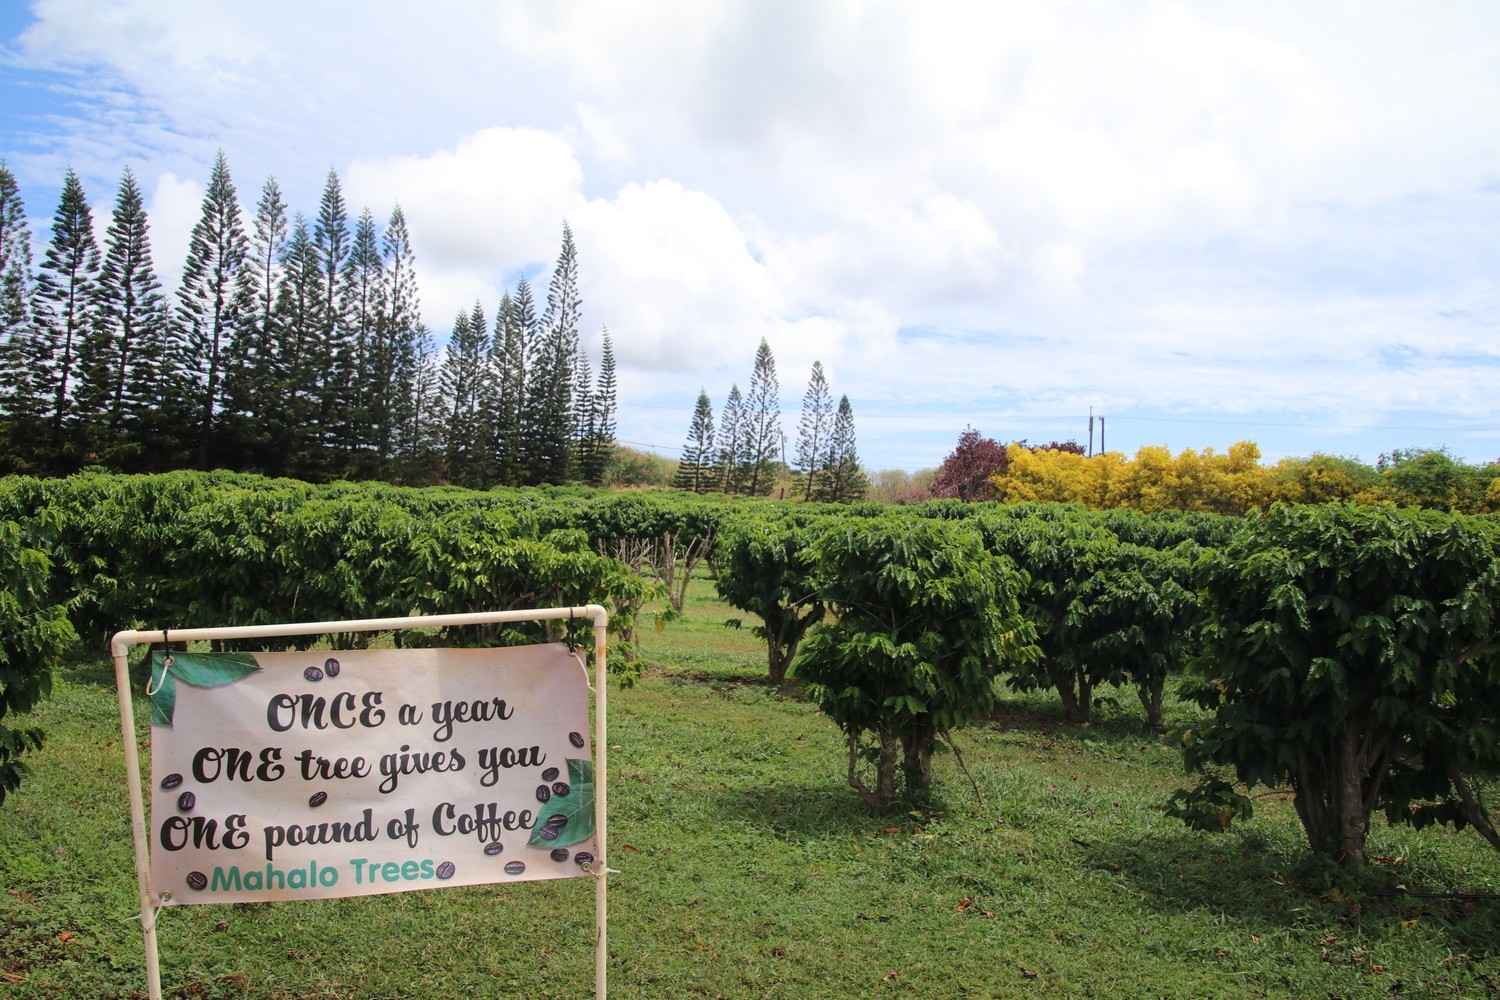
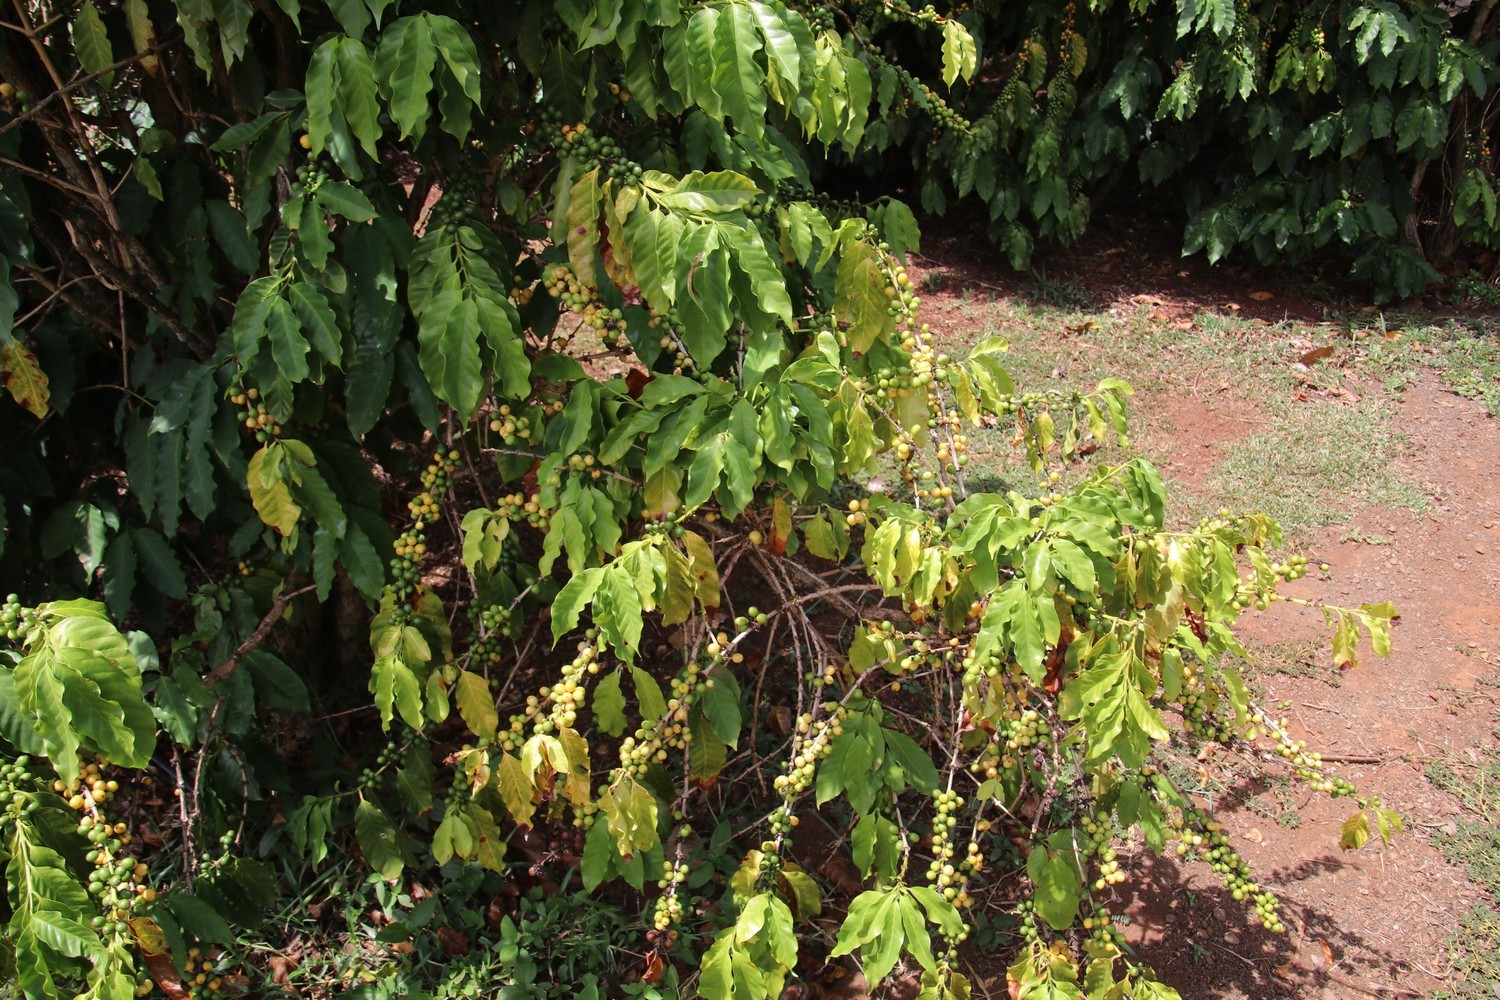
Then, go for lunch before heading to the Kauai Coffee Company Plantation. However, it’s also possible to eat at the plantation as there is a kind of small fast food overthere.
While there, you can take a free guided tour in order to visit the plantation and learn more about the manufacturing process. Tours take place every day at 10 a.m., 12 p.m., 2 p.m. and 4 p.m. In addition, you can taste for free, all the varieties of coffee produced at the plantation. And if you like them, you can go to buy some at the gift shop!
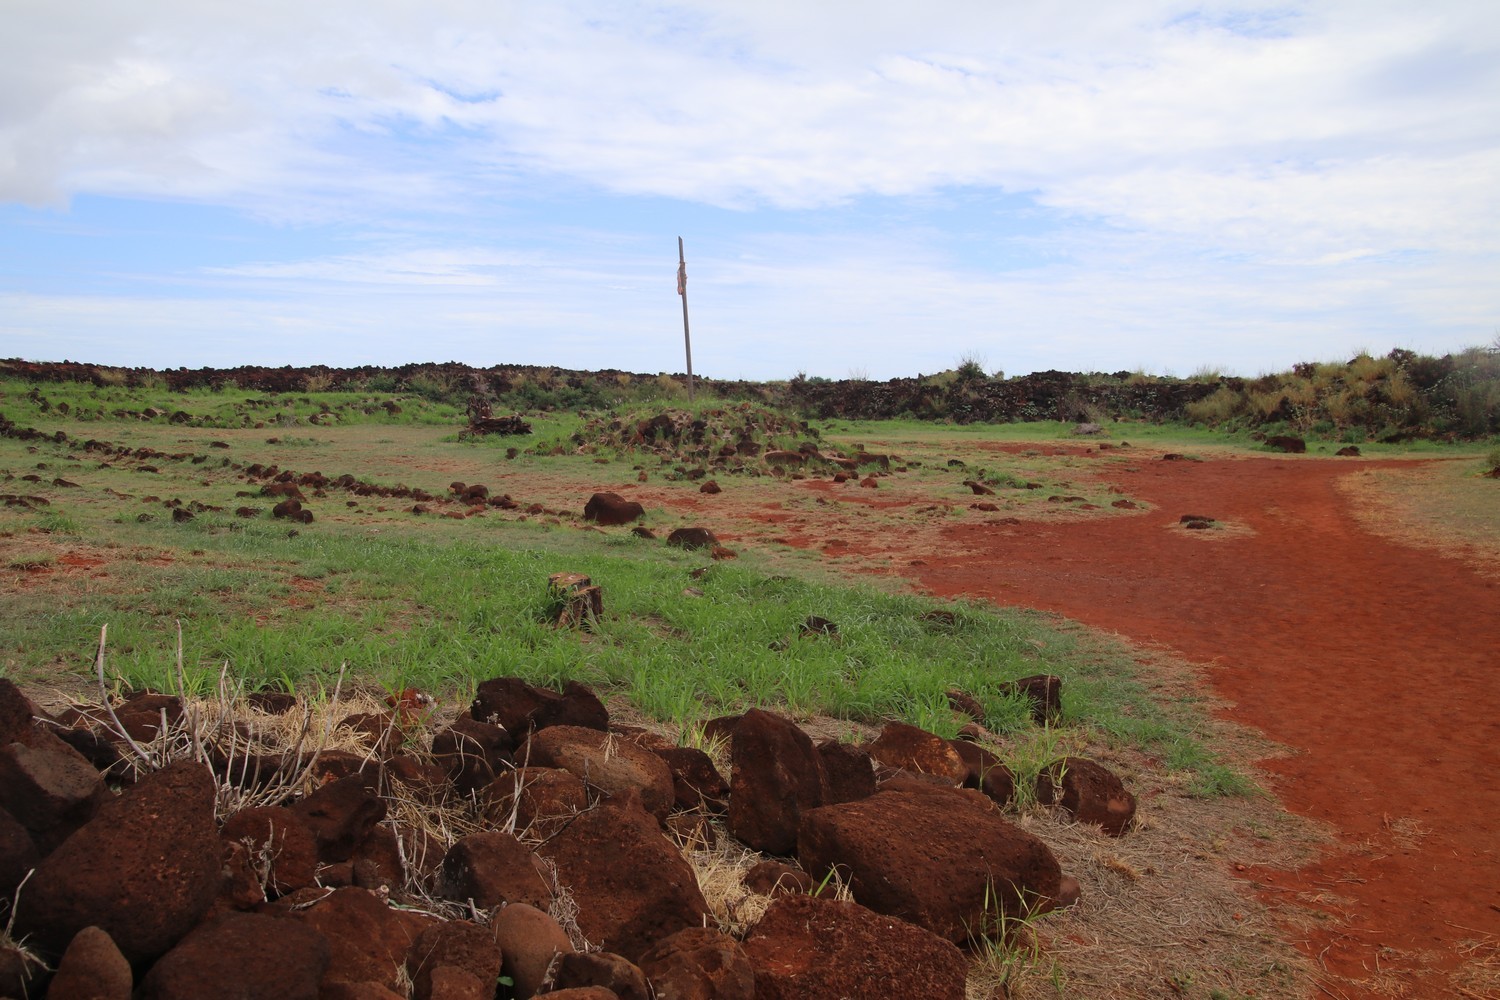
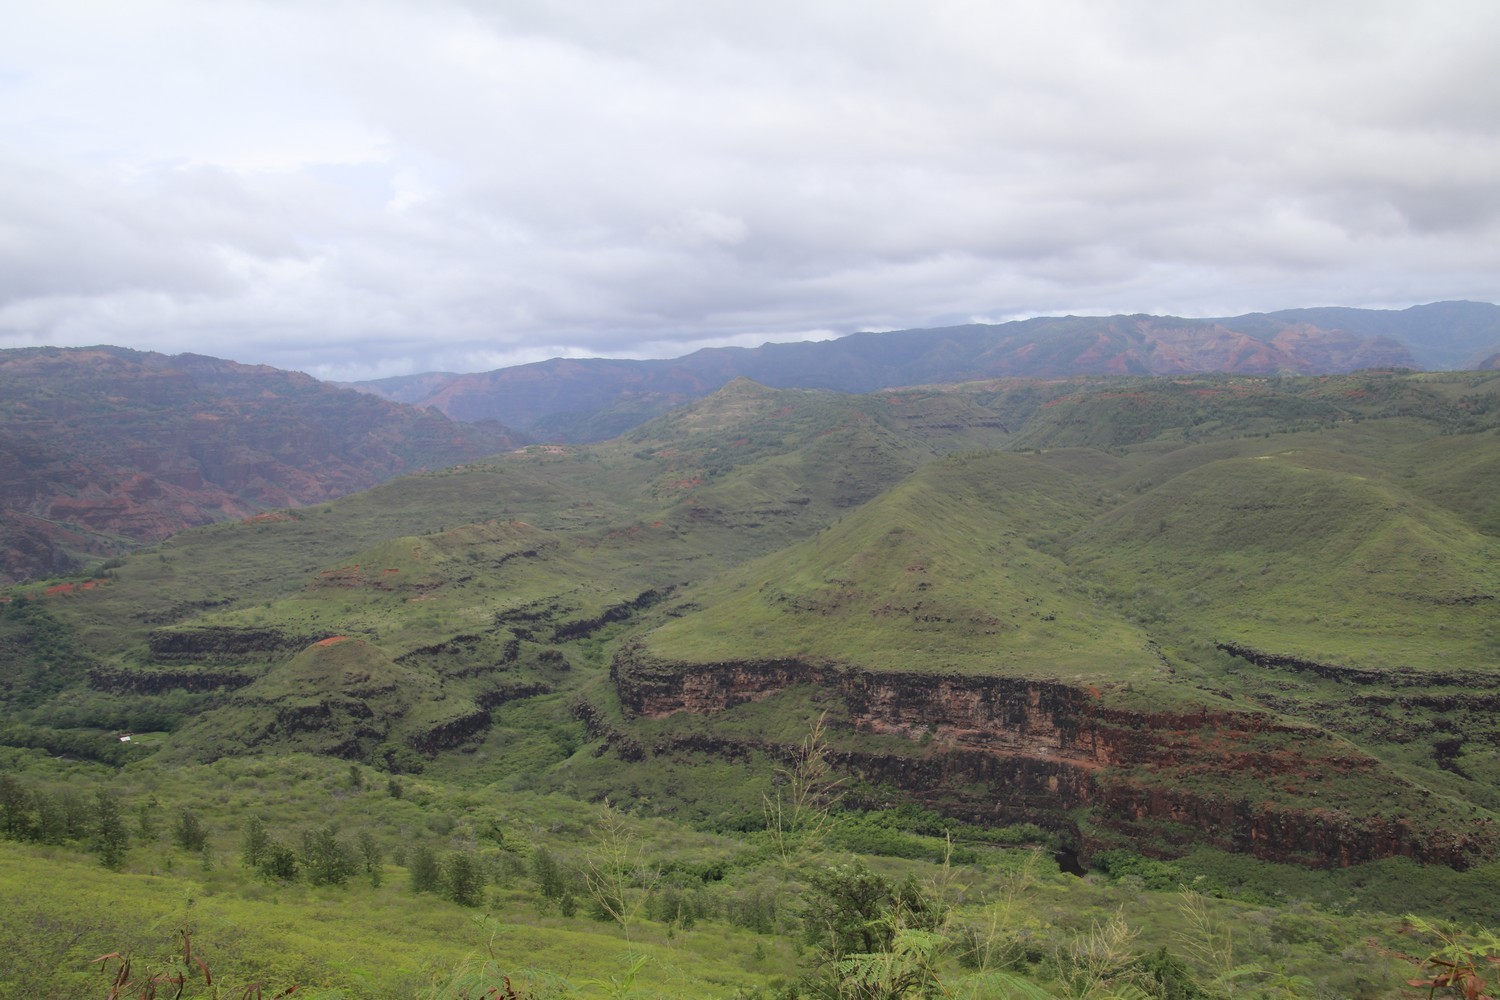
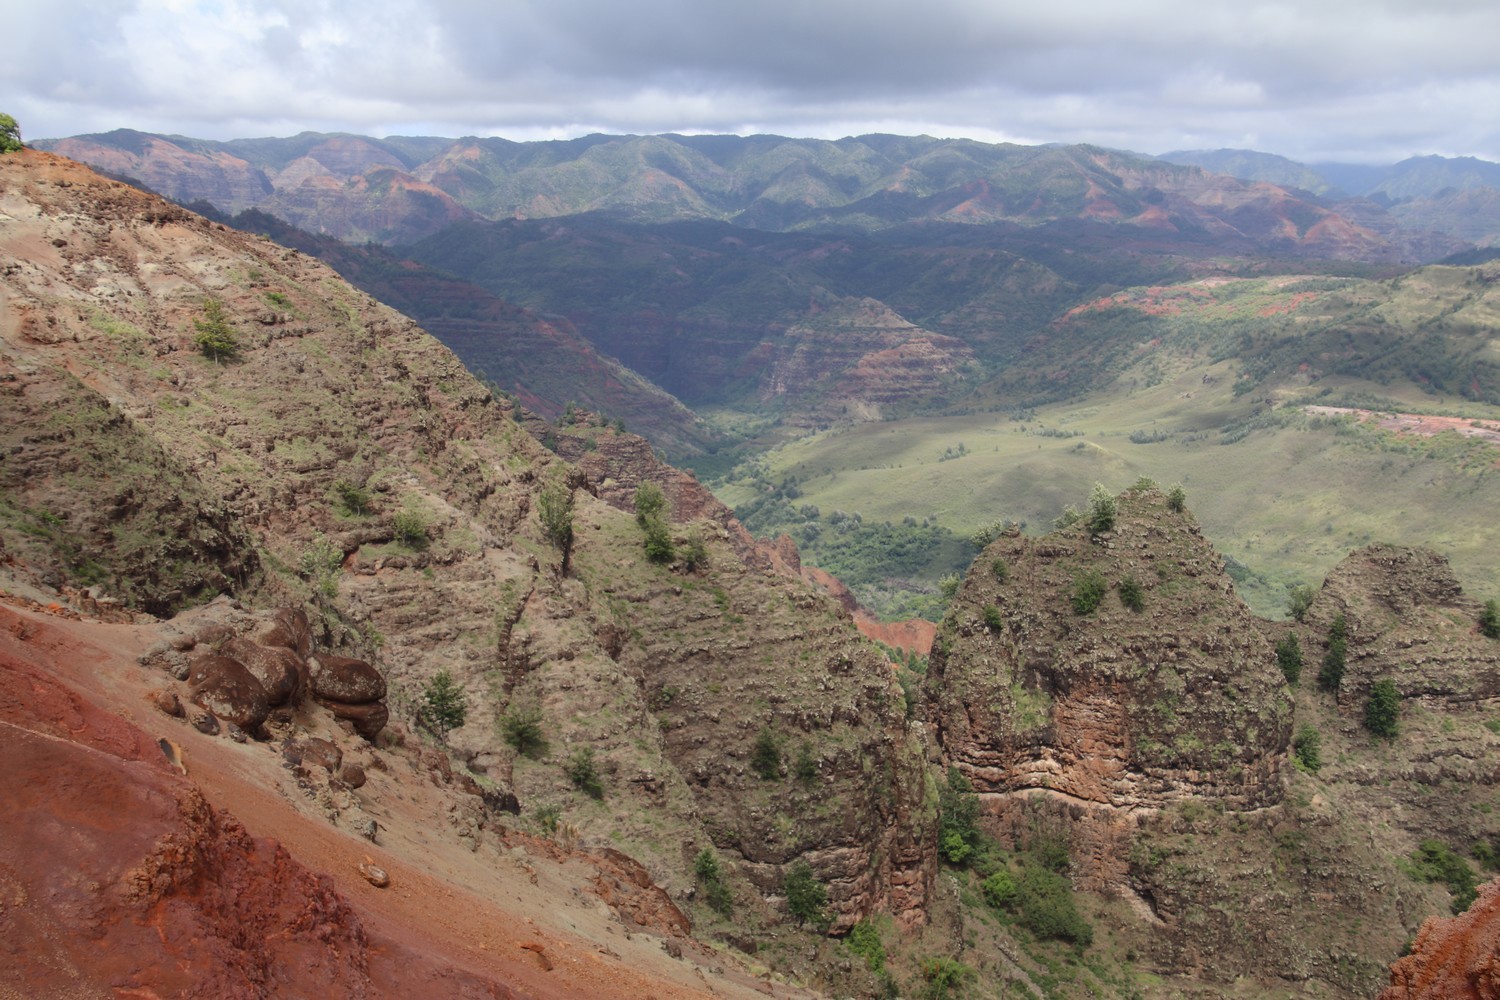
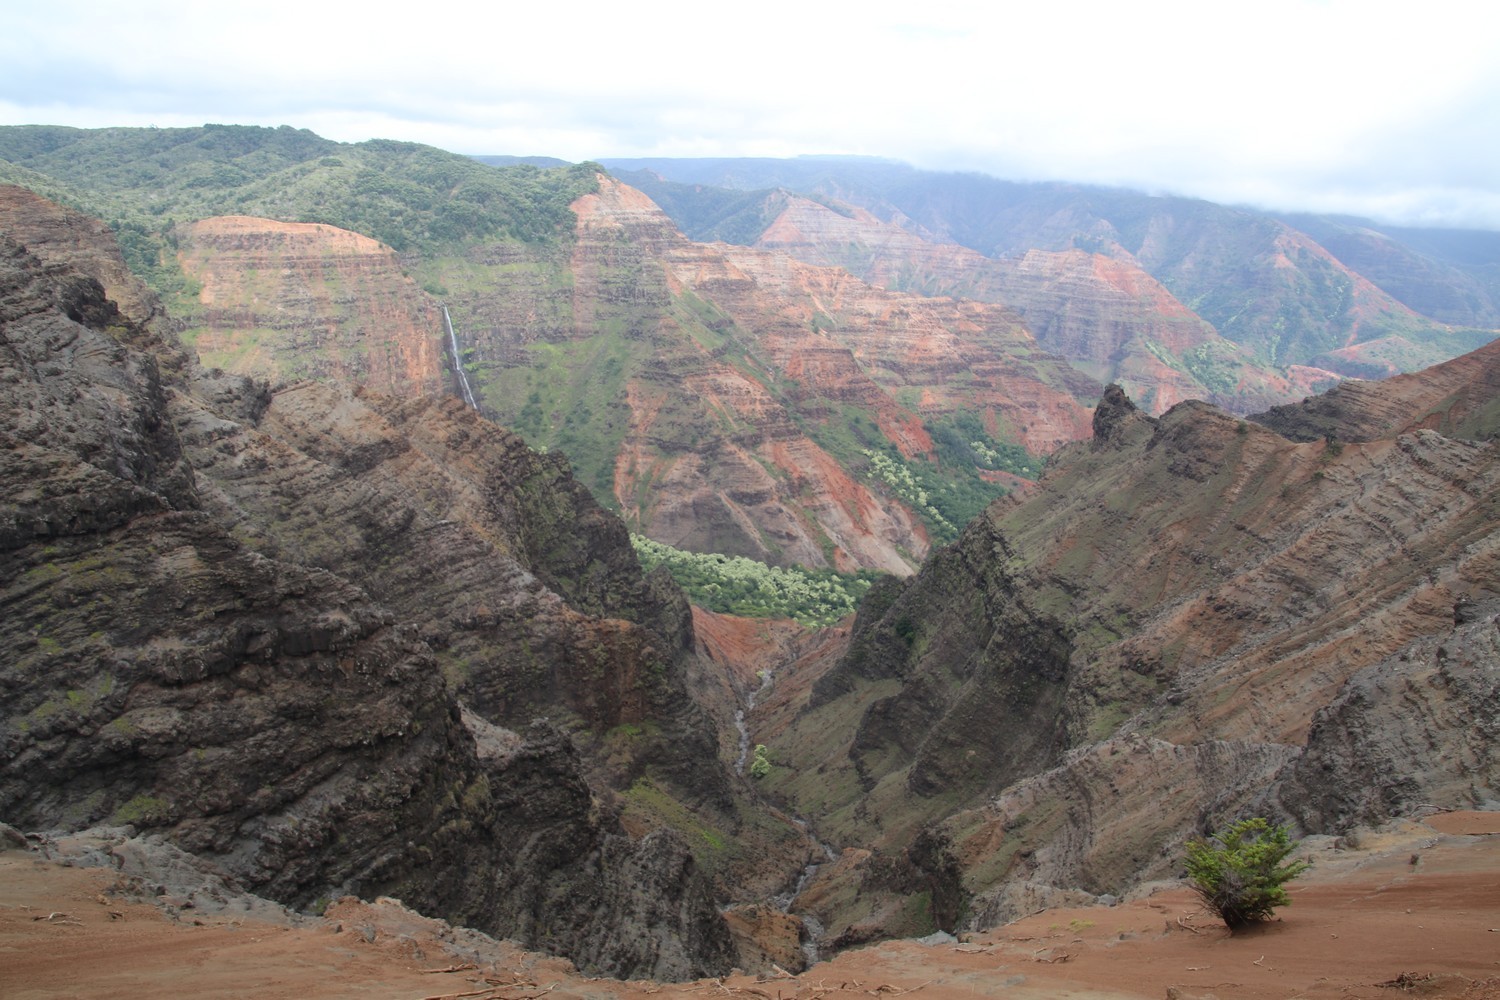
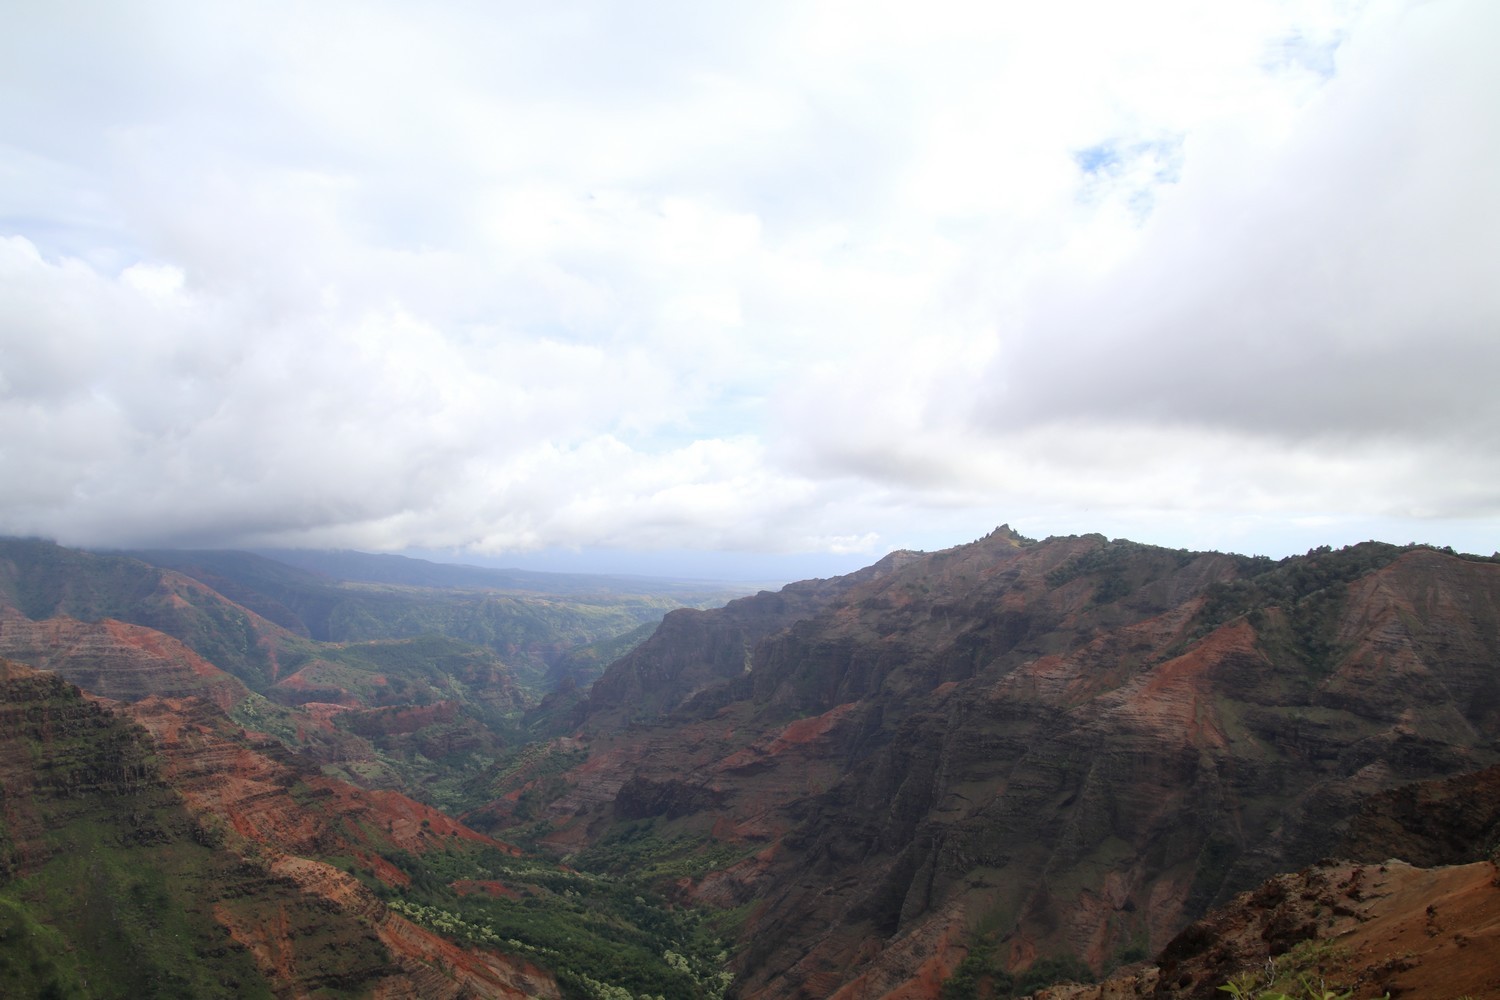
For the afternoon, head towards the Waimea Canyon also known as the Grand Canyon of the Pacific. But just before taking Waimea Canyon Drive, stop at Russian Fort Elizabeth State Historical Park in order to visit the ruins of the fort.
Then, take Waimea Canyon Drive where you can make many stops along the way, sometimes for short hikes, sometimes for overlooks.
Tip: you can also click on the link down below from your smartphone, to open the itinerary to follow on google maps: « Waimea Canyon Drive » tour
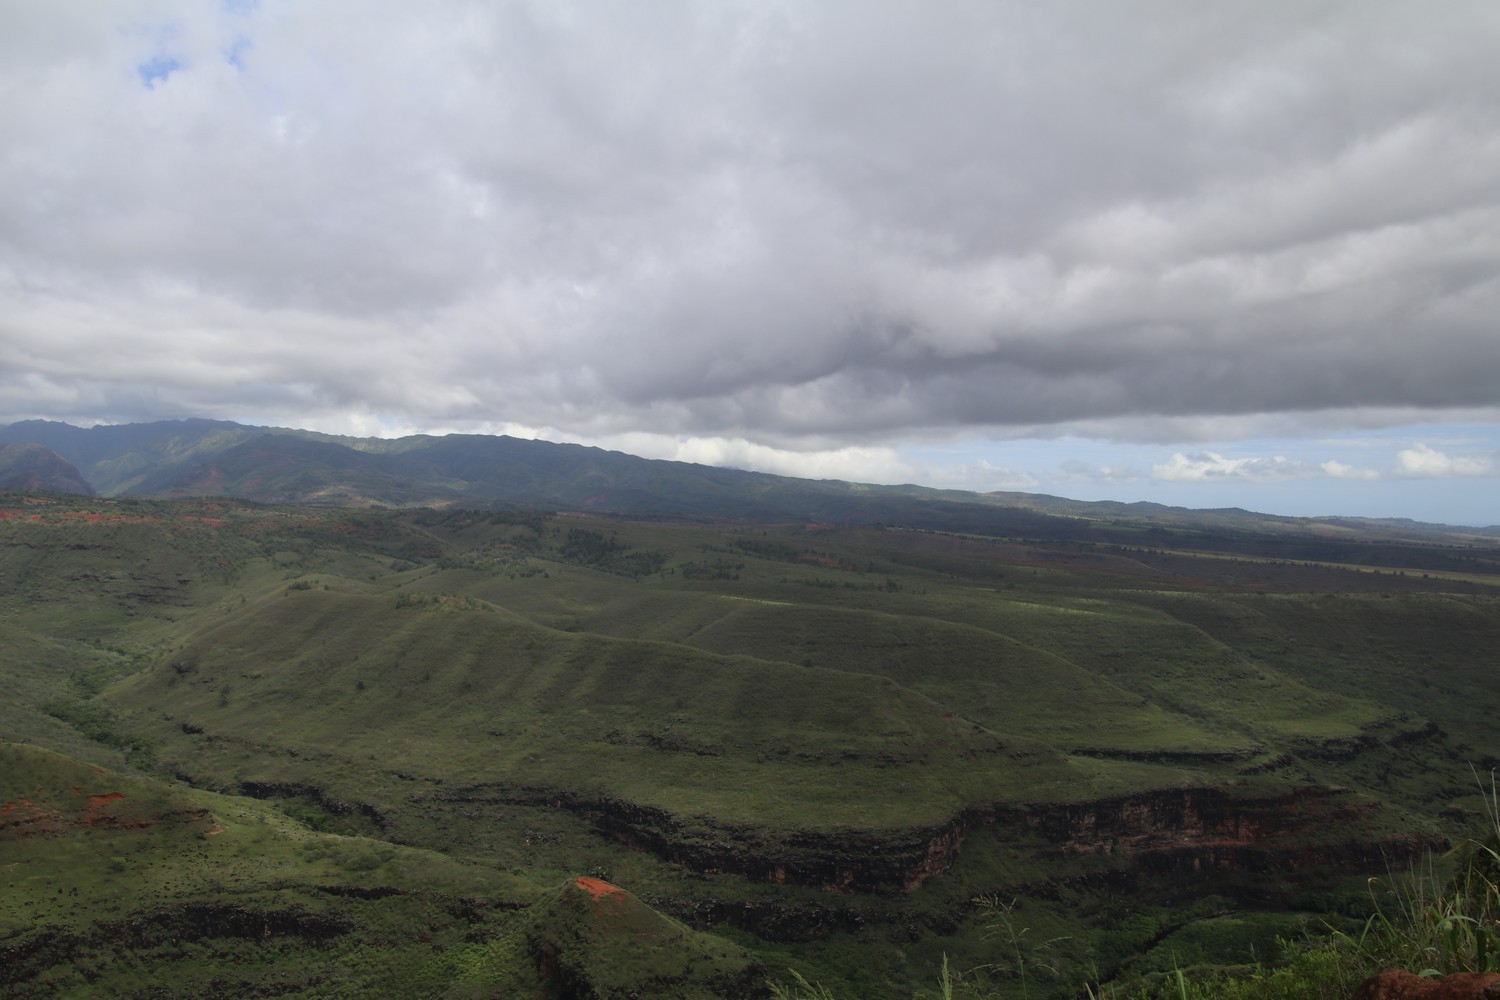
First stop is the Kekaha Lookout where you’ll see a green canyon.
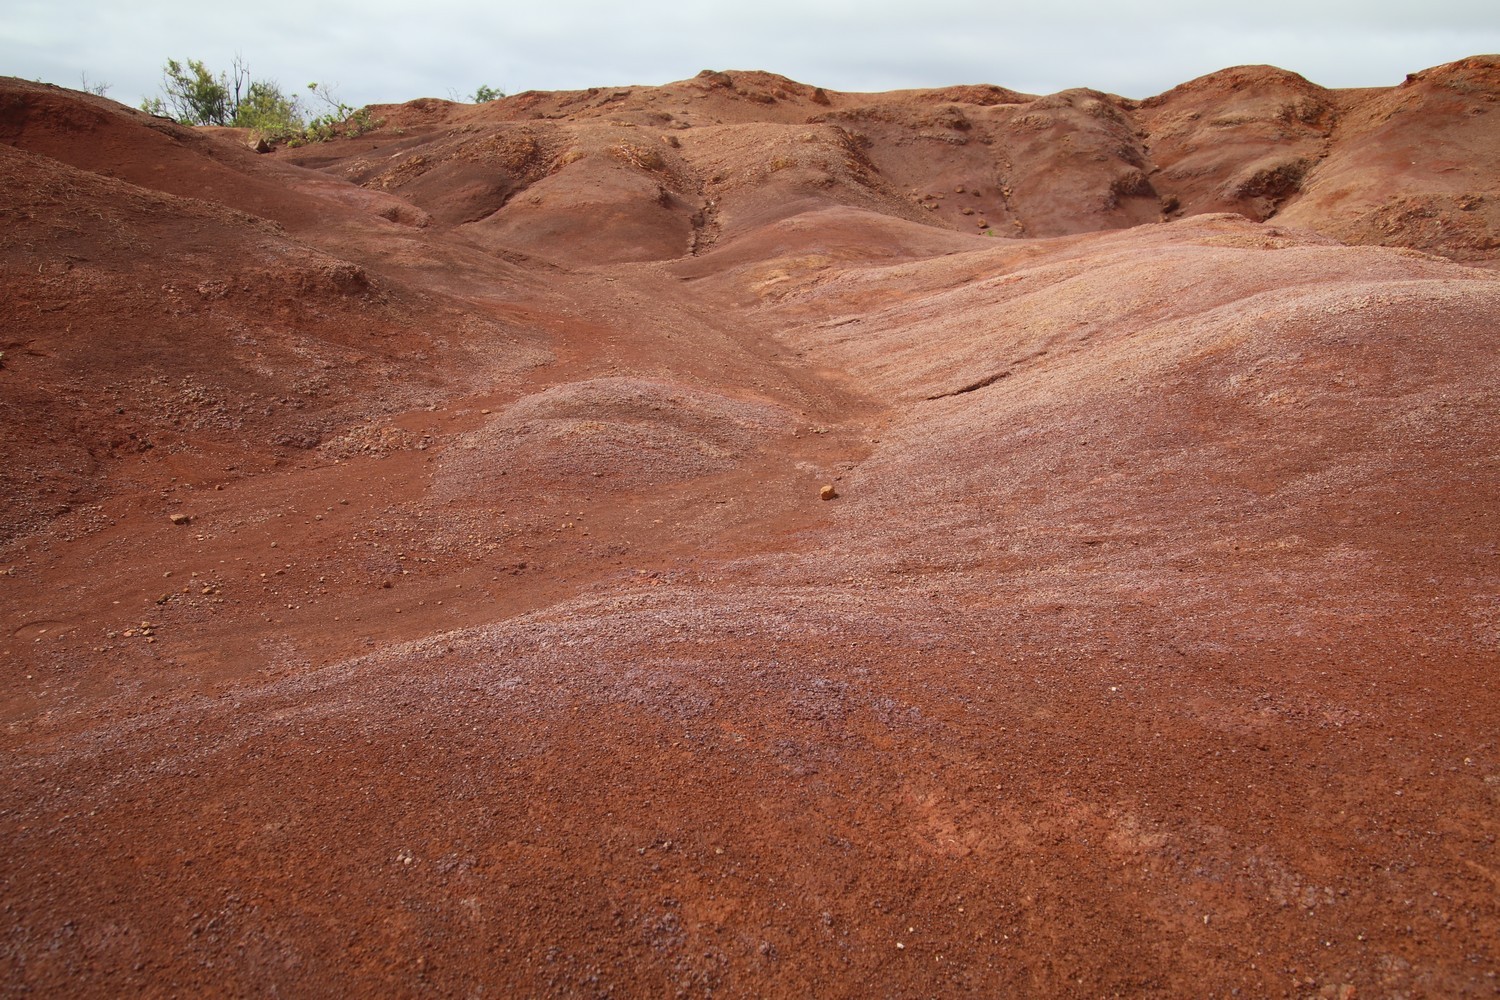
Then, you can stop at the Red Dirt Falls which is a bumpy red dirt field. If it rained the previous days, you might be able to see water trickling down the bumps forming a kind of waterfall.
Then, continue straight on the road and you’ll switch from Waimea Canyon Drive to Kokee Road, even without noticing it.
And the next stop is Iliau Nature Loop which is a small and easy hike. Along the trail, you’ll be able to observe plants and the canyon.

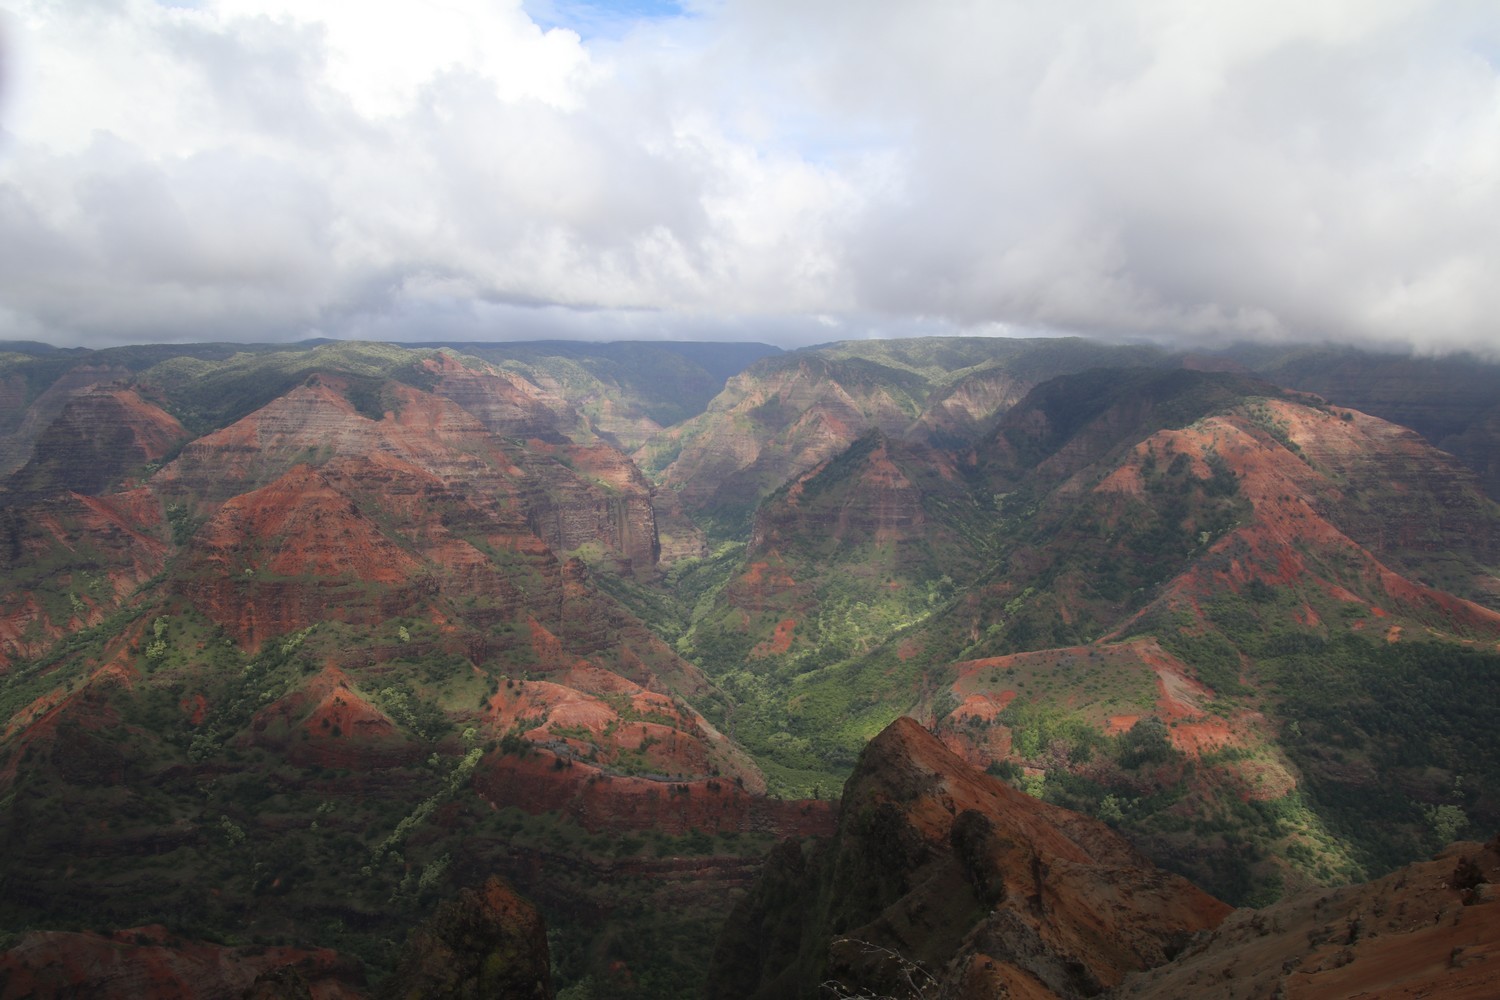
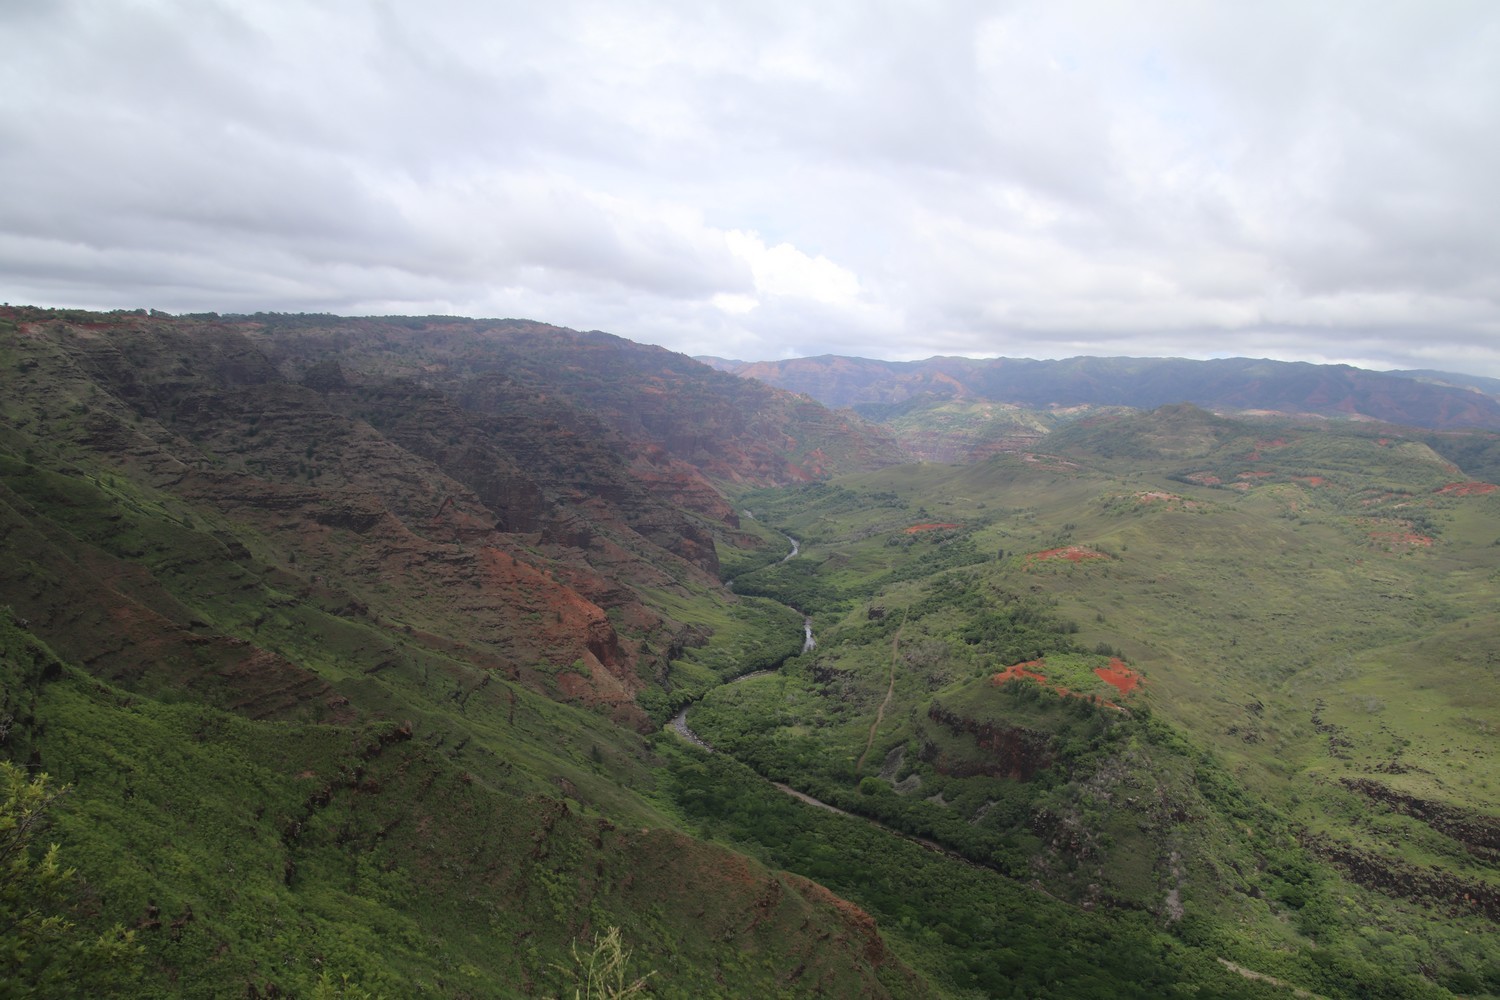
Next, head to the Waimea Canyon Lookout where you’ll find a viewing platform.
Then, continue driving on Kokee Road until you reach Pu’u Ka Pele Picnic Area. Once you’ve parked your car, cross the road in order to reach the Waipo’o Falls Lookout.

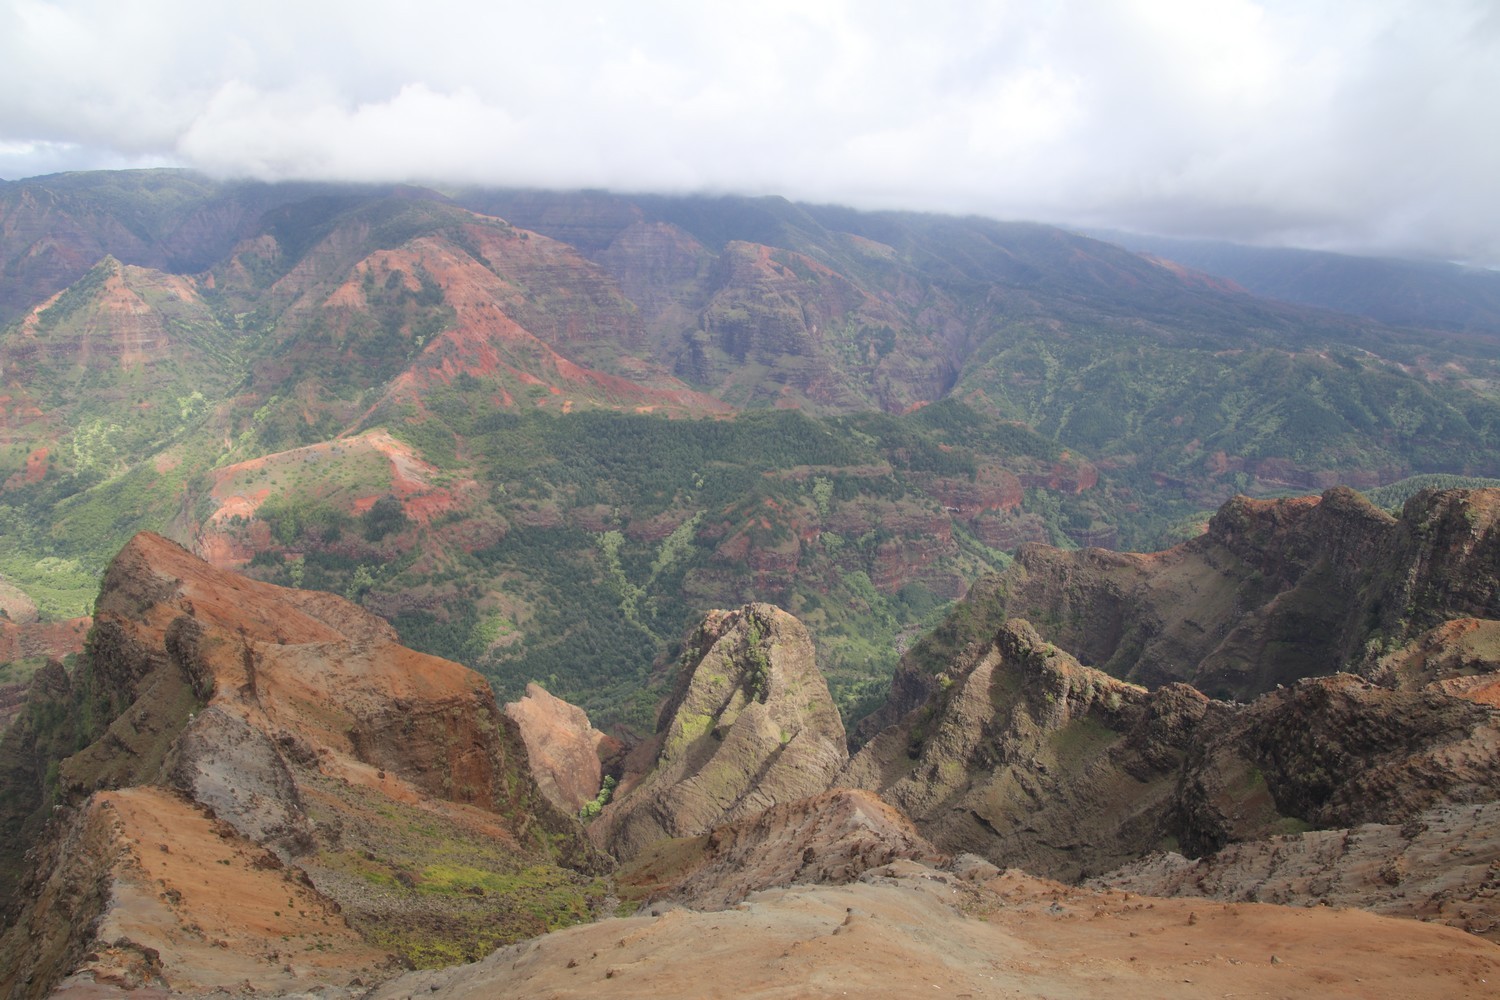
A bit further on the road, just before entering Kokee State Park, you’ll come across Pu’u Hinahina Lookout. From this viewpoint, you can try to hike the Cliff Trail which is just over a kilometer and leads to the Cliff Trail Lookout.
Finally, the last 2 stops are Kalalau Lookout and Pu’u O Kila Lookout. The latter is located at the far end of Kokee Road.
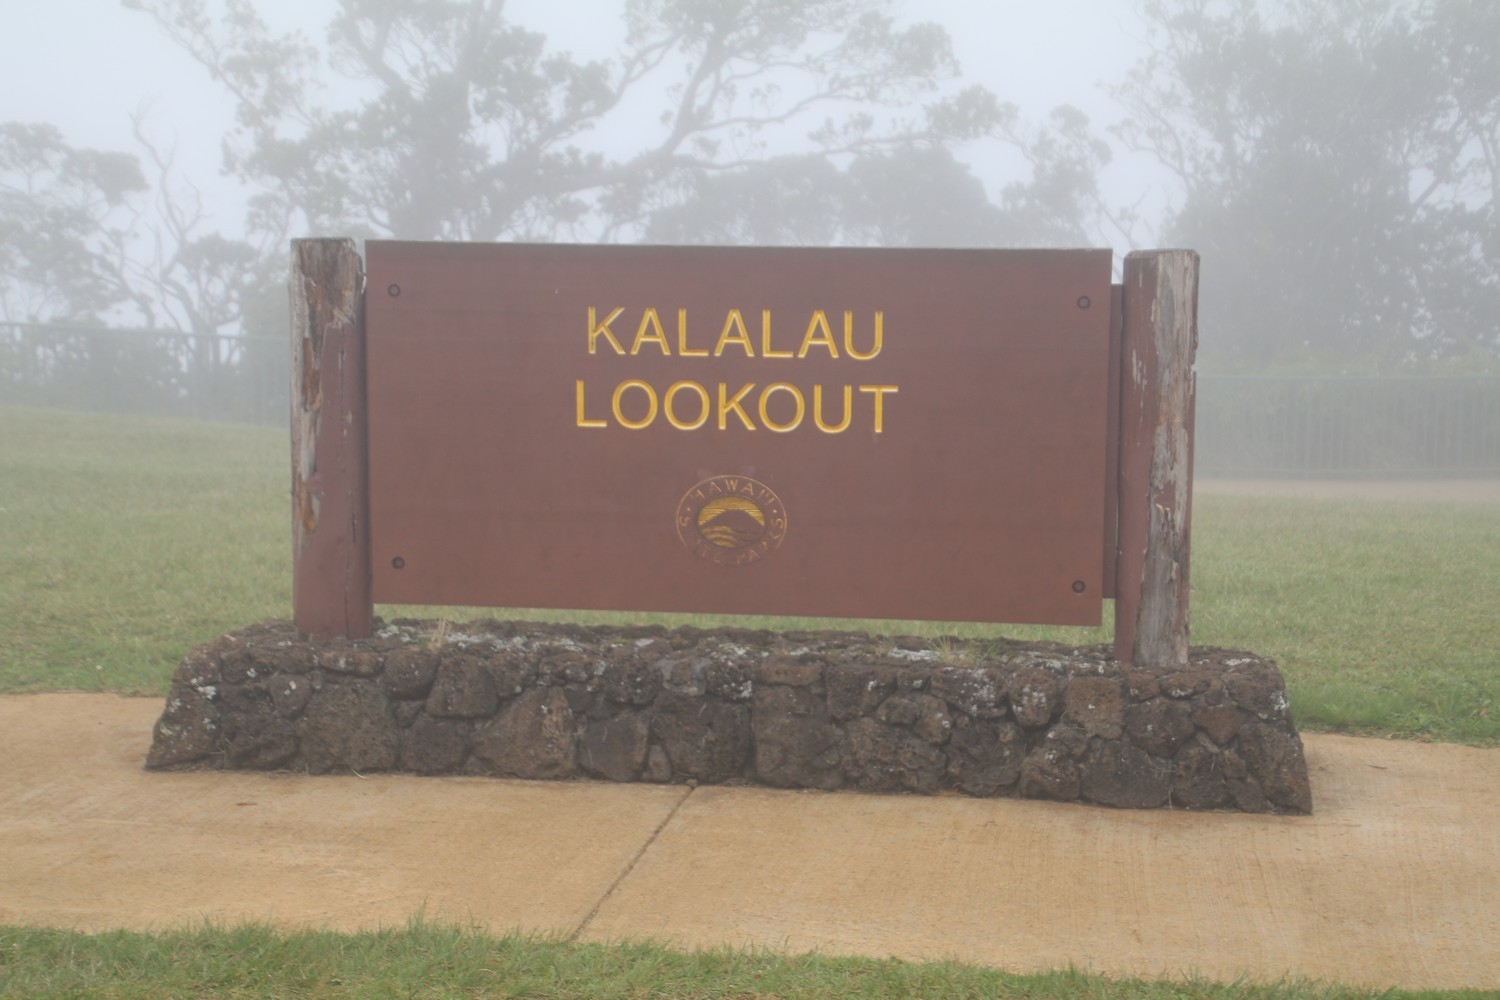
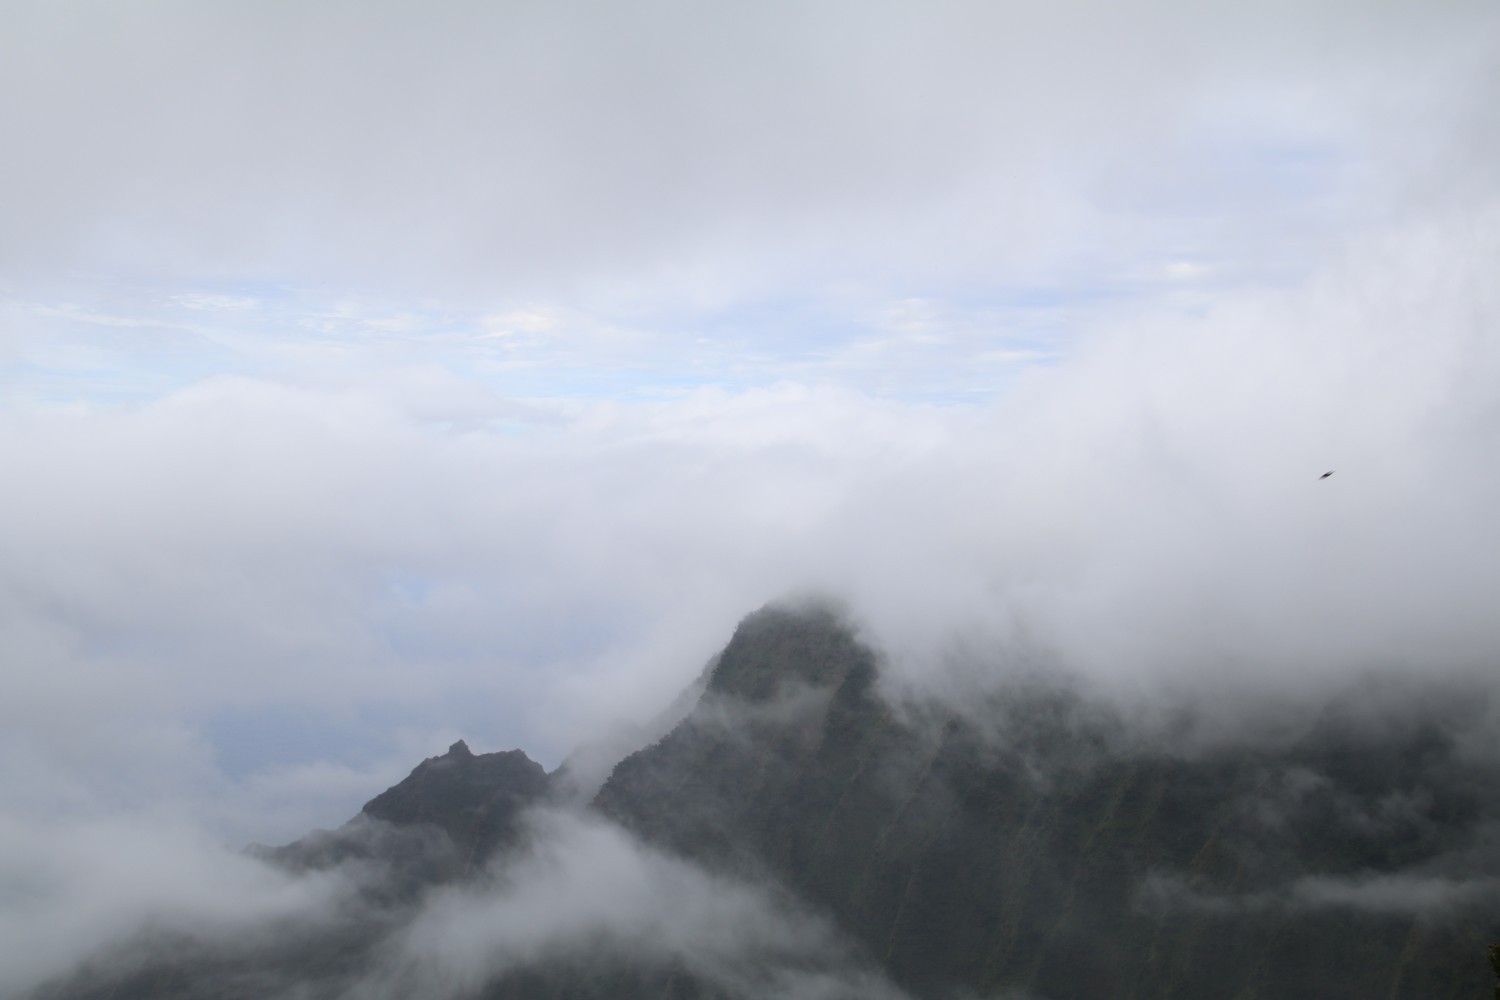
Tip: If there’s fog when arriving at a viewpoint, even if it’s super thick, just wait 10 minutes and it should clear up. For example, when I arrived at Kalalau Lookout, the fog was so thick that I couldn’t even see one meter further. At that point, I thought that it wouldn’t be possible to see anything for the rest of the day, but when arriving at the next viewpoint the fog was already starting to clear. And a few minutes later the view was completely clear!
To get back to your hotel, you’ll just have to turn around.
If you are following the route I took for a visit to the Hawaiian Islands, the next morning you should take a flight that will take you to the island of Oahu, where you’ll find Honolulu, the capital of Hawaii State, and Pearl Harbor.
Tips
Money
American dollars
When going to Hawaii, in order to get American dollars, I think that the best solution is to change money before leaving. Because on the island, finding a currency exchange office won’t be easy and withdrawing cash will make you pay taxes and fees. And it’s the same thing for payments by credit card.
Note: throughout the Hawaiian Islands you’ll only find Hawaiian banks, there are no American banks over there.
Taxes
Purchases
In Hawaii, like in the U.S., all stores display prices without tax. The tax is approximately 4% in Hawaii. So you just need to know that prices will be higher at checkout. However there is an exception on all unprocessed food because the tax doesn’t apply.
Restaurants
If you are planning on going to the restaurant, be aware that the bill can quickly become very expensive because on top of the price of the meal is added the 4% tax and you also have to add 15% tip.
Supermarkets
In the Hawaiian Islands, you’ll see « Foodland » supermarkets almost everywhere, you’ll find everything there. In particular they have a « catering » section, where you can create your own poke bowls. They have various marinated tuna recipes, but also octopus, scallops, mussels… They put the seafood in a small plastic pot and in addition, you can also order small pots of rice. So that will make a good meal to take away! Just remember to bring cooler bags.
Tip: I also recommend getting a loyalty card at Foodland because it’ll save you a bit of money. Some products are on sale, but only for cardholders. The first hotel where I stayed gave a loyalty card to all hotel guests. But you can also request one at the front desk of any store.
Hotels
I recommend booking a hotel room located close to Lihue airport because if you have a flight to catch early in the morning, you won’t have to get up too early. You’ll not only be able to optimize your time but in addition, your hotel night will also be cheaper than if you had booked it in a tourist area. Moreover, it’s an area located in the middle of the north shore and the south shore.
During my trip, I stayed at the Plantation Hale Suite.
Description: it’s a kind of apartment hotel since there is a small kitchen and a living room in addition to the bathroom and the bedroom. So you’ll have the opportunity to go shopping in order to cook your own meals. The « suite » is pretty large and the staff are very friendly.
Price: about €150 per night for a « suite » in September. The price is the same whether you are 2 or 6 people.
Location: the hotel is very well located, a 5 minute drive from Big Save supermarket (which replaced Foodland supermarket) and only 15 minutes from the airport.
| Pros | Cons |
|---|---|
| very large « suite » | pretty expensive but like everywhere in Hawaii |
| possibility to cook | - |
| very convenient location | - |
Transportation
Car
In order to visit the Hawaiian Islands, the best solution is to rent a car on each of the different islands from the airport. Moreover, you won’t need an international drivers licence for a trip up to 3 months. Just remember to take out CDW (included into Gold Mastercards and Visa Premier cards) and LIS insurance when renting a car.
Note: always refuel around Lihue airport, that is to say on the east shore of the island, because petrol is cheaper there.
Tip: for car rentals in Hawaii airports, you’ll always need to take shuttle buses in order to reach the car rental agency whom you made your booking with, because they are all located outside the airports. There is a shuttle for each company, so don’t get the wrong one in order to avoid being yelled at.
GPS
To be able to find your way when driving the car, there are several options available:
- Google MAPS: it works even without any connection, it’s just that there won’t be traffic information. All you have to do is to save the maps before going or even once there, as long as you have an internet connection. To do so, on your smartphone, in the application, click on your profile picture at the top right of the screen, then click on « offline maps ». And then click on « select your own map » and zoom out the map until you see the area you want to save. You have to repeat the operation several times if the area to be saved is too large.
- GPS rental from the rental car company: you can rent an optional GPS from the rental car company, but it’s pretty expensive and you won’t have traffic information either. In my opinion, this is not an option to consider. However, if you are renting a high-end car, there is frequently a GPS already available in the car, so without extra charge. But you won’t know it until you get on board, because no one will tell you, either at booking or when getting the keys.
Thanks for reading :)


