You want to go to explore the legendary Yellowstone National Park and its famous geysers? Follow me to find out how to go around the park in 4 days.
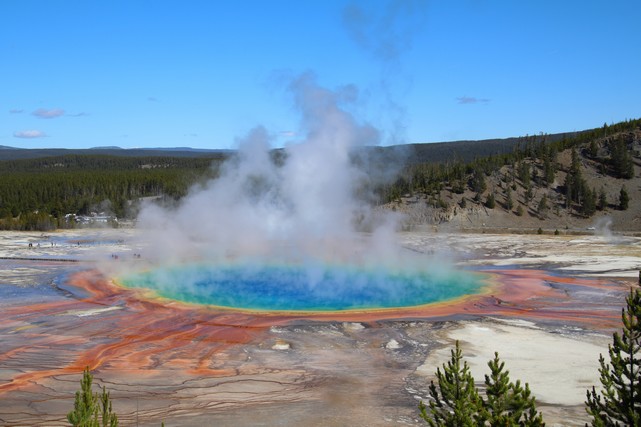
Yellowstone National Park is the second largest national park in the United States (excluding Alaska), and was also the first national park in the world. In addition, it contains over half of the world’s geysers and hydrothermal features. The geothermal features are due to the fact that the park is located above a dormant volcano. Also note that geysers are quite rare since their formation is due to very specific conditions. That said, Yellowstone isn’t just about geysers, it’s also a great place to view wildlife, especially bison which are pretty easy to find unlike bears and moose.
The best way to reach the park is by landing at Jackson Hole Regional Airport which is located just below Yellowstone, inside Grand Teton National Park. The airport being regional, you must necessarily make a stopover in a city located in the U.S. in order to be able to reach it. So you won’t find direct flights from your country. That said, plane tickets are not necessarily more expensive whether you’re only going to Salt Lake City or directly to Jackson Hole via Salt Lake City. Moreover you can easily rent a car from Jackson Hole Regional Airport in order to visit the park.
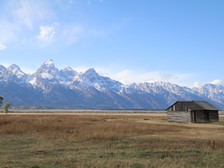
That way, you’ll also be able to go to visit Grand Teton National Park which is full of breathtaking views.
Tip: taking a flight that arrives directly to Jackson Hole instead of Salt Lake City will save you some time, because even if you don’t feel like visiting Grand Teton National Park, it’s only a one and a half hour drive to reach Yellowstone from Jackson Hole Regional Airport versus a five hour drive from Salt Lake City.
With that being said, let’s go to see the details of the schedule:
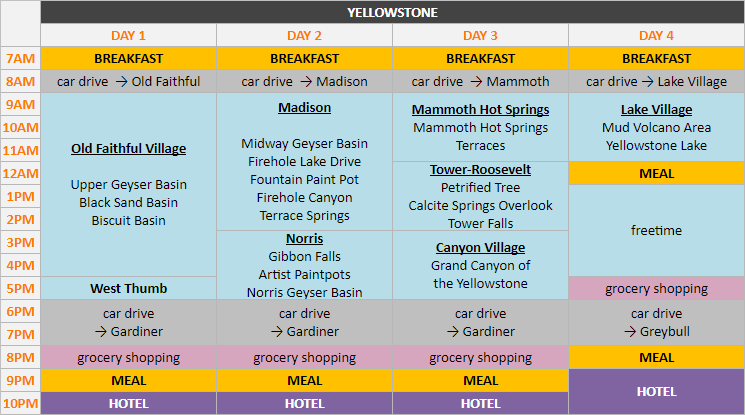
Entrance fee to the park is $35 per vehicle (valid for 7 days) but it’s free with the « America the Beautiful » pass.
The Grand Loop Road, an eight-shaped road, allows you to go around the park and provides access to various points of interest. But be aware that when it’s snowing, some roads in the park can be closed for safety reasons. So every morning before leaving, I recommend checking the nps website: https://www.nps.gov/yell/planyourvisit/conditions.htm.
Tip: the « America the Beautiful » pass gives access to all national parks in the United States for 1 year (for 1 car or 4 people where per-person fees are charged). It costs $80 but you can put 2 names on it, so if you know someone who is also planning a trip among America’s national parks, you can share the fee.
The pass can be issued at the entrance to almost any national park in the U.S.
To know: the pass is a good option only if you’re visiting at least three national parks in the same year.
Day 1: Old Faithful Village and West Thumb
Tip: you can also click on the link down below from your smartphone, to open the itinerary to follow on google maps: « Old Faithful Village and West Thumb » tour
Old Faithful Village: Upper Geyser Basin
Tip: you can also click on the link down below from your smartphone, to open the itinerary to follow on google maps: « Upper Geyser Basin » walking tour
For this first day of exploring Yellowstone, let’s go to the area that has the highest concentration of geothermal features in the park, Upper Geyser Basin. It contains five predictable large geysers, including the famous Old Faithful Geyser. This 1.5 km long area is very easy to explore on foot.
And like all the other points of interest in the park, the Upper Geyser Basin area is reachable via the Grand Loop Road. To be more specific, the area is located in the southwest of the park.
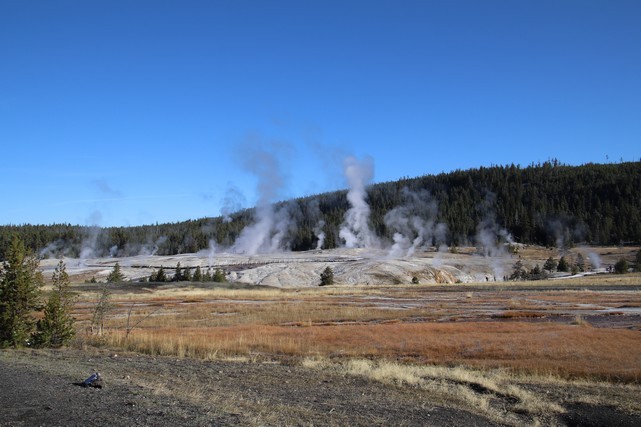
To visit this area, it’s essential to start by going to the visitor center where a TV displays Geyser Eruption Predictions. With this information, you’ll need to plan a route.
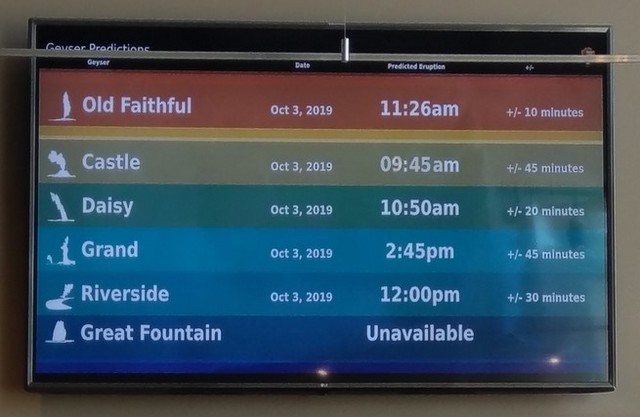
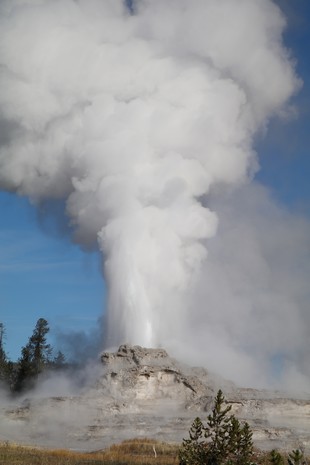
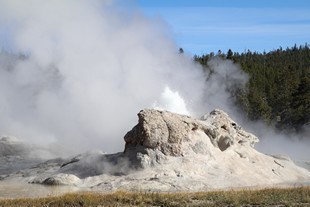
Back then, according to the predictions I started with Castle Geyser.
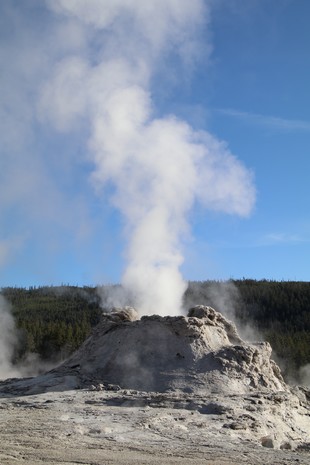
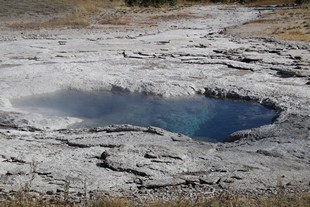
Then I went to Daisy Geyser and around it, there are some other small geysers to see.
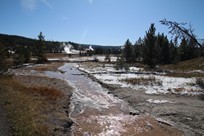
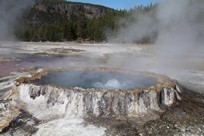
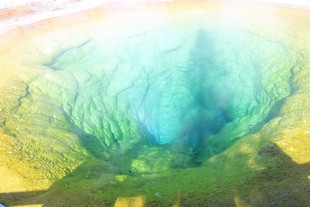
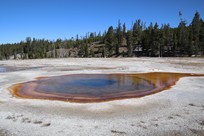
When leaving Daisy’s area, I made a left turn in order to continue my journey north, towards Morning Glory Pool!
On the way, there are some more small geysers and hot springs to see.
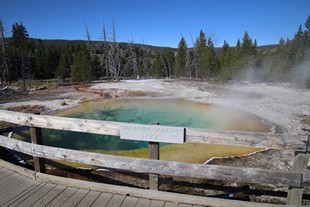
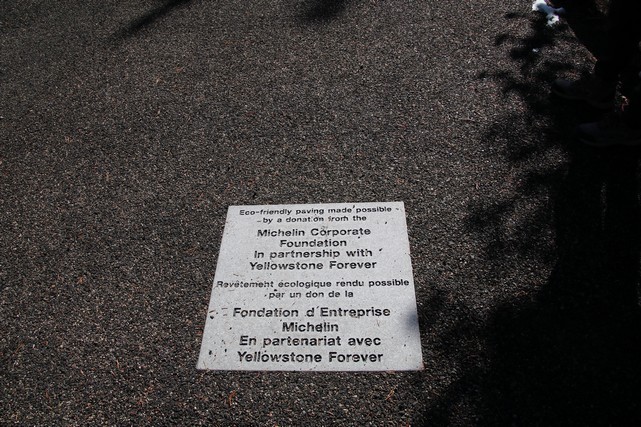
And apparently, the French company Michelin have participated in the construction of the floor paving!
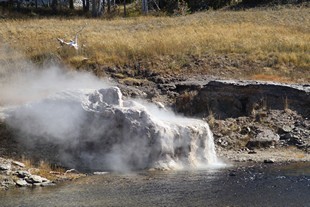
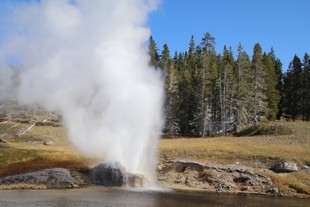
When leaving Morning Glory Pool, you’ll have to turn back in order to continue the visit. On the way, quite close to Morning Glory Pool, don’t miss Riverside Geyser. Back then, I saw it erupting.
Then, when reaching Grotto Geyser, go towards the path made of wood. By following this path, you’ll be able to see many geysers and hot springs.
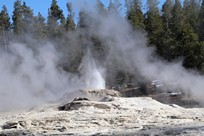
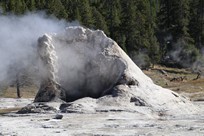
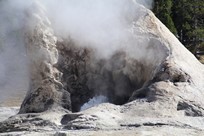
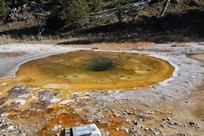
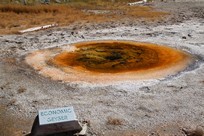
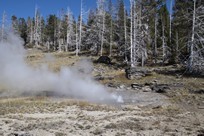
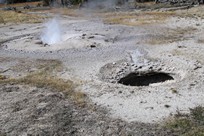
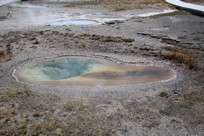
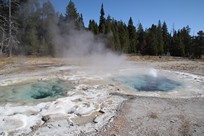
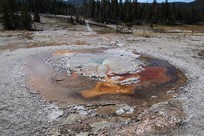
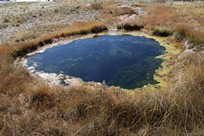
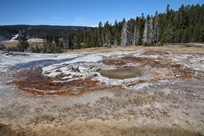
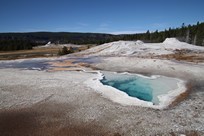
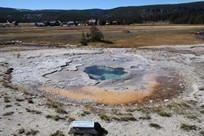
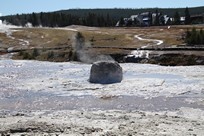
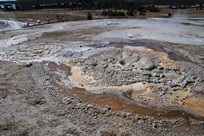
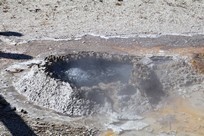
At the end of the wooden path, you should be facing Old Faithful Geyser. Back then, I saw it erupting.
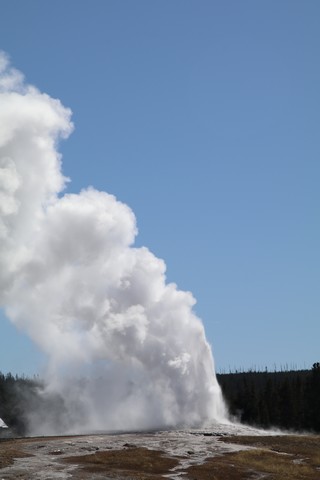
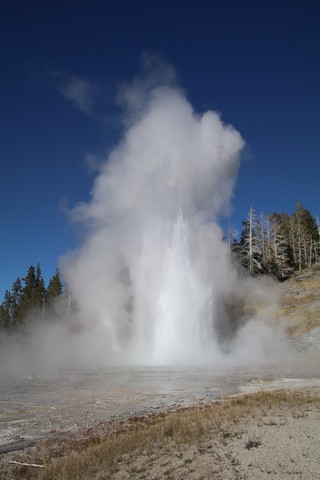
Then, I went back to Grand Geyser in order to see it erupting. It’s the tallest predictable geyser known. And on the way, I could see some more geysers and hot springs.
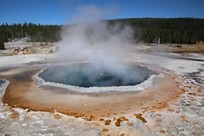
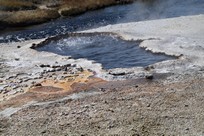
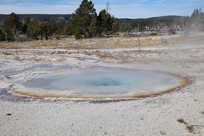
During my trip, the eruption of Grand Geyser occurred really late, at the very end of the predicted time. And everyone was wondering if the eruption was really going to happen!
Tip #1: the colours of hot springs are due to bacterias and the temperature of the water. So it’s the combination of these two factors that determine whether the sources will rather be blue, red, green or yellow.
Tip #2: I recommend buying or making some sandwiches the day before your visit in order to be able to eat either in a picnic area or in your car. Or even while waiting for the eruption of Grand Geyser for example ;) It will save you quite some time.
And of course, this advice also applies for the following days!
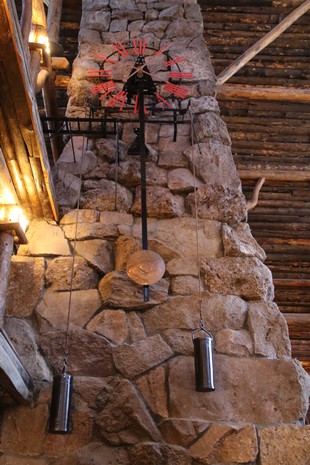
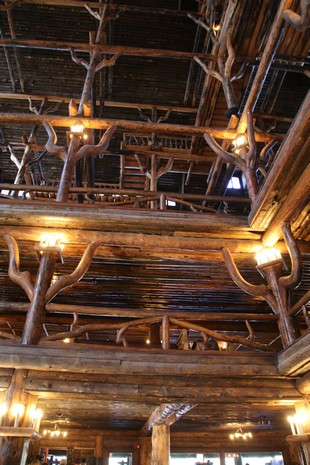
And before leaving this area, you can go to the lobby of the Old Faithful Inn which is a hotel located right next to the Visitor Center. Overthere you’ll see a clock and you’ll also be able to look at the architecture.
Old Faithful Village: Black Sand Basin
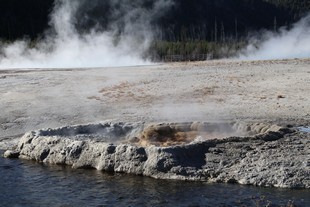
Then, it’ll be time to go to pick your car back in order to go to the next area, Black Sand Basin. To do so, drive the Grand Loop Road to the north and you’ll spot the area on the left. It’s a pretty small area compared to the previous one. And in order to walk through the various geysers and hot springs, you’ll just have to follow the wooden path.
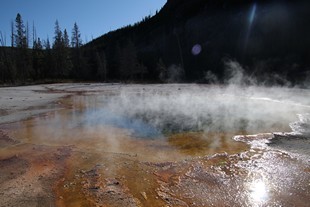
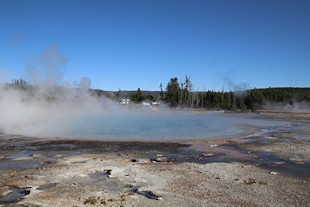
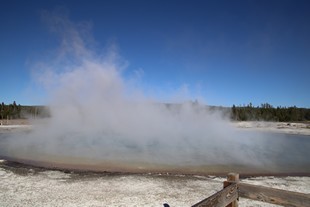
Old Faithful Village: Biscuit Basin
And to finish the exploration of the Old Faithful area, head to Biscuit Basin which is located north from Black Sand Basin. This area is a bit larger than the previous one.
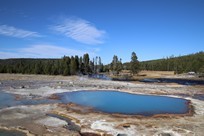
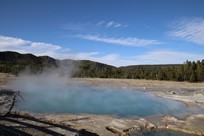
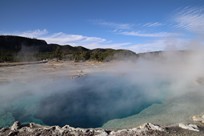
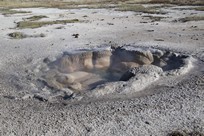
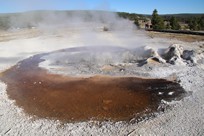
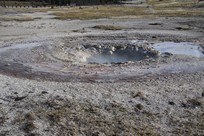
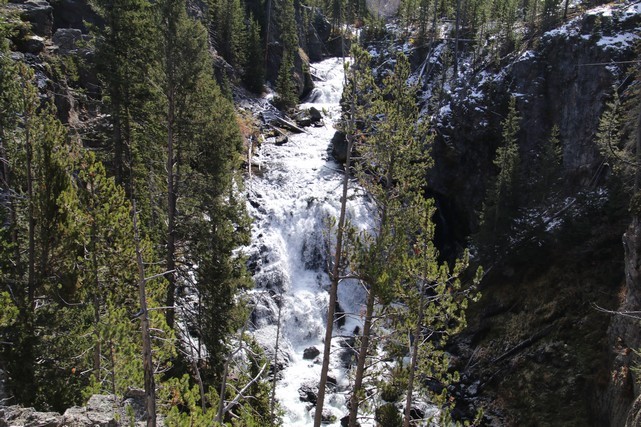
And before heading to the West Thumb Area, you can make a stop at Kepler Cascades which are located a bit south of Upper Geyser Basin.
West Thumb
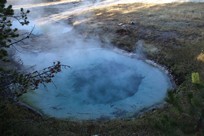
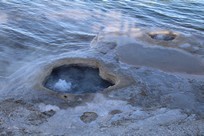
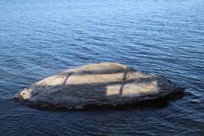
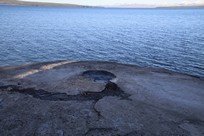
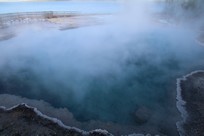
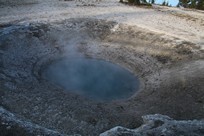
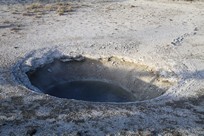
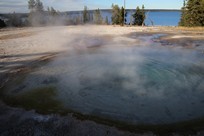
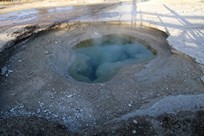
For the end of this first day in Yellowstone, head to the West Thumb Area. After the Kepler Cascades, drive the Grand Loop Road to the east. In this pretty small area, you’ll see some geysers and hot springs.
Day 2: Madison and Norris
Tip: you can also click on the link down below from your smartphone, to open the itinerary to follow on google maps: « Madison and Norris » tour
Madison: Midway Geyser Basin
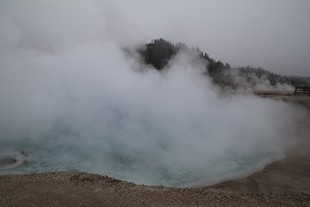
To start this second day in Yellowstone, Midway Geyser Basin is somehow the perfect area, as it contains the very famous Grand Prismatic Spring. The area is located north of Biscuit Basin and is reachable via the Grand Loop Road.
However, back then when I arrived there, the weather was pretty bad and it even started to snow! So honestly speaking, the pictures don’t really show the beauty of the place.
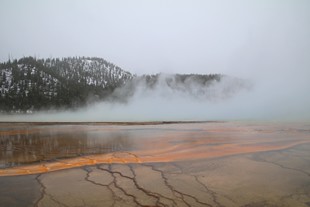
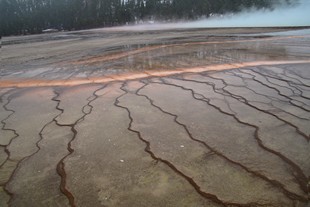
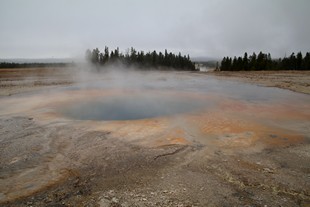
But if the weather is great, I highly recommend climbing to the Grand Prismatic Overlook. Especially since the hike isn’t that difficult.
Back then, because the weather was really bad, I didn’t go up there on the second day, but rather on the last day of my trip. The reason being that, first it was a sunny day and I also had a bit of time left.
To reach the overlook, you must park at the Fairy Falls Trail parking lot, which is located a bit south of the Grand Prismatic parking lot. And from there, you have to cross the bridge and follow the uphill path.

Madison: Firehole Lake Drive
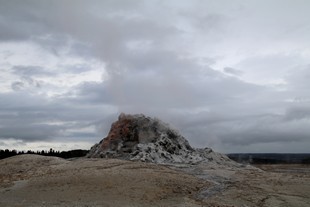
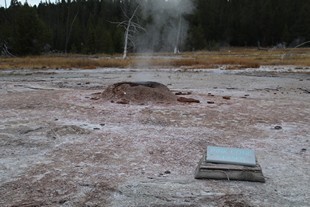
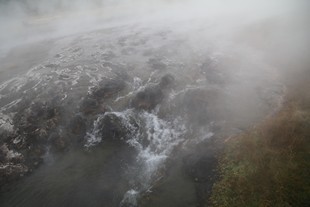
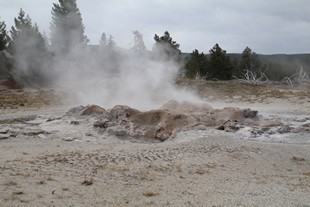
Then, head to the Firehole Lake Drive which is a one-way road off the Grand Loop Road. Along the drive, you’ll be able to park at each geyser or hot spring you spot.
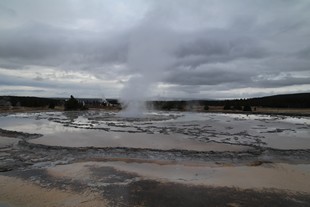
Madison: Fountain Paint Pot et Lower Geyser Basin
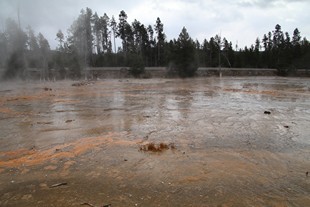
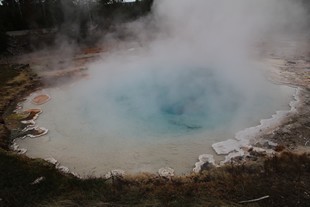
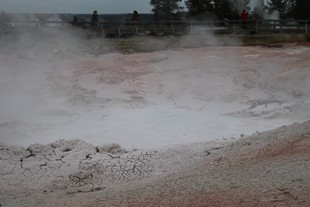
At the end of the Firehole Lake Drive, across the Grand Loop Road you’ll be able to spot the Fountain Paint Pot parking lot. Go to park your car before going to explore the area which is made of a different kind of hot spring, mudpots! Fountain Paint Pot and Lower Geyser Basin are part of the same loop and must be visited together.
Madison: Firehole Canyon Drive
Then, continue driving the Grand Loop Road to the north in order to take the Firehole Canyon Drive. It’s quite similar to the Firehole Lake Drive, as it’s a one-way road off the Grand Loop Road. But because the Firehole Canyon Drive is located on the left side of the road, coming from the south you have to pass the exit in order to take the entrance located a bit further.
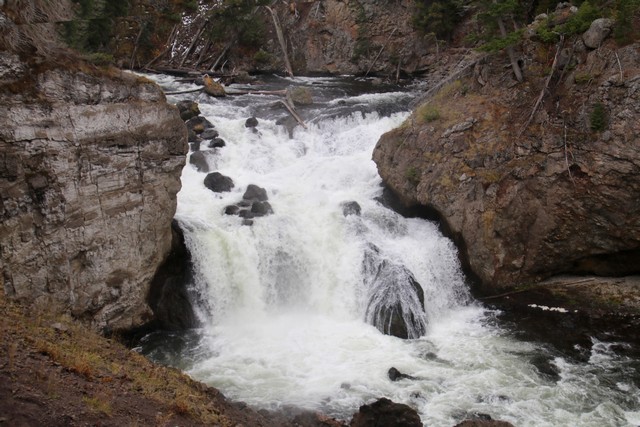
The Firehole Canyon Drive follows the Firehole River, and at the end of the road you can even stop in order to have a look at the Firehole Falls.
Madison: Terrace Springs
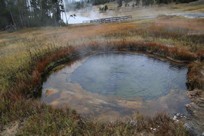
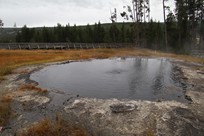
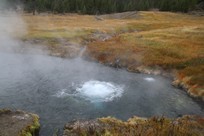
Then it’ll be time for lunch, again I recommend buying or making some sandwiches in order to eat it at a picnic area or even in your car. Afterwards, continue driving the Grand Loop Road to the north, pass Madison Area, and you’ll be able to spot Terrace Springs on the left. Over there, you’ll see some bubbling springs.
Norris: Gibbon Falls
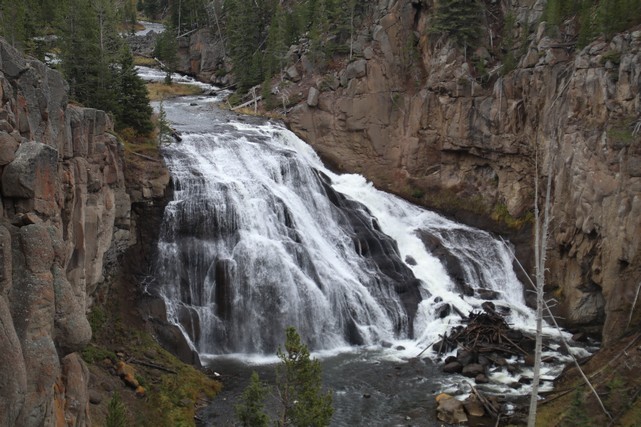
And just a bit further on the Grand Loop Road, you can make a stop in order to have a look at Gibbon Falls.
Norris: Artists Paintpots
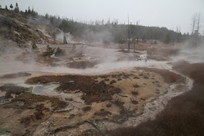
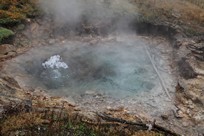
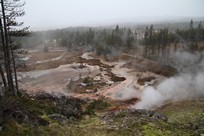
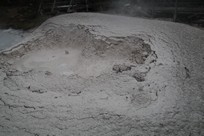
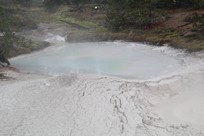
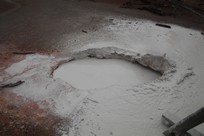
Then, continue driving the Grand Loop Road and stop at Artists Paintpots. This area contains some bubbling mudpots that really make the noise of a cooking pot!
Norris: Norris Geyser Basin and Museum
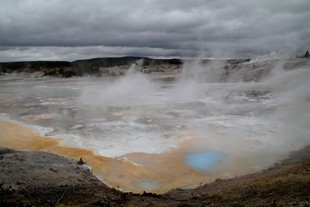
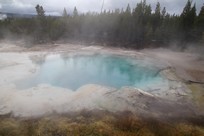
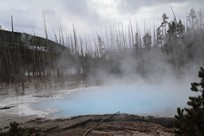
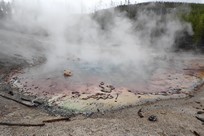
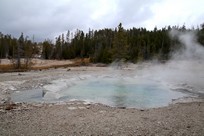
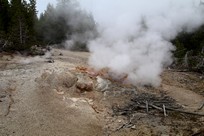
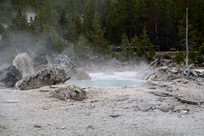
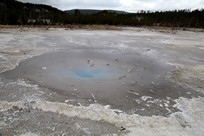
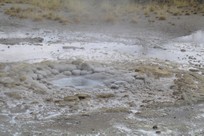
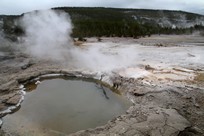
And the last stop of the day will be Norris Geyser Basin which includes a trail that passes through geysers and hot springs. There’s also a museum that offers exhibits on geothermal phenomena. Norris Geyser Basin is located a bit north of Artist Paintpots and is reachable via the Grand Loop Road. As It’s a pretty large area, the trail is divided in two parts: Porcelain Basin and Back Basin.
Porcelain Basin is quite small but still interesting.
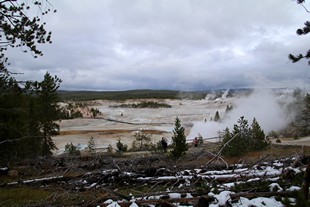
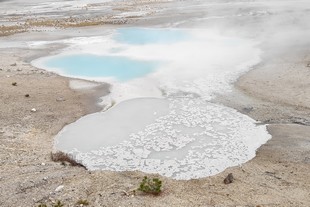
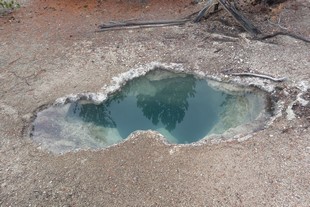
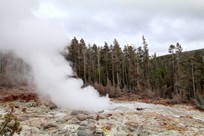
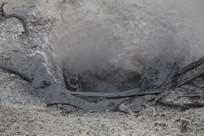
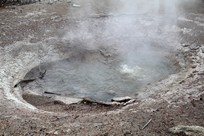
Back Basin is quite large and over there you could see Steamboat Geyser which is the tallest active geyser in the world, but unfortunately its eruptions are unpredictable.
Day 3: Mammoth Hot Springs, Tower-Roosevelt and Canyon Village
Tip: you can also click on the link down below from your smartphone, to open the itinerary to follow on google maps: « Mammoth Hot Springs, Tower-Roosevelt and Canyon Village » tour
Mammoth Hot Springs: Mammoth Hot Springs Terraces
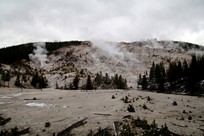
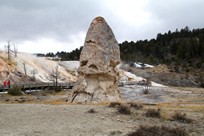
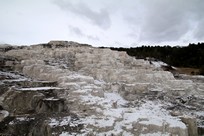
For this third day in Yellowstone, let’s go to Mammoth Hot Springs Terraces. It’ll be quite different compared to what you’ve seen the two previous days. First of all, it’s the hottest part of the park and more than that, instead of geysers and hot springs, over there you’ll see some pretty impressive limestone formations.
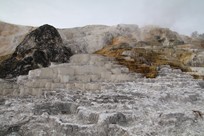
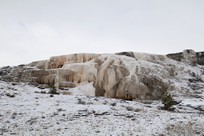
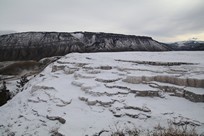
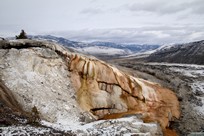
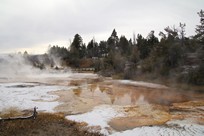
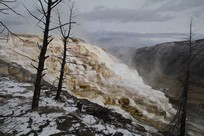
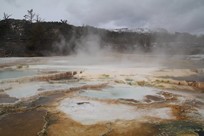
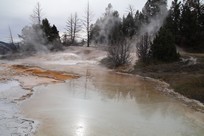
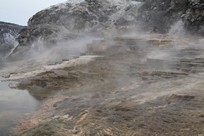
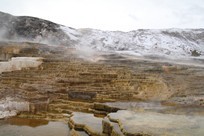
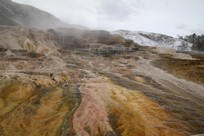
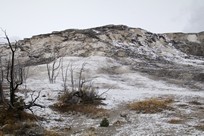
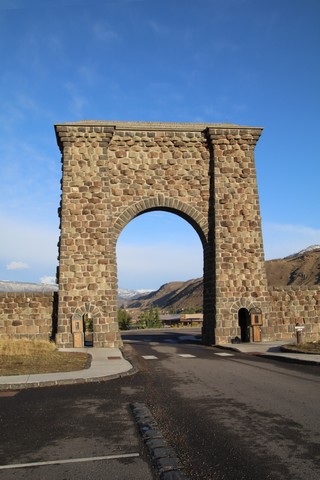
And while there, don’t miss going through the northern entrance to the park in order to spot the beautiful Roosevelt Arch. However, if like me you’ve chosen to stay in a hotel located in the town of Gardiner, you’ll necessarily have to go through the northern entrance in order to enter the park, so you won’t miss it!
Tower-Roosevelt: Petrified Tree
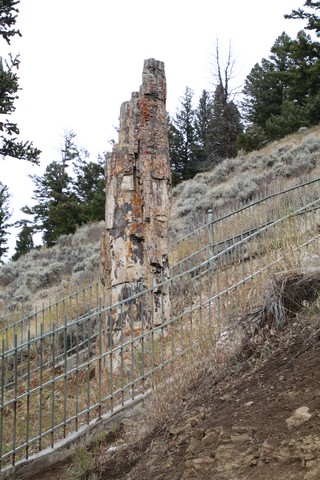
When you’re done visiting the Mammoth Hot Springs area, head east in order to reach the Tower-Roosevelt area. A bit before Tower Junction on the Grand Loop Road, taking the small road that goes to the right will lead you to a little parking lot. From there a path will take you to the Petrified Tree.
Tower-Roosevelt: Calcite Springs Overlook
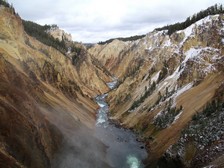
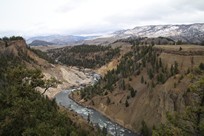
Then head to Tower Falls and just before getting there, still on the Grand Loop Road you’ll see a parking lot on the side. From there a small path will take you to Calcite Springs Overlook where you’ll be able to see the end of the Grand Canyon of the Yellowstone.
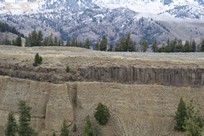
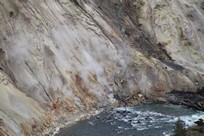
Tower-Roosevelt: Tower Falls
Afterwards, continue driving the Grand Loop Road and a bit further you’ll come across the Tower Falls parking lot. From there a small path will lead you to the viewpoint.
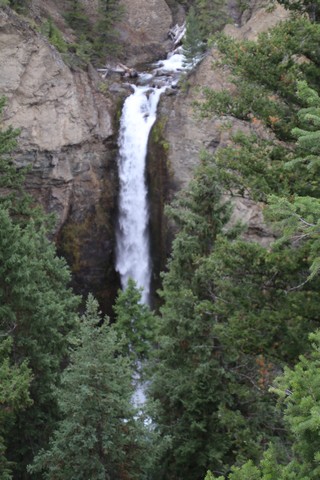
Tower-Roosevelt: Lamar Valley
To reach Lamar Valley from Tower Junction you must leave the Grand Loop Road in order to take the US 212 Road that leads to the northeast entrance to the park. The drive takes about 25 minutes from Tower Junction, so in my opinion you should only go there if you have some time left. Lamar Valley is supposed to be the perfect place when it comes to viewing wildlife, but while there I didn’t see anything. That said, I haven’t been there at the right moment : 7.30a.m.-9.30a.m. and 5p.m.-7p.m.
However, I’ve reached Soda Butte anyway!
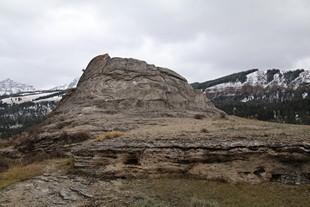
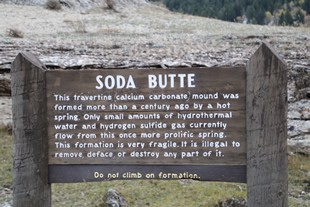
Canyon Village: Grand Canyon of the Yellowstone
From Tower-Roosevelt, continue driving the Grand Loop Road southbound in order to reach the Grand Canyon of the Yellowstone. Once there, two routes will allow you viewing the canyon: North Rim Drive and South Rim Drive. Both roads are reachable from the Grand Loop Road and are located south of the visitor center.
North Rim Drive is a one-way road and all along the road you can stop at each of the several lookout points. Parking lots are available.
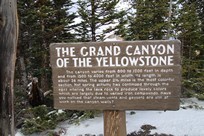
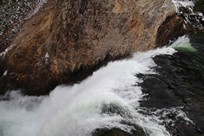
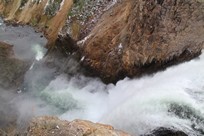
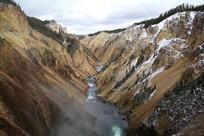
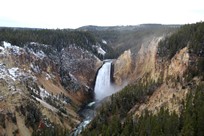
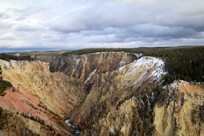
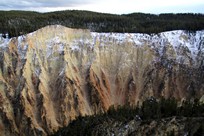
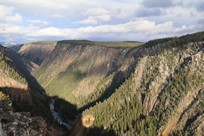
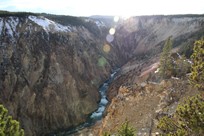
North Rim Drive being a one-way road, at the end of it you’ll be back at the visitor center. So to access South Rim Drive, you’ll have to pass the entrance to North Rim Drive and a bit further on the left you’ll spot the entrance to South Rim Drive.
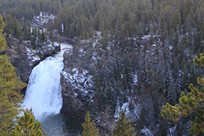
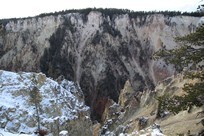
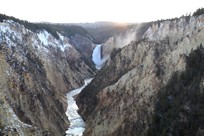
Unfortunately, during my trip the Uncle Tom’s Trail was closed. This trail is a big staircase that allows you to go down to the Lower Falls.
Tip: between North Rim Drive and South Rim Drive you can access another road from the Grand Loop Road, it’s located on the left. It leads to a parking lot from which a short walk will take you to the Brink Of The Upper Falls. At the end of the walk you’ll be standing just on top of the falls.
Day 4: Lake Village
Tip: you can also click on the link down below from your smartphone, to open the itinerary to follow on google maps: « Lake Village » tour
For this last day in Yellowstone, you’ll only have the Lake Village to visit. This area is located around Yellowstone Lake which by the way, is a really huge lake.
Lake Village: Mud Volcano Area
The Mud Volcano area is located a bit before arriving at Lake Village and is reachable via the Grand Loop Road. A small loop path passes through geysers and mudpots.
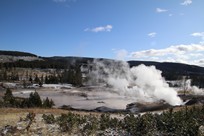
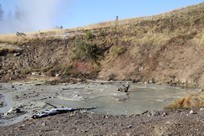
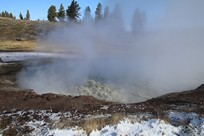
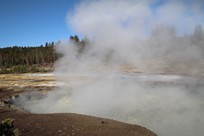
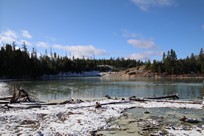
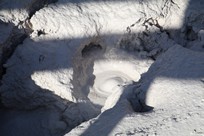
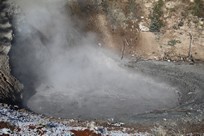
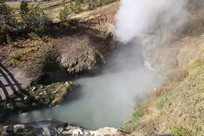
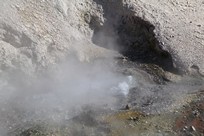
Tip: in order to make your trail less steep, the Mud Volcano area loop should be done in an anticlockwise direction.
Lake Village: Yellowstone Lake
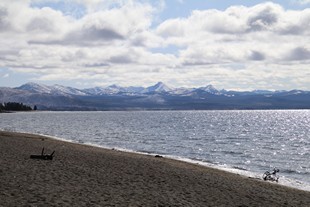
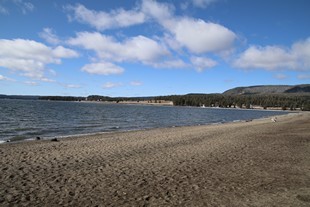
Once you’ve visited the Mud Volcano Area, you could go to explore Yellowstone Lake. However, there isn’t much to do over there. Except maybe strolling along the lake.
Wildlife
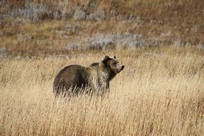
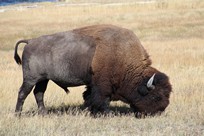
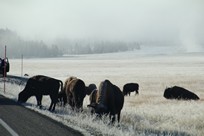
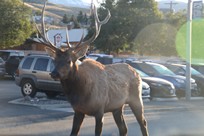
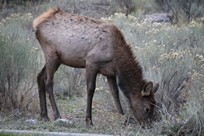
Here are some animals I photographed into the park.
Tips
Beware
Bears
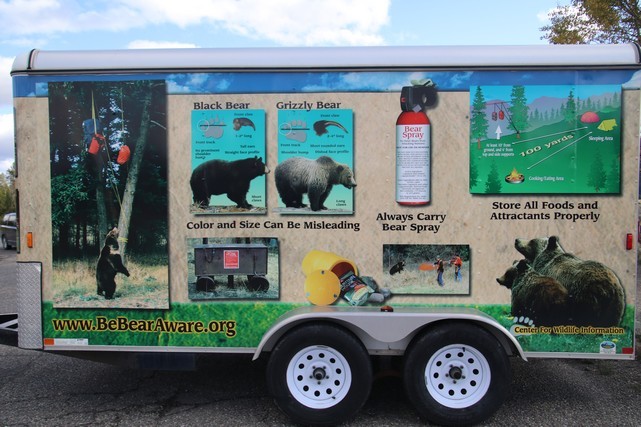
Whether in Grand Teton or Yellowstone National Park, be bear aware at all times. Bears are madly attracted to human food and can even tear off car doors in order to reach some food. So you have to be very careful. However, they can also attack hikers, so carrying a bear bomb is highly recommended. On my trip, I bought one and luckily I didn’t have to use it. So I don’t really know if it’s really necessary or not.
Bison
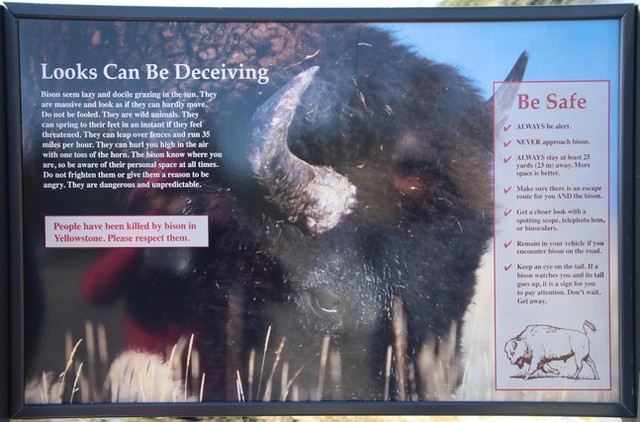
In Yellowstone, you’ll come across bison quite often. You can of course stop to take some pictures, but don’t get too close from them, remember that they’re wild beasts.
Money
American dollars
To get American dollars, there are to me, 2 excellent ways:
- Global Alliance: if your bank is a member of this alliance, then you can withdraw cash at any of the cash withdrawal machines of the Bank of America or Bank of the West with your credit card. They don’t take commission and have one of the best rates. But note that around Yellowstone National Park, there are only two Bank of the West cash withdrawal machines that are located in the cities of Jackson and Cody. That is to say, at a one and a half hour drive for both cities.
Tip: for example, the Global Alliance members are:
- Scotiabank in Canada
- Barclays in the UK
- Westpac in Australia and New Zealand
- BNP Paribas or Hello Bank in France
- Currency exchange offices: if you choose this method, I recommend changing money in your country before going, because it won’t be that easy to find a currency exchange office over there.
However, if you book hotels before going, you won’t have to spend that much money while there, it’ll just be food and petrol. So in the end you won’t have to carry that much cash.
Taxes
Purchases
In the U.S., all stores display prices without tax. The tax is approximately 5% in Wyoming. So you just need to know that prices will be higher at checkout. However there is an exception on all unprocessed food because the tax doesn’t apply.
Restaurants
If you are planning on going to the restaurant, be aware that the bill can quickly become very expensive because on top of the price of the meal is added the 5% tax and you also have to add 15% tip.
Hotels
About accomodation, you can choose to book hotels located right inside the park, but be aware that it’s pretty expensive and that it also fills up pretty quick. But if the price is not a problem for you, then you should make your bookings quite early and take advantage of booking different hotels according to the different places you’ll be visiting because the park is really huge. That way you’ll save time and won’t have to drive that much. Otherwise, to save money, you can book hotels located outside the park. To do so, you have the choice between the towns of West Yellowstone and Gardiner. Moreover, sleeping outside the park will allow you to find grocery stores in order to buy some food for dinner and to prepare sandwiches for the next day. And try to book hotels that offer free breakfast, that way you’ll be able to start the visit to the park full of energy.
Tip: be aware that hotels in Wyoming and especially those located in the area of Grand Teton and Yellowstone National Parks are all pretty expensive.
During my trip, I stayed at Super 8 by Wyndham Gardiner. It’s pretty comfortable, and considering the price and location, it’s good value for money.
Description: comfortable and decent sized rooms. The bathroom is provided with a bathtub. Breakfast is included into the price of the room. It’s a kind of buffet with corn flakes, oatmeal, toast, yogurt, milk, coffee, juices, cakes, fruit …
Price: about €160 per night for 2 people, in October.
Location: it’s located at the north entrance to Yellowstone National Park, at about a 15-minute drive from Mammoth Hot Springs area.
| Pros | Cons |
|---|---|
| comfortable and decent sized rooms | located outside the park |
| good value for money | - |
| breakfast included | - |
About the night that follows the 4-day trip to Yellowstone, knowing that back then I wanted to go to visit Mount Rushmore afterwards, I made the decision to stay in a hotel located halfway between Yellowstone and Mount Rushmore. However, because I wasn’t sure to be able to make it to the city of Sheridan, I decided to stay in the small town of Greybull.
Back then, I stayed at Wheels Motel. It’s quite OK for one night.
Description: rooms are OK and decent sized. The bathroom is provided with a bathtub. Breakfast is included into the price of the room, but it’s only apples and coffee. Apparently there was supposed to be banana bread as well, but there wasn’t. The guy at the reception directed us to a food truck that was supposed to be parked right in front of the motel, but again, it wasn’t there. So in the end, we decided to go for a Mc Morning.
Price: about €82 per night for 2 people, in October. But the price is the same whether you are 2 or 4 people.
Location: it’s located halfway between Yellowstone National Park and Mount Rushmore.
| Pros | Cons |
|---|---|
| comfortable and decent sized rooms | breakfast is included but it's a bit light |
| good value for money | - |
Transportation
Car
Renting a car to visit the United States is kind of mandatory, and especially when it comes to visiting national parks! Moreover, you won’t need an international drivers licence for a trip up to 3 months. Just remember to take out CDW (included into Gold Mastercards and Visa Premier cards) and LIS insurance when renting a car.
GPS
To be able to find your way when driving the car, there are several options available:
- Google MAPS: it works even without any connection, it’s just that there won’t be traffic information. All you have to do is to save the maps before going or even once there, as long as you have an internet connection. To do so, on your smartphone, in the application, click on your profile picture at the top right of the screen, then click on « offline maps ». And then click on « select your own map » and zoom out the map until you see the area you want to save. You have to repeat the operation several times if the area to be saved is too large.
- GPS rental from the rental car company: you can rent an optional GPS from the rental car company, but it’s pretty expensive and you won’t have traffic information either. In my opinion, this is not an option to consider. However, if you are renting a high-end car, there is frequently a GPS already available in the car, so without extra charge. But you won’t know it until you get on board, because no one will tell you, either at booking or when getting the keys.
Thanks for reading :)


