
You want to go to explore Kyoto, the former seat of Japan’s imperial court? Come on to see my tips to know how to visit the essentials of the city in 4 days.
ITINERARY - JAPAN: here is the full itinerary for a tour of Japan.

Kyoto is considered the cultural capital of Japan, but it’s not only that, it’s also a pleasant city where it’s good to walk around. Not far from the city centre, you can find Arashiyama Bamboo Grove and Katsura Imperial Villa. As a bonus, you can even go on a short day trip to the city of Nara, which is overrun with deer! In addition, the city has an extremely well-developed bus network that allows reaching most of the sightseeing places in Kyoto.
With that being said, let’s go to see the details of the schedule:

Day 1: from Tokyo to Kyoto!
If like me you land in Tokyo the morning of your first day, follow the instructions below. To begin, you’ll have to go to exchange your voucher for a JR Pass, it’s quite easy to do it at the airport. Back then, I had landed at Haneda Airport, and the JR exchange office is located at the arrivals level. When at the office, just stand in line, you will be given your JR pass when queuing. The pass looks like a leaflet, and on the back you’ll need to fill out your identity information by hand. When at the end of the line, someone will explain how the pass works, and stick the validity ticket to the back. From there, you’ll be ready to go discovering the country!
Tip: however, if you prefer starting your trip by visiting Tokyo, you can start your pass a few days later, for that, just notify it while at the exchange office.
The Monorail that connects Haneda Airport to the city of Tokyo, is located right next to the JR exchange office. It takes you to Hamamatsucho station which is located on the Yamanote (JR) line. From there, you can either go to Shinagawa station or go to Tokyo station in order to take a Shinkansen to go to Kyoto. Back then, I took the 11:10 a.m. Shinkansen from Shinagawa, the journey lasts two and a half hours, but if you miss it, don’t worry because trains run every thirty minutes. I also recommend buying some snacks at the train station or even a meal before getting on the train. However, if you’re not very hungry, you can wait until arriving at Kyoto station to have lunch, there are many restaurants there.
Tip: don’t forget to visit hyperdia.com to plan your trips. The website provides accurate information, especially timetables, type of trains, journey time, platform number, etc. More details in the « Tips » section, at the end of the post.
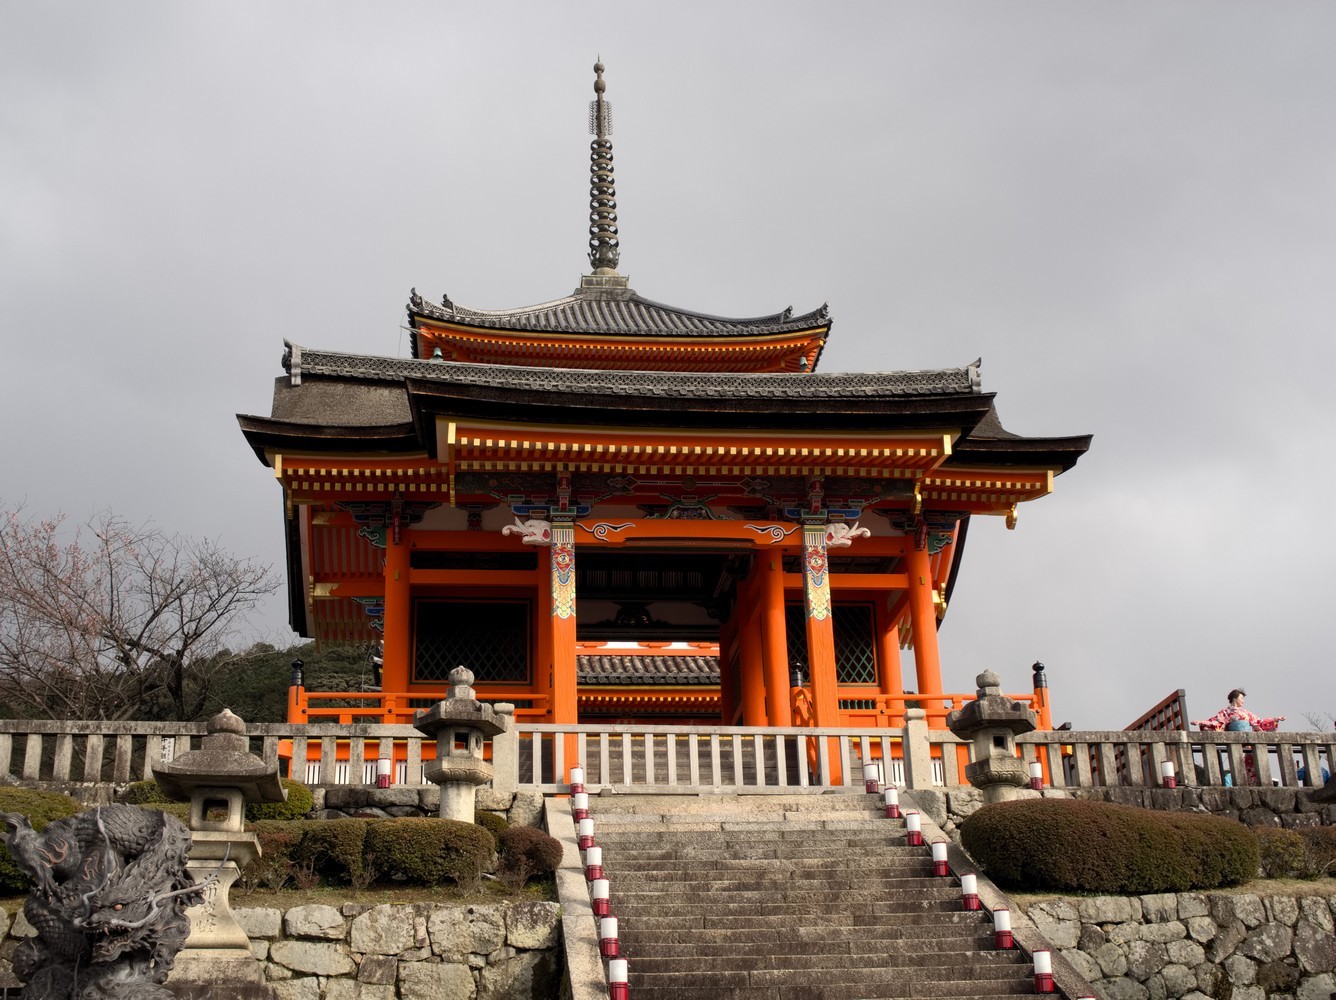

After dropping off your luggage at the hotel, let’s go for the first tour, Kiyomizu-dera Temple. For that, you’ll need to take the bus # 100 or # 206 from Kyoto station, and get off at Kiyomizu-michi bus stop.
Tip: since I had only taken the bus two times that day, that is to say twice ¥230, I didn’t take the ¥600 day pass.
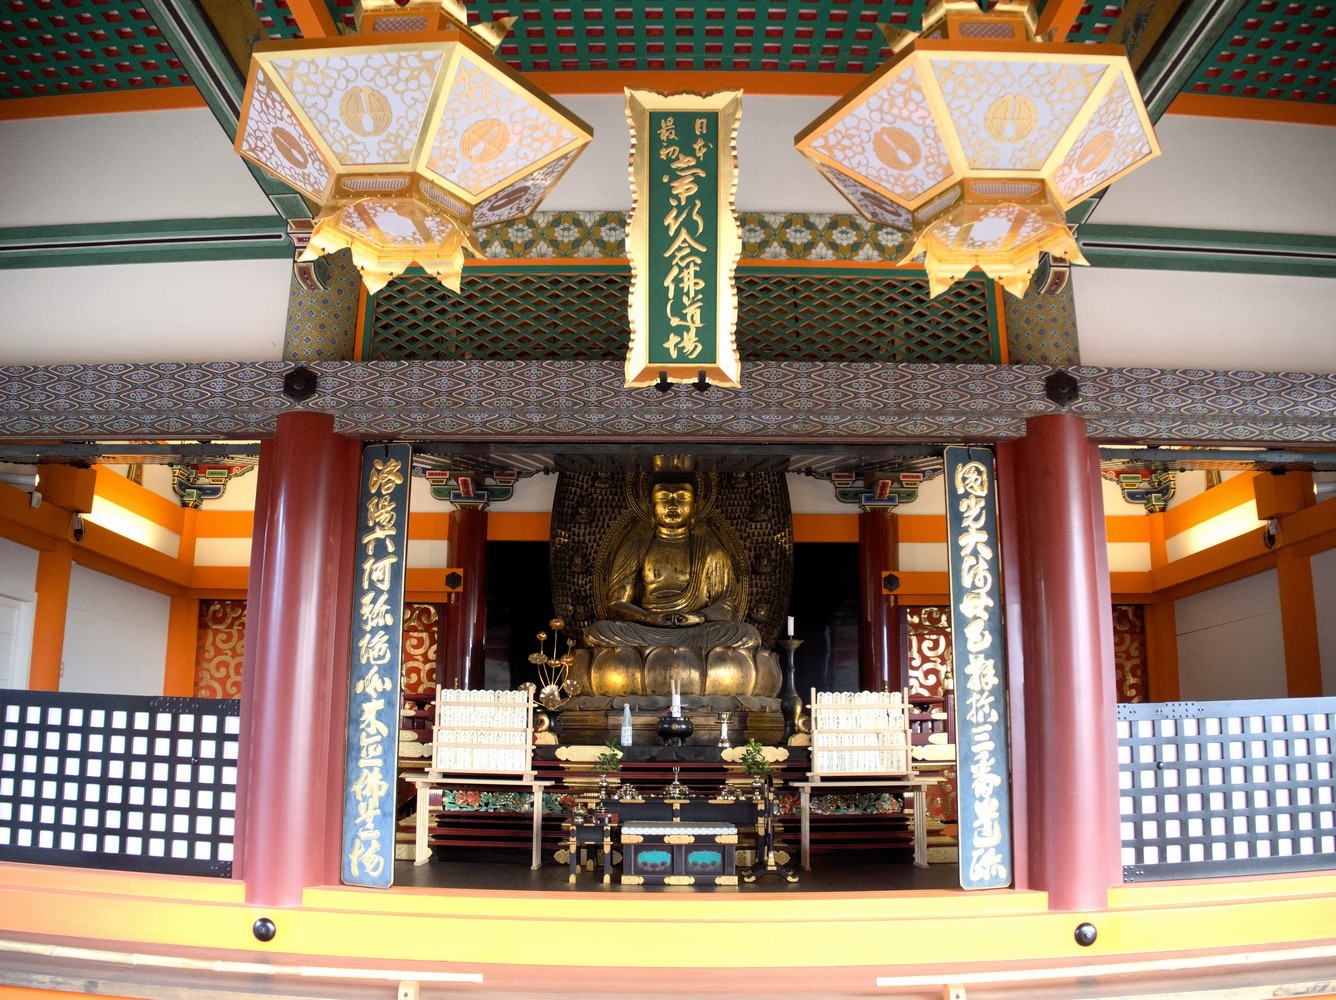
When getting out of the bus, you have to take a small street that goes up. It should be indicated and a 10-minute walk separate the bus stop from the temple. Moreover, in this street that leads to the temple, you will come across many small shops, where you’ll be able to taste the famous rice paste cakes. Once arriving at the end of the street, you’ll see some sort of small bright red temples, and after climbing all the steps, at the end of the path, on the side, you can go to buy entrance tickets (¥400) in order to go to visit the temple. In the main hall of the temple, there is a large veranda where you can have a panoramic view of the city.
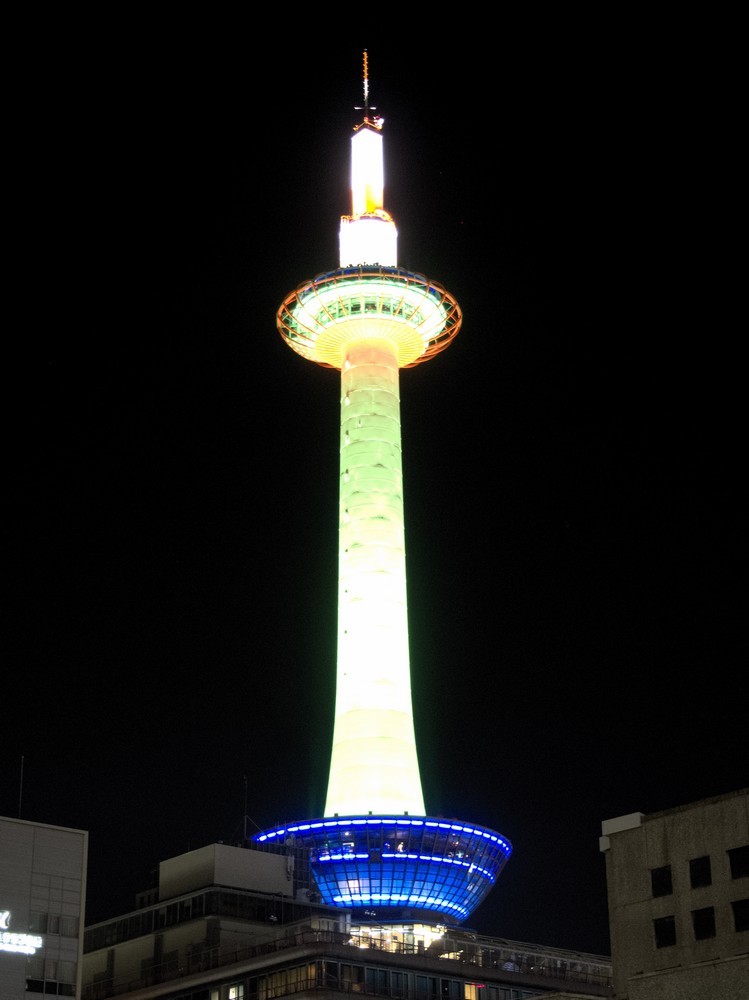
Once you’re done visiting, take the same bus to go back to Kyoto station in order to get to Kyoto Tower. You’ll see that the tower is located right in front of the bus station. Inside there is a hotel, shops, restaurants … And you can even climb to the top of the tower for a 360° view of Kyoto. Before arriving at the top of the tower, the lift will make a stop at the bar, but buying a drink is not compulsory!
Tip: to buy tickets in order to go to the observatory, it’s better to do it at the tourist office located on the 3rd floor, rather than at the one located on the ground floor because you’ll get a discount.
Day 2: city tour
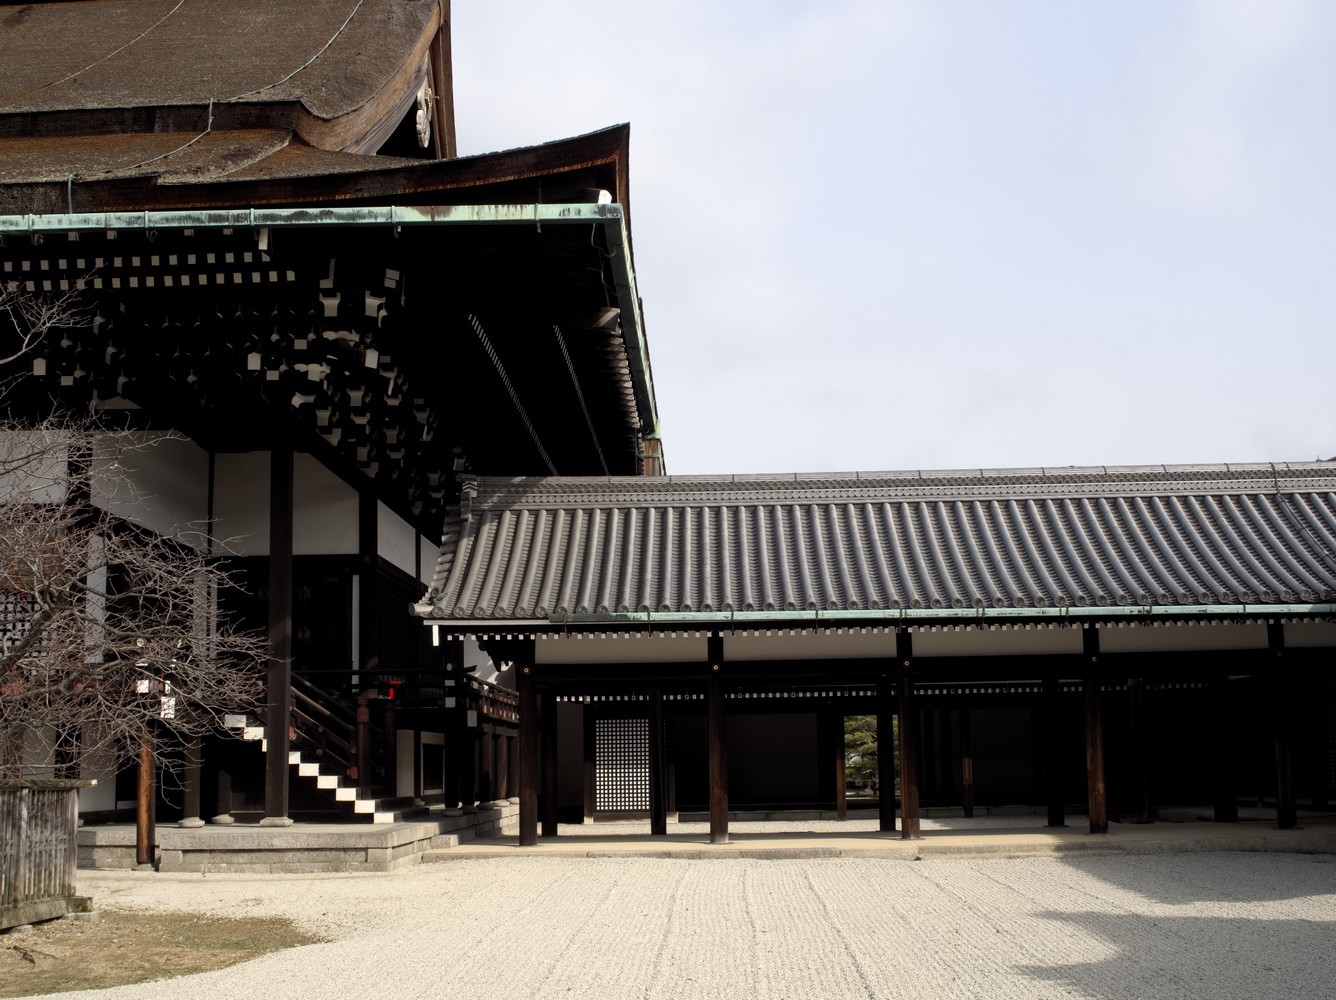

To start this second day, the first thing to do is to go getting a « Bus One-Day Pass » at ¥600. You can buy it at the Kyoto Municipal Transportation Bureau, an office (which is also a tourist office) located at the bus station of Kyoto station, and don’t forget to take a map of the bus network! Once you have the pass, go to take a bus that will bring you to Kyoto Imperial Palace, you can take buses # 4, # 17 and # 205 from Kyoto bus station. Basically, just take the first one you see, and get off at Furitsu Idaibyoin-mae bus stop. You’ll then enter from the east side of the palace, but you’ll have to cross the park before entering the palace grounds. For the visit, you’ll have to follow a route. It’s free and doesn’t require a booking.
Tip: note that the Imperial Palace is closed on Mondays.
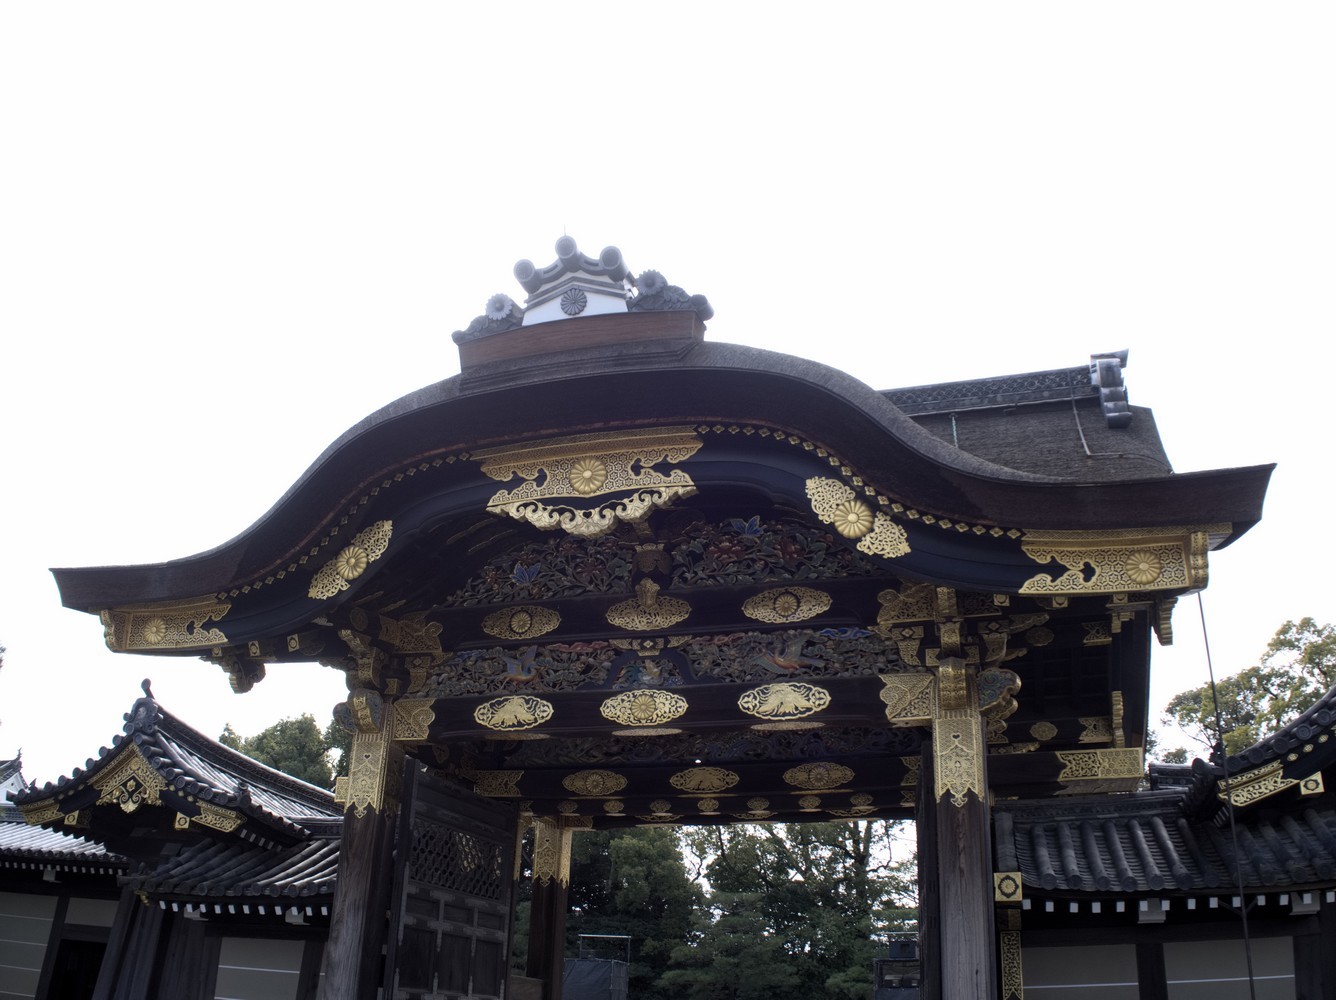


Once the visit of the Imperial Palace is over, it’ll be time to go visiting Nijo Castle, which is located quite close to the Imperial Palace. When leaving the palace, go straight until you reach Horikawa Street. From there, you should see the Horikawa Nakadachiuri bus stop where you can take buses # 9, # 12, # 50 or # 101 in order to reach Nijojo-mae bus stop. Otherwise, you can also walk there, it takes about half an hour. Entrance fee to the castle is ¥410 per person, and you have to add ¥620 for the entrance to the park. It’s quite expensive but it’s very interesting. There are several parts to visit, you can start from the inside, where you’ll have to take off your shoes. There will be a specific route to follow and it will allow you to discover many rooms. You can end the visit by strolling into the gardens.
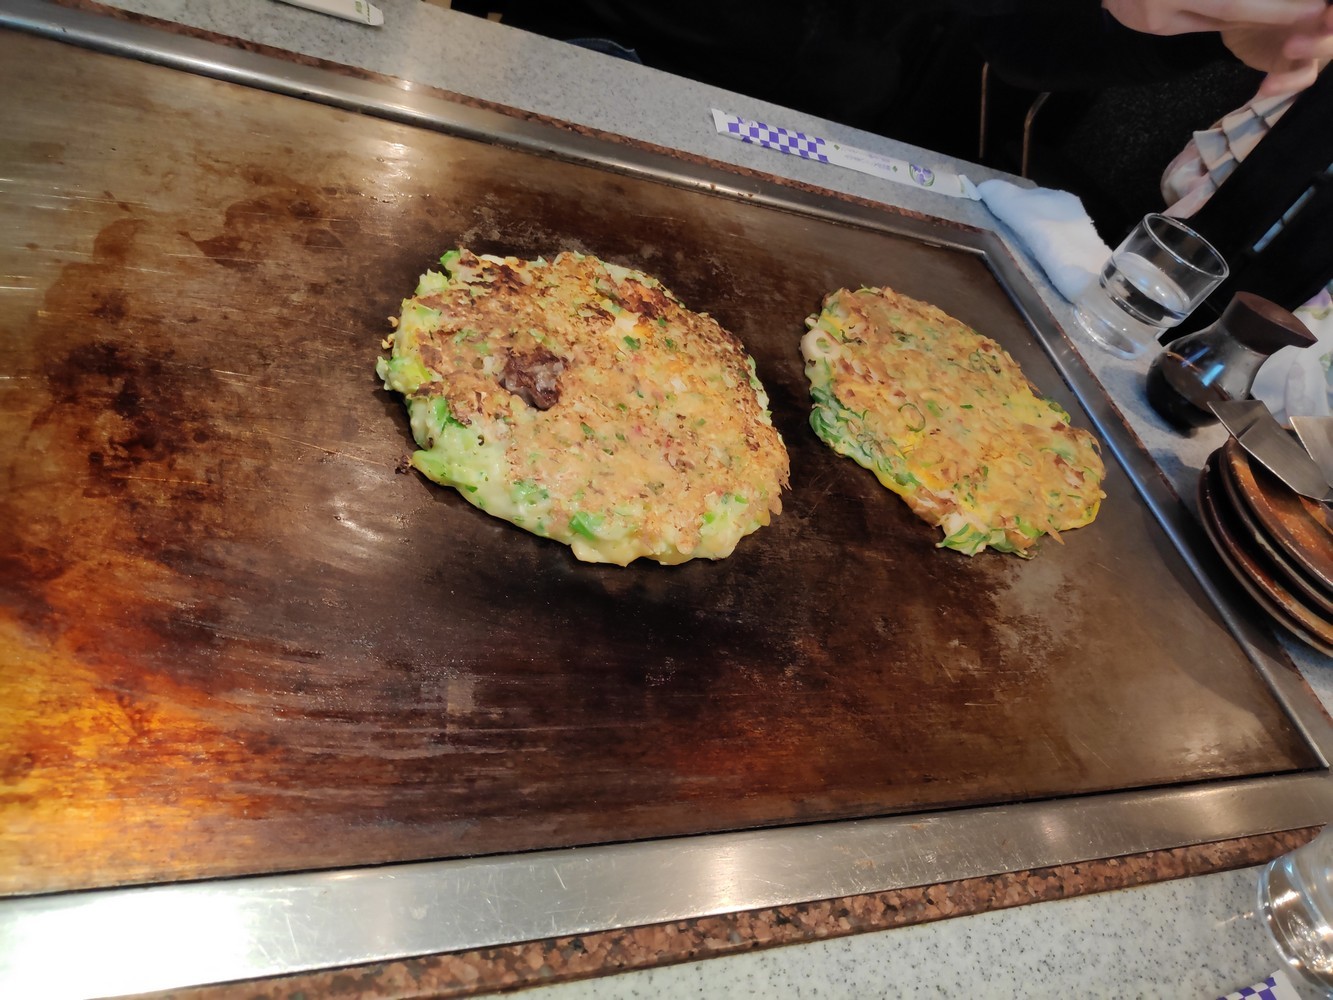
For lunchtime, head to Nishiki Market, but note that it’s closed on Wednesdays and Sundays. From Nijo Castle, take the bus # 12 and get off at Shijo Keihan-mae bus stop (or Shijo Kawaramashi bus stop). It’s a food market where you’ll find stalls selling seafood, all kinds of Japanese food, souvenirs … Some stalls even let you taste their specialties. You can also find restaurants nearby, back then I tasted the okonomiyakis and teppanyakis, some kinds of grilled omelets and noodles with various ingredients inside.

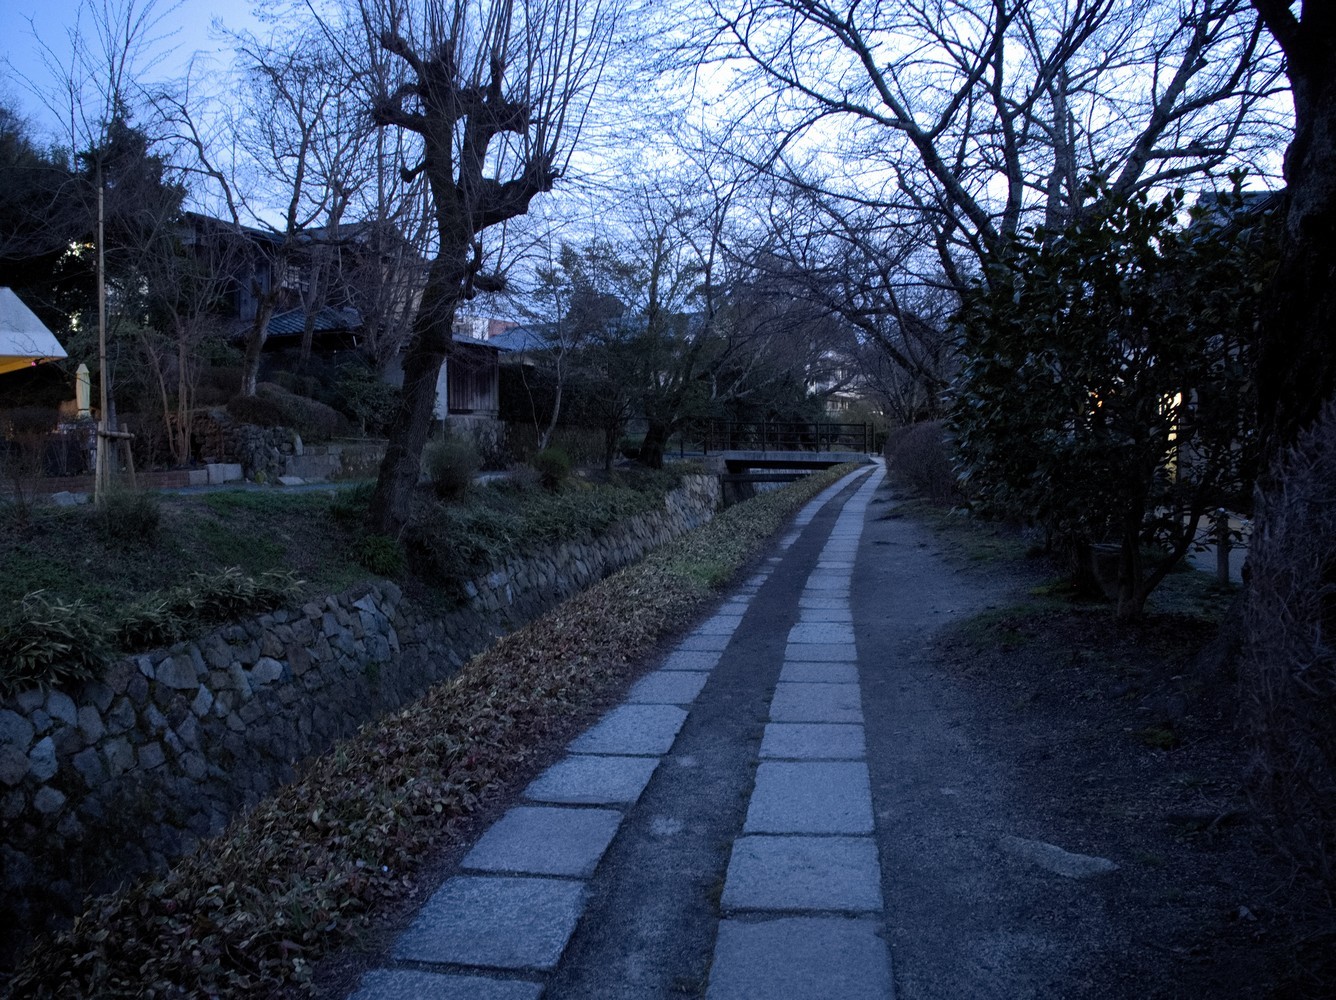
After lunch, let’s go to Ginkaku-ji, the Silver Pavilion. From Nishiki Market, at Shijo Kawaramashi bus stop, take the bus # 32 and get off at Ginkakuji-mae bus stop. Then you’ll still have to walk for about 5 minutes to reach the temple. Entrance fee is ¥500 per person. Once you’re done visiting, take your time strolling along the « Philosopher’s Walk » which is about 2km long. The path lines a canal and passes shops, shrines and temples. If you have some time left, at the end of the walk you can even visit the Nanzen-ji temple (last admission is at 4:40 p.m., that is to say 20 minutes before closing time).
To end up this sightseeing day, you can go strolling around the Gion district and the Pontocho alley. For that you can take the bus # 100 and get off at Gion bus stop. You can even dine there.
Day 3: Kyoto’s suburb
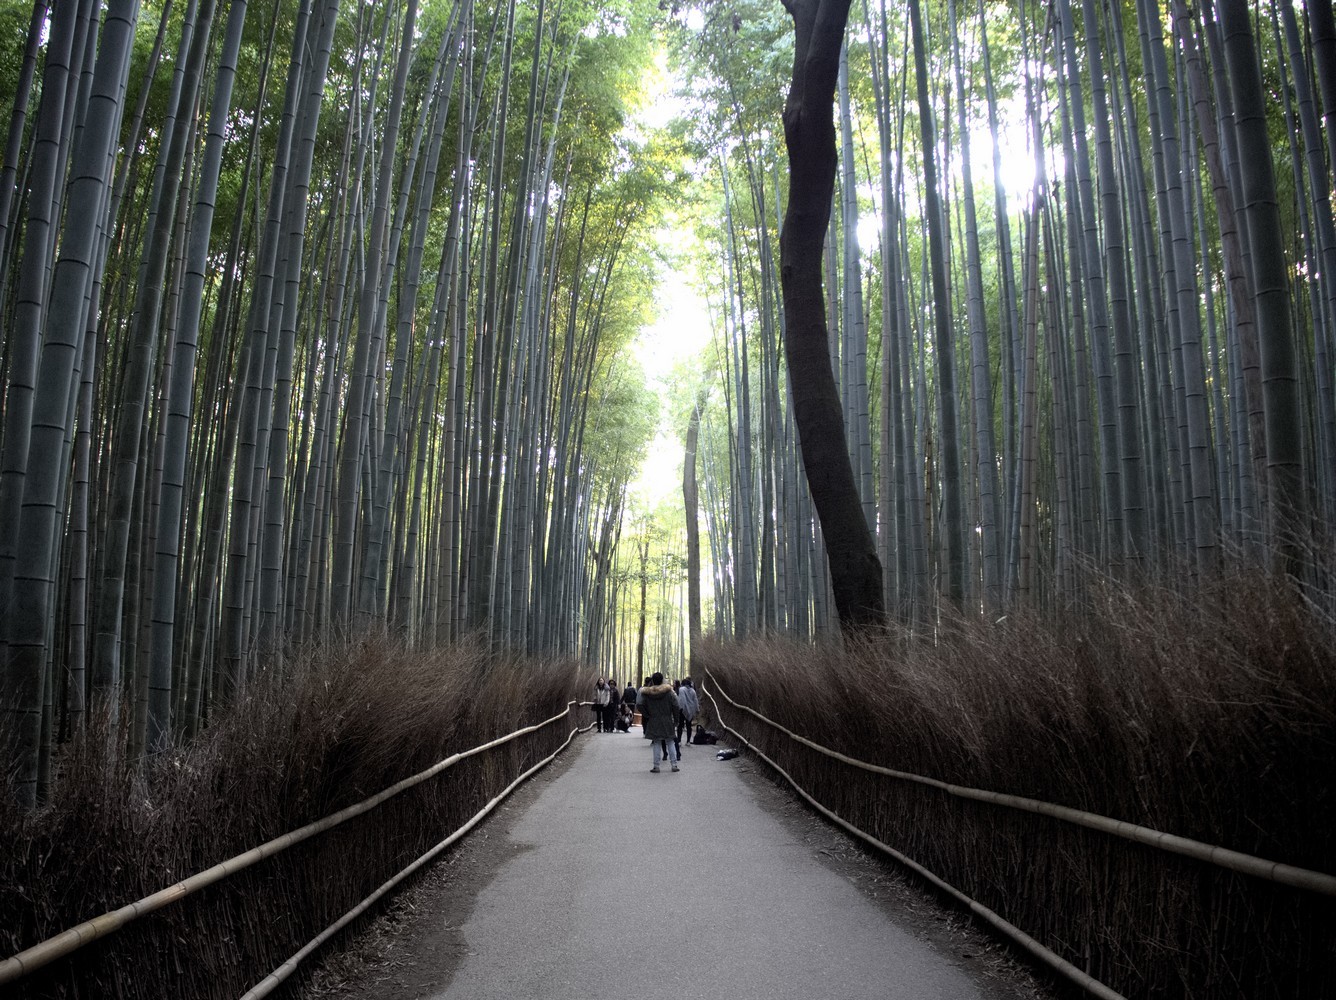

To start your third day in Kyoto, you’ll have to get up at dawn in order to go to the Arashiyama Bamboo Grove. It’s the only way you can avoid the crowds to be able to walk around while taking some photos. From Kyoto station, take the JR Sagano line (included into the JR Pass) and get off at Saga-Arashiyama station. Then you’ll have to walk for about 15 minutes in order to reach the bamboo grove. Once there, you’ll see that it is not very large. Moreover, the famous bamboo corridor is only a few hundred meters long.
Once you’re done exploring the bamboo grove, let’s go to Tenryu-ji Temple, reachable from the north entrance of the bamboo grove. Overthere, you can visit a very beautiful garden and a temple. Entrance fee is ¥800 : ¥500 for the garden and ¥300 for the temple. You can even have lunch there (vegetarian meal).
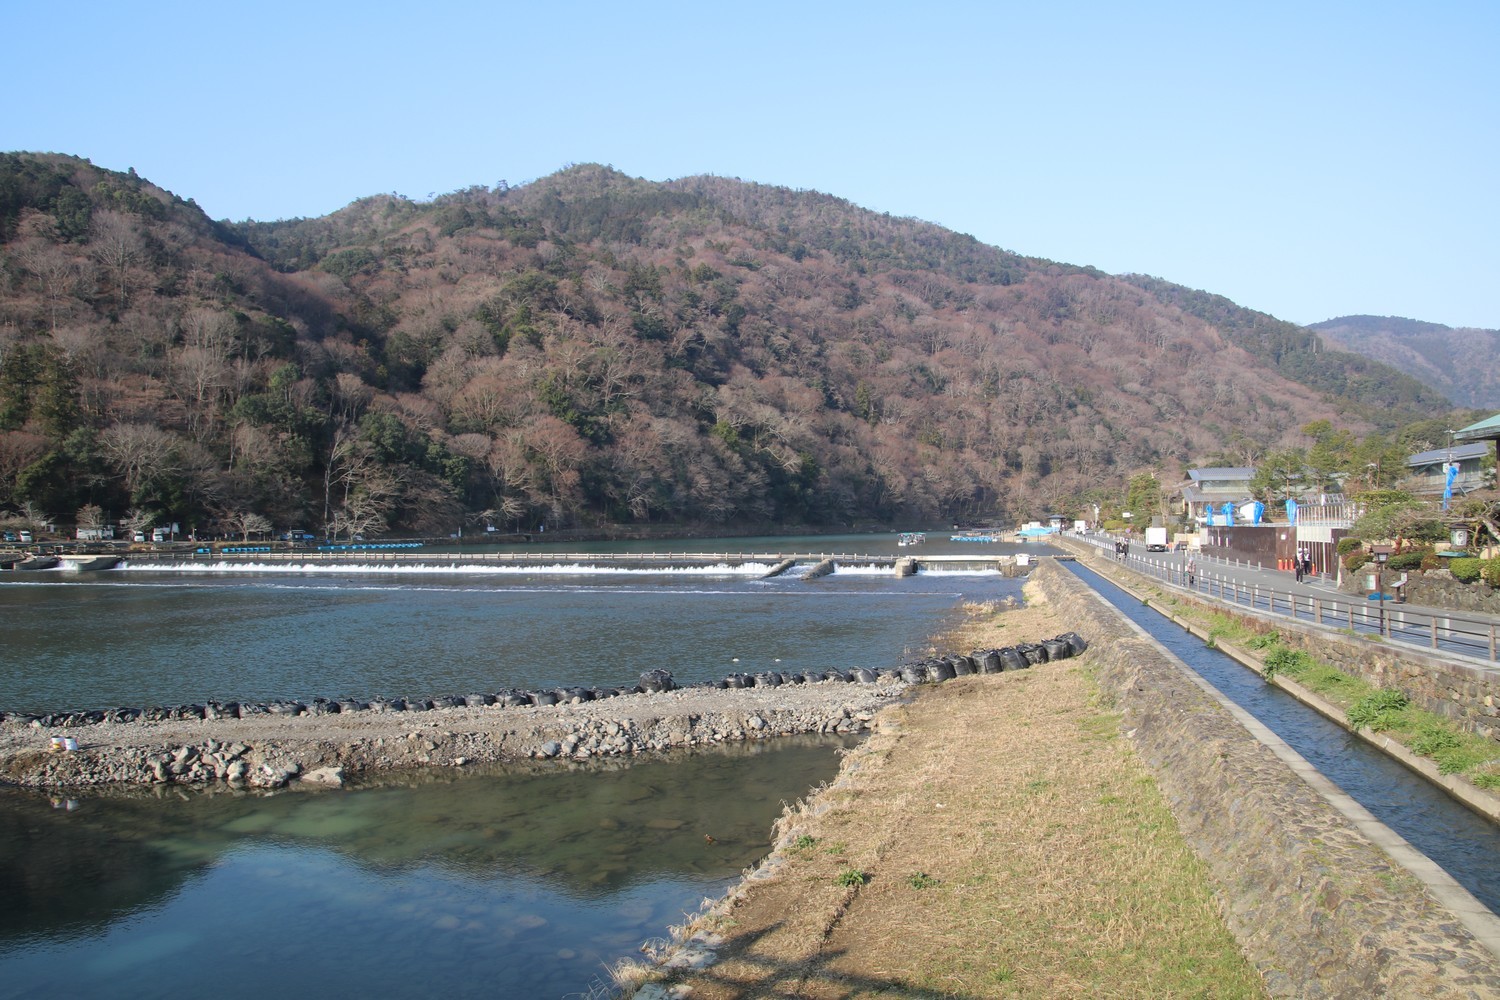
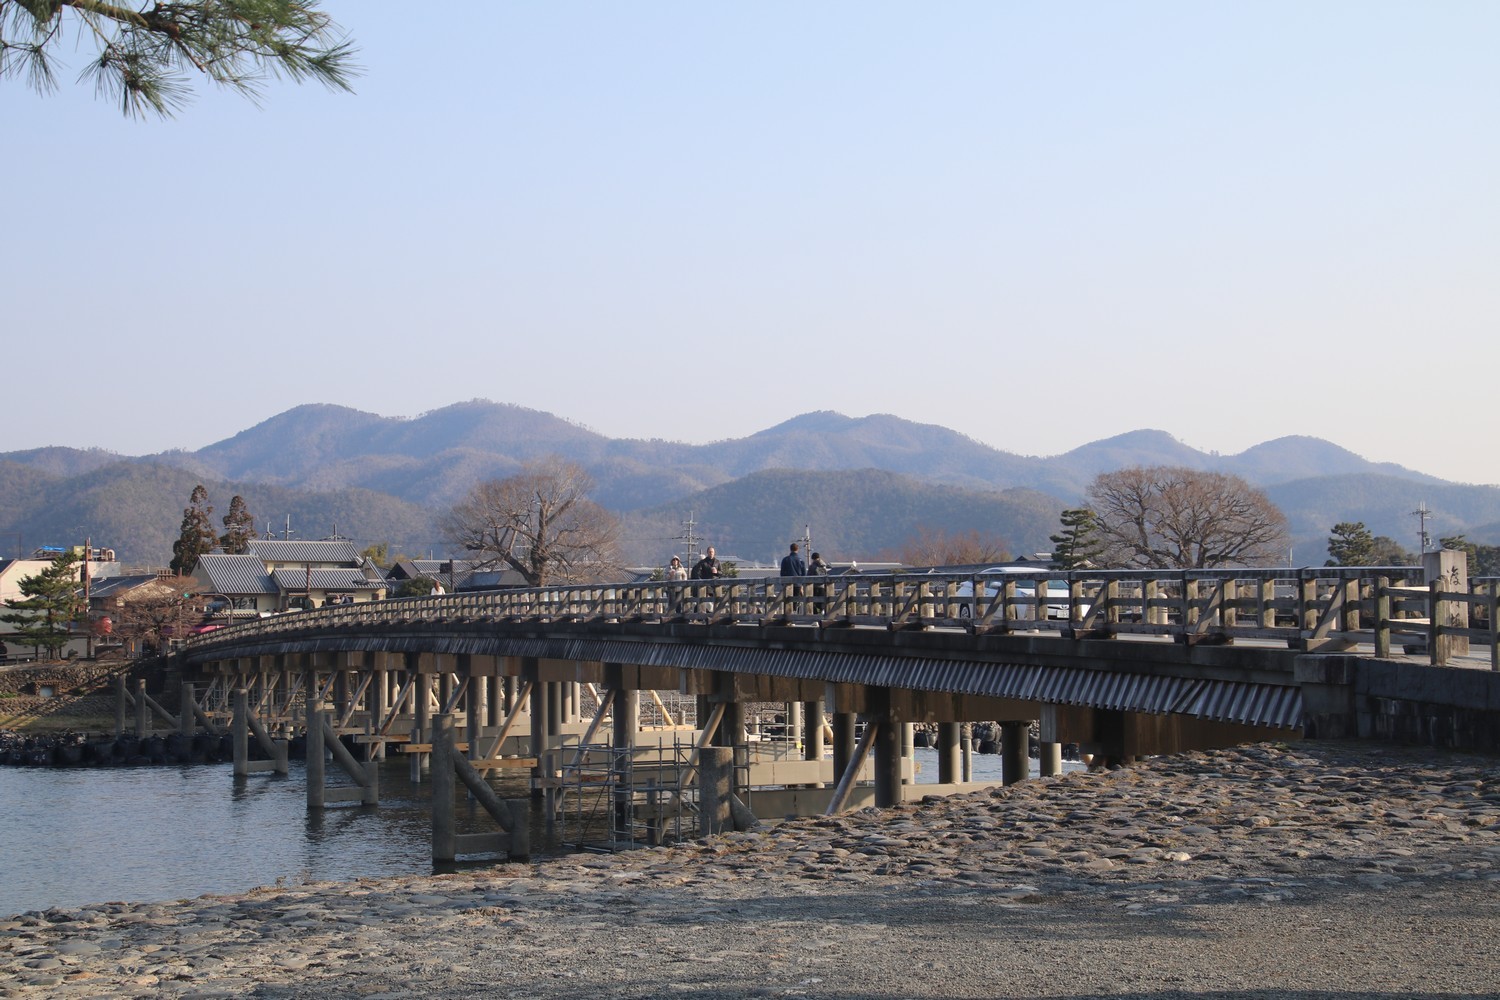
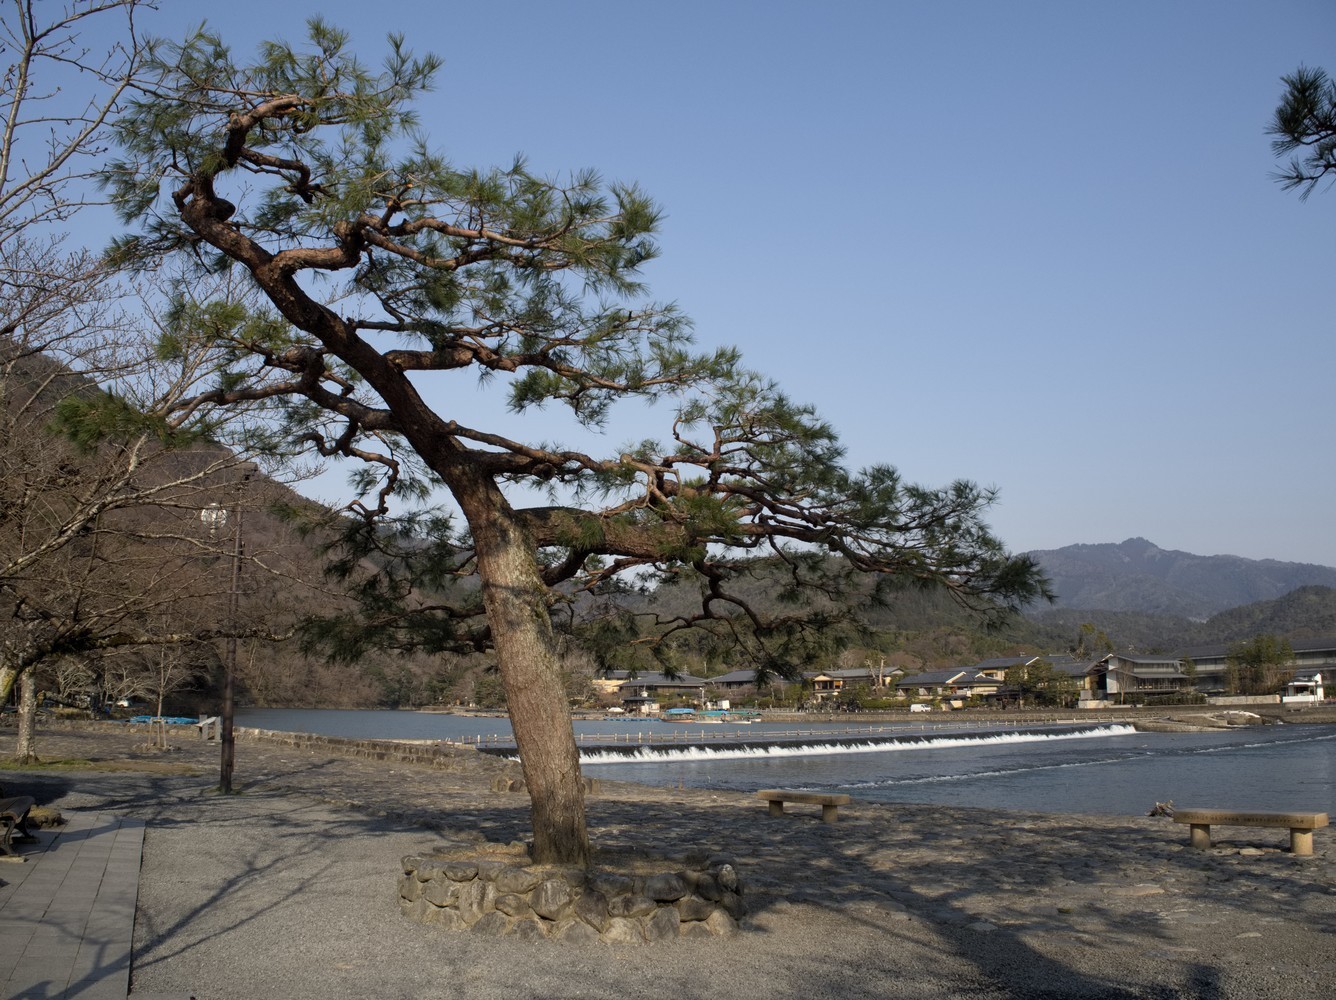

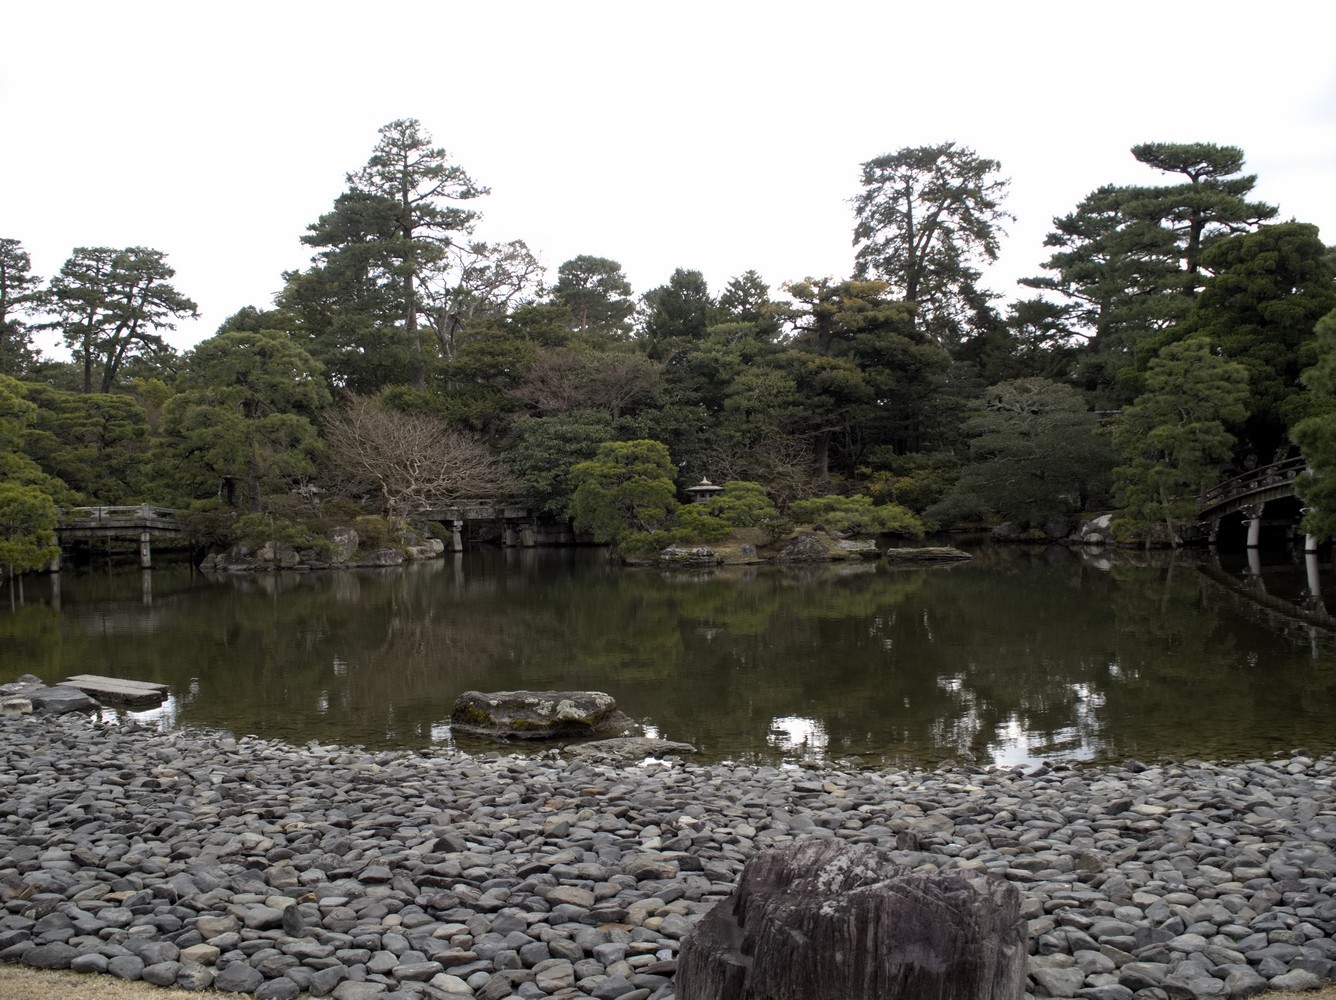
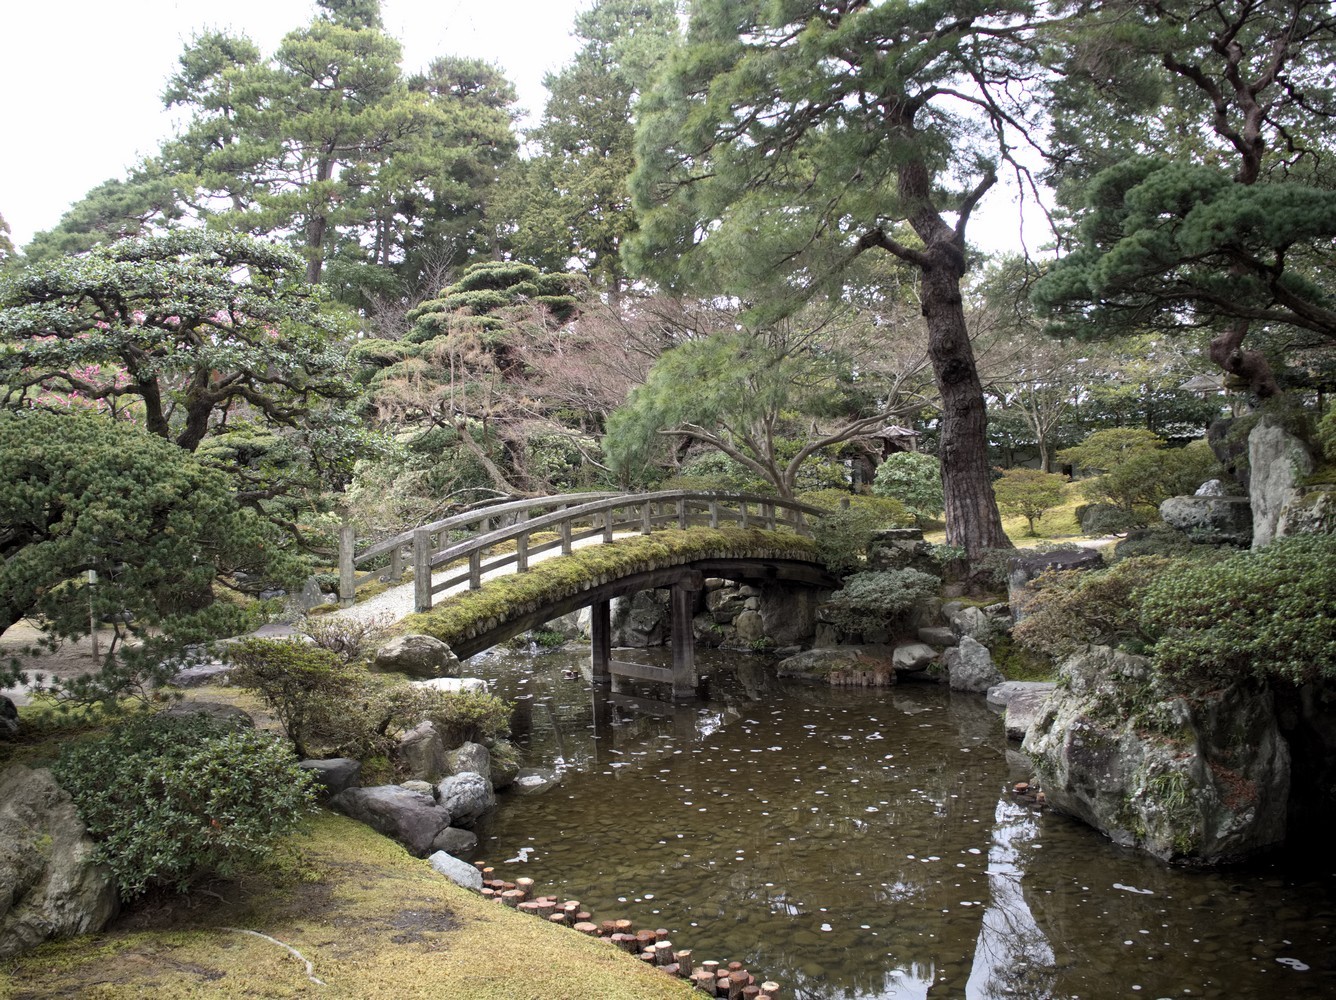
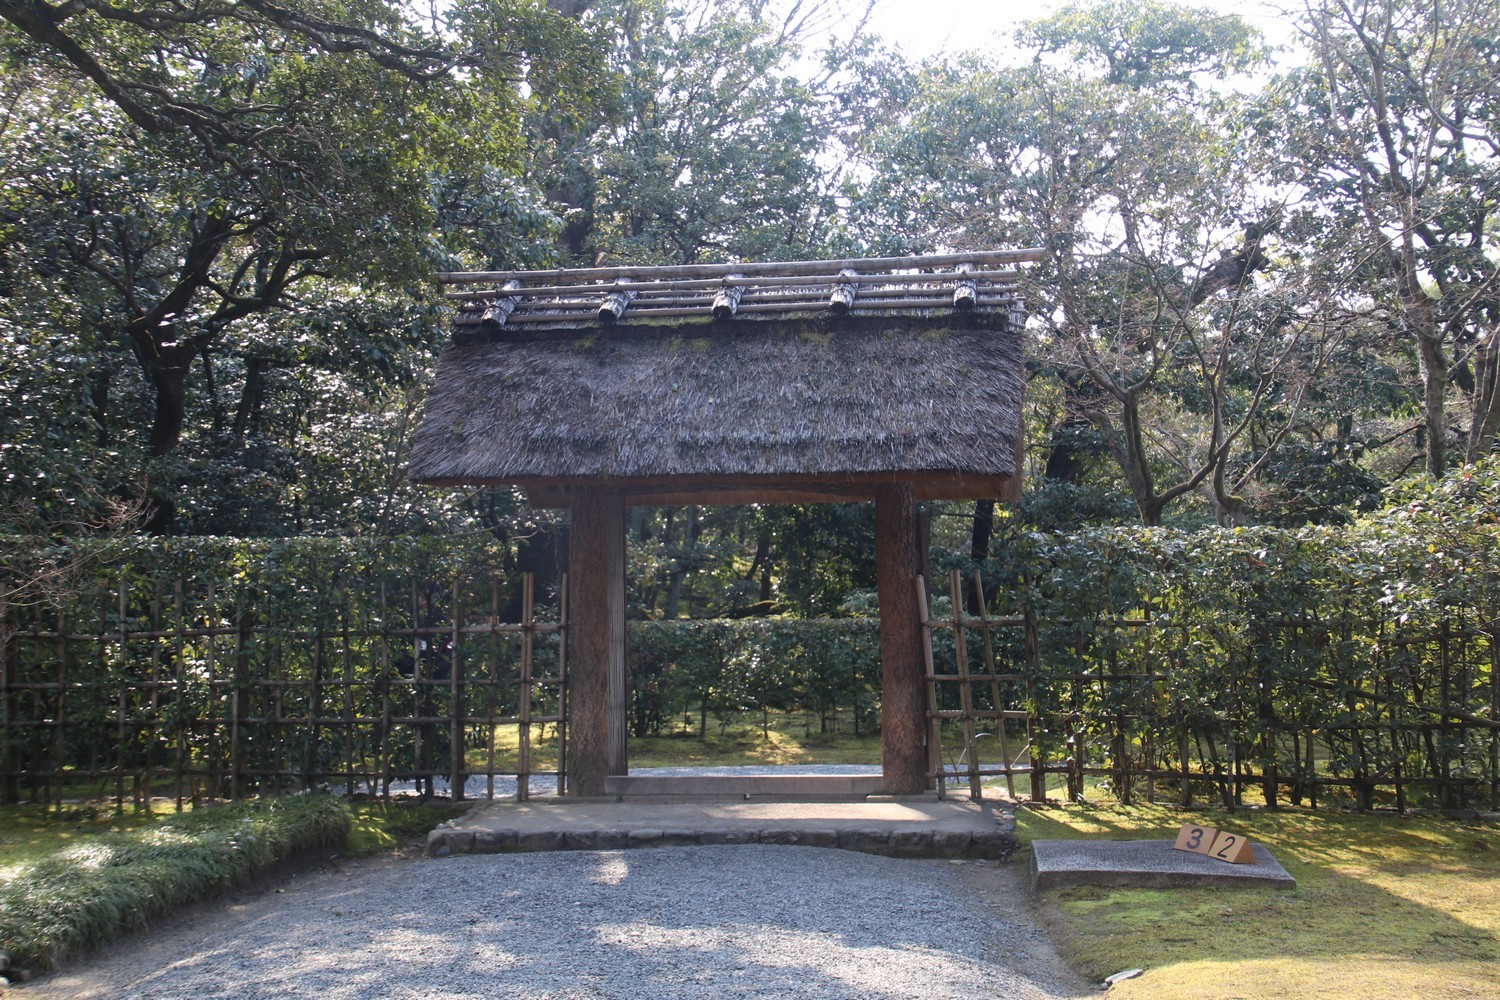
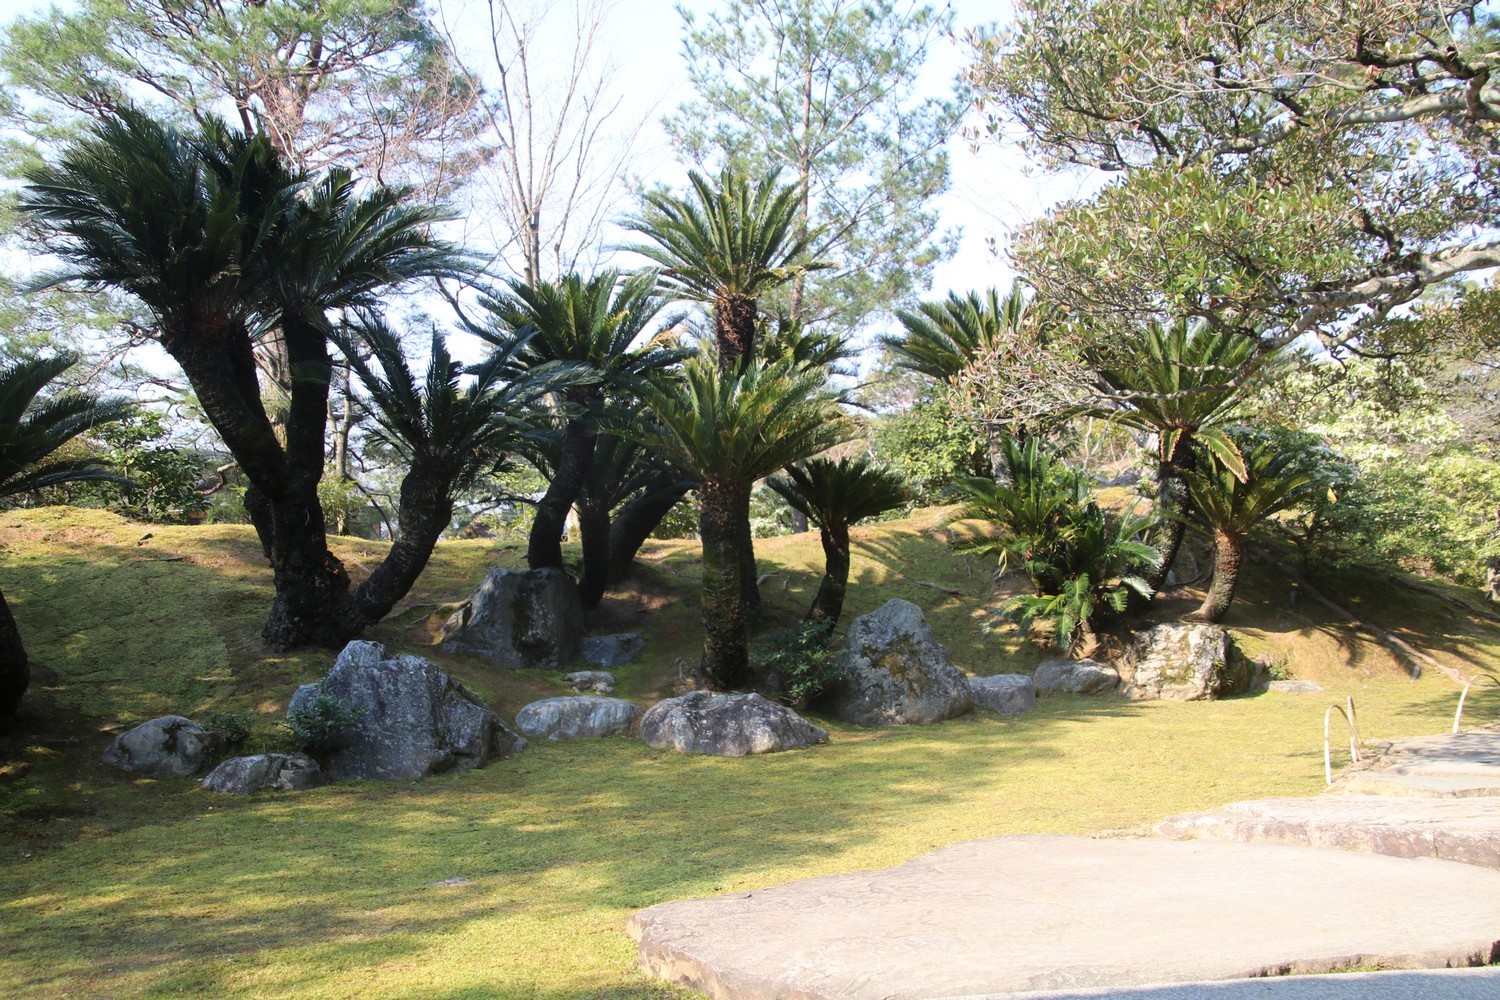
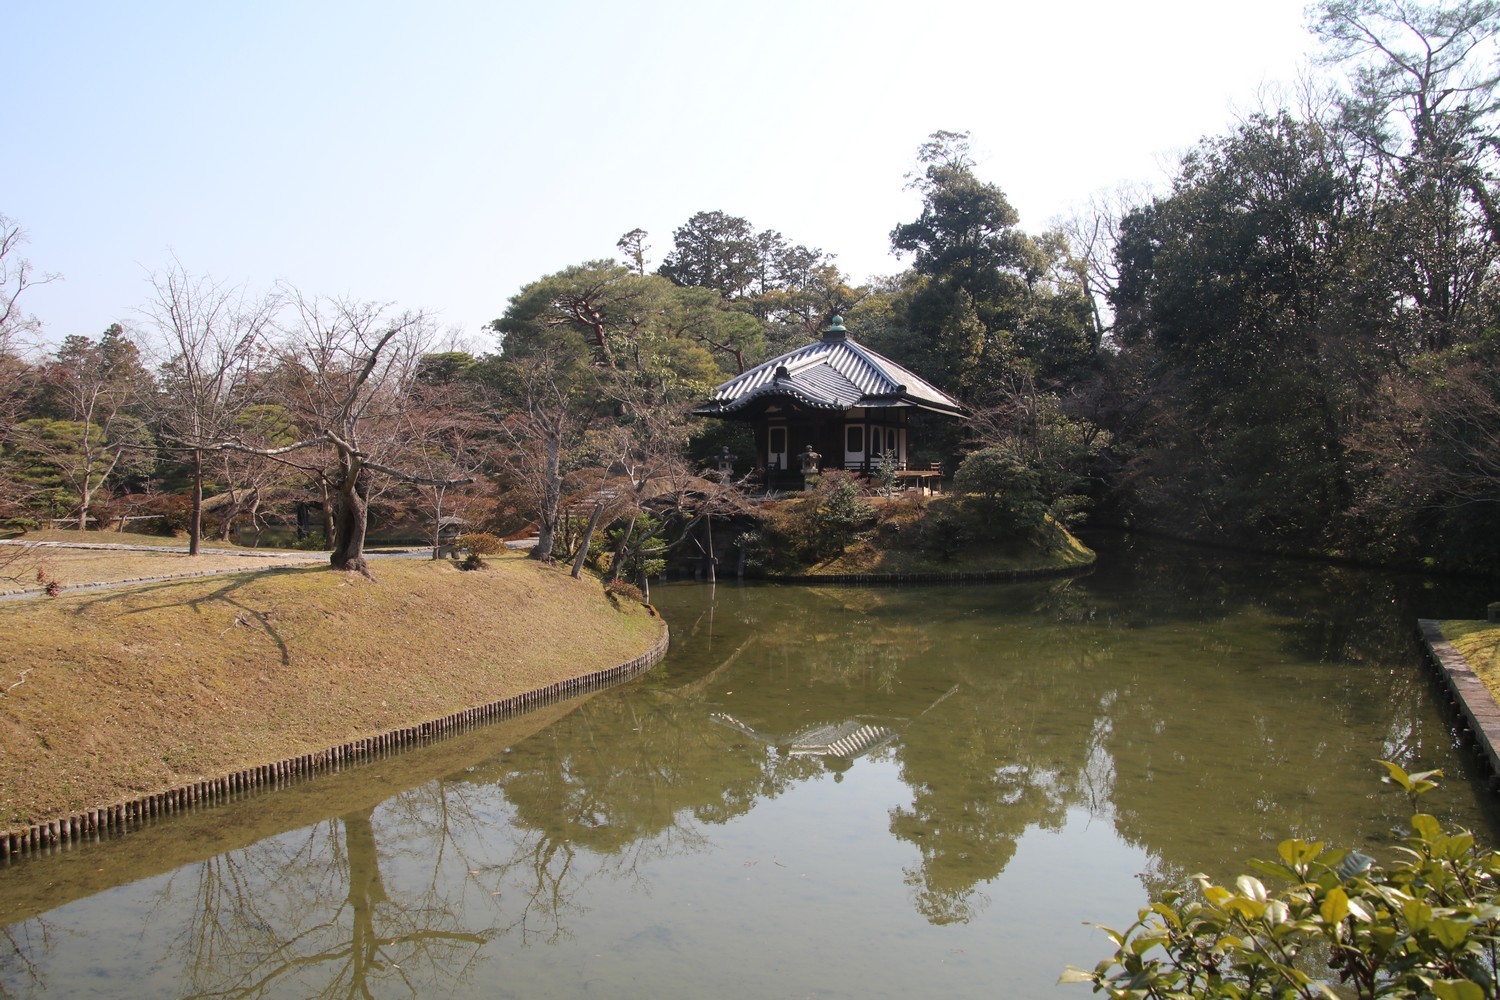
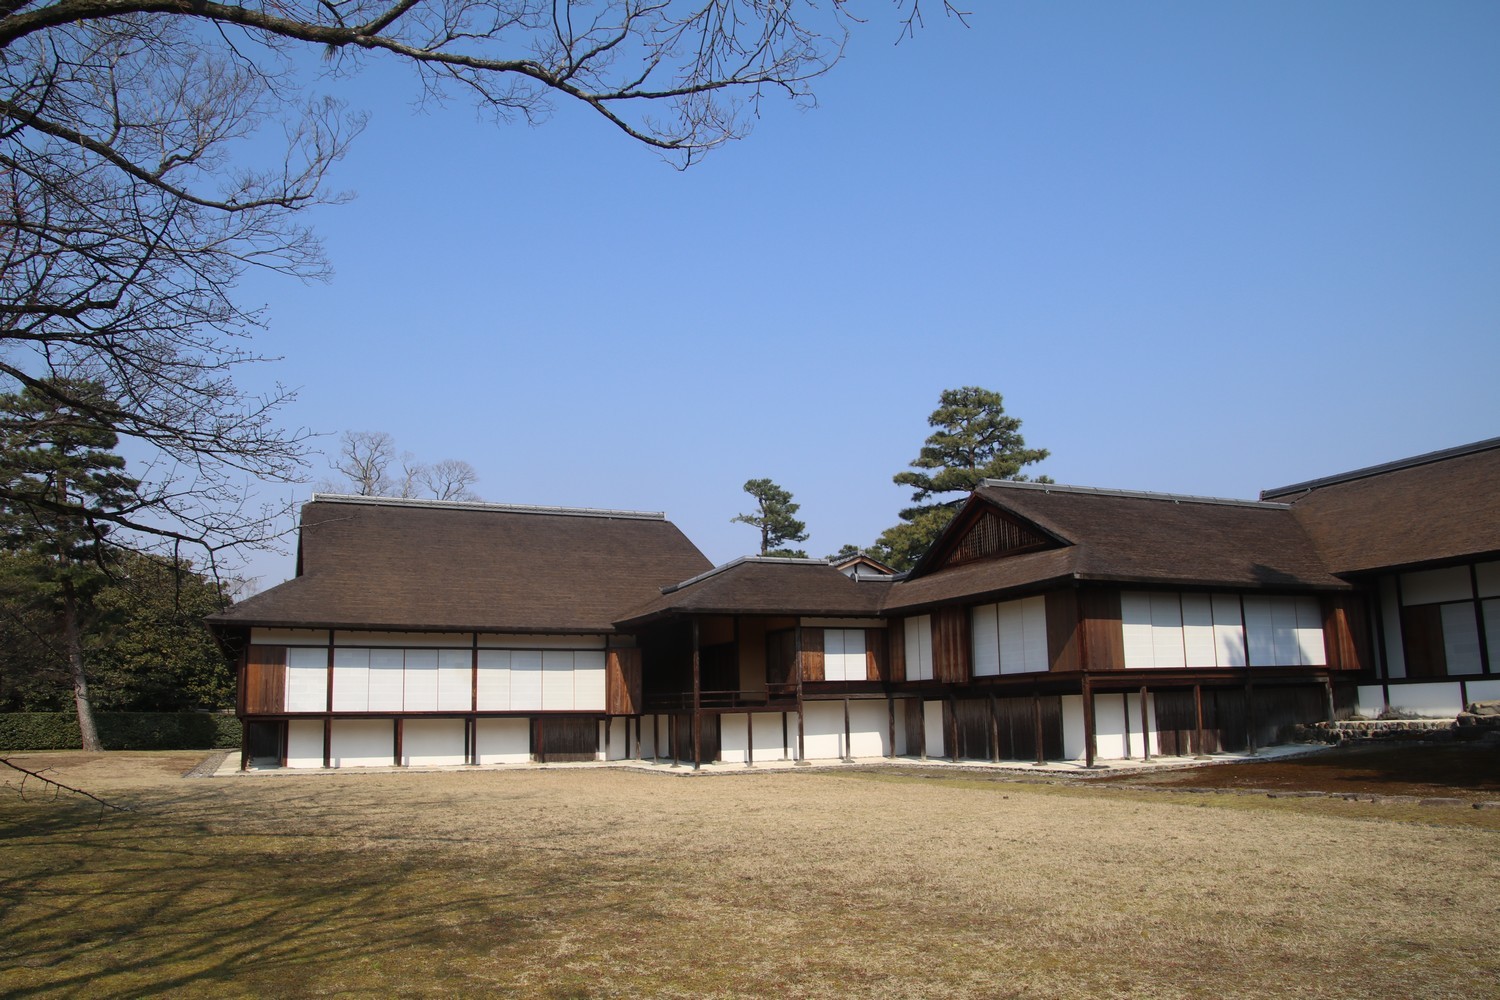
Then it will be time to go to the Katsura Imperial Villa. From Tenryu-ji Temple, the whole journey takes about 45 minutes. First, you’ll have to walk for about 10 minutes in order to reach Arashiyama station (on the Hankyu-Arashiyama Line). On the way, you’ll pass a bridge and you’ll see that the walk is quite pleasant. Once you’ve reached the station, you’ll have to buy tickets before boarding the train that will take you to Katsura station. From there, it takes another 20-minute walk to reach the villa. The tour costs ¥1000 per person and booking is compulsory. You can do it on the website but you have to be quick because it fills up quickly. And booking opens 3 months in advance. Please note that the villa is closed every Monday and one Tuesday per month. Even if the tour only takes you to explore the beautiful garden and not the buildings, it’s still worth it. Back then, I booked the 1:20 p.m. guided English tour.
Tip: when booking try to take an English tour, there are 5 per day. If there’s no more place, don’t worry, you can still book a Japanese tour because they provide multilingual audio guides.


To go back to Kyoto station, I recommend walking 40 minutes from the villa, in order to reach Nishiōji station which is located on a JR line and at only one station away from Kyoto station (included into the JR Pass). Even if there are other routes available, you’ll still have to walk quite a lot, plus you’ll have lots of train connections to make and some train tickets to buy.
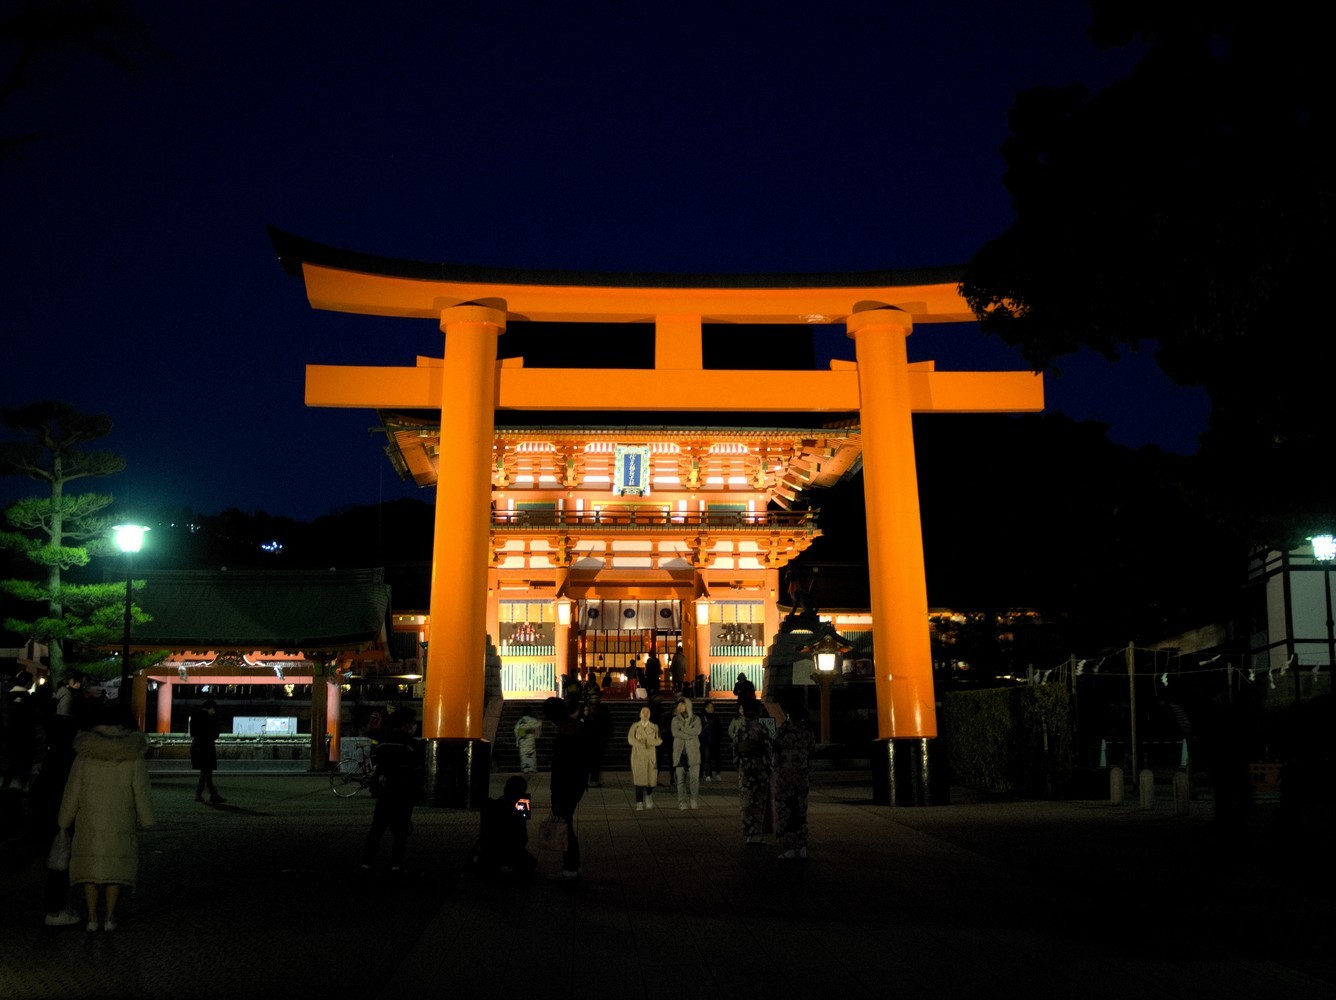


Once back at Kyoto Station, go to take the local JR Nara Line (also included into the JR Pass) and stop at Inari Station. As soon as you exit the station, you’ll see the path that leads to the torii gates. Basically, visiting Fushimi Inari is all about hiking among the thousands of torii, but don’t worry, you don’t need to do the full hike in order to enjoy it! This visit will end your day.
Day 4: temples and day trip
Tip: if you follow the itinerary I took and that you’ve booked a hotel in Osaka for the night (or in another city), don’t forget to check out at the hotel in the morning in order to leave your suitcases at the left-luggage office.
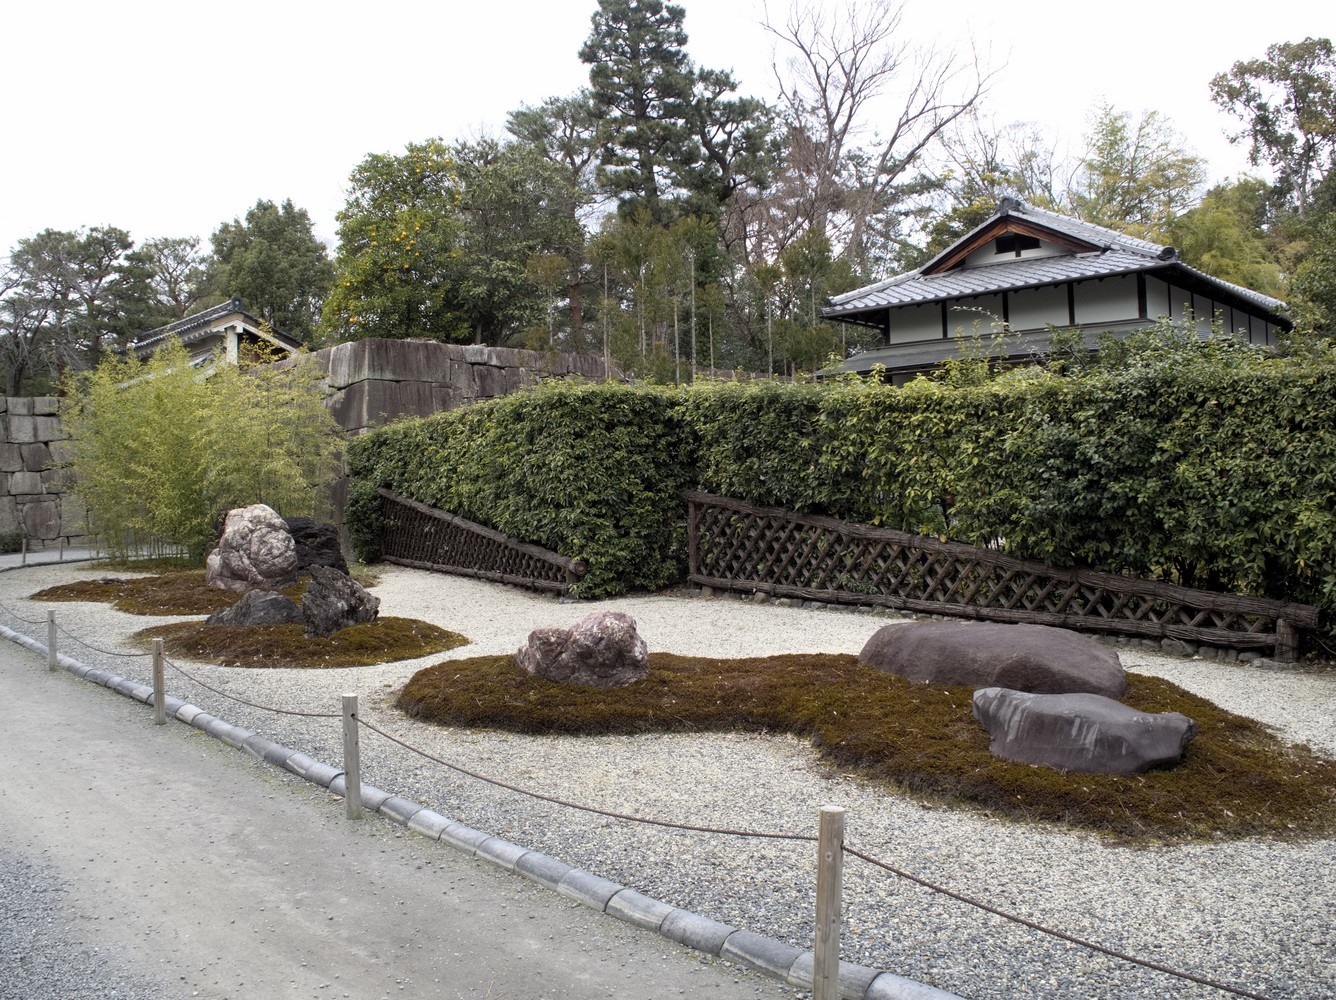
To start your last day in Kyoto, let’s go to visit Ryoan-ji temple, famous for its Japanese rock garden. To get there, I recommend buying a « Bus One-Day Pass » again, and then take the bus # 50 in order to get to the Ritsumeikan daigaku-mae bus stop. You’ll then have a 7-minute walk to reach the temple. Entrance fee is ¥500.


Once you’re done visiting, take the bus # 59 in order to get to the Kinkakuji-mae bus stop that leads to Kinkaku-ji Temple, the Golden Pavilion. Entrance fee is ¥400.
Tip: you can also click on the link down below from your smartphone, to open the itinerary to follow on google maps: « NARA » walking tour
This visit will complete your discovery of the city of Kyoto. To return to Kyoto station, take the same itinerary as before. Then, go to have lunch before taking a JR Nara Line train (included into the JR Pass) that will take you to Nara City. The journey takes 45 minutes if you take an express train, they run every 30 minutes. For example, you can take the 12:03 p.m. or 12:33 p.m. trains.
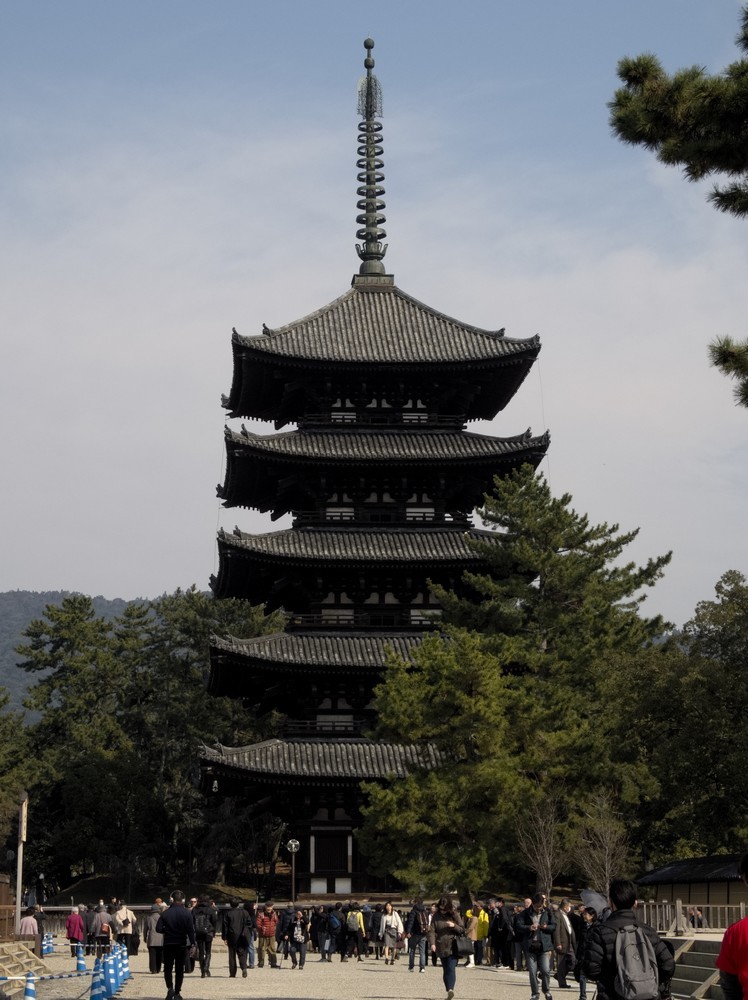
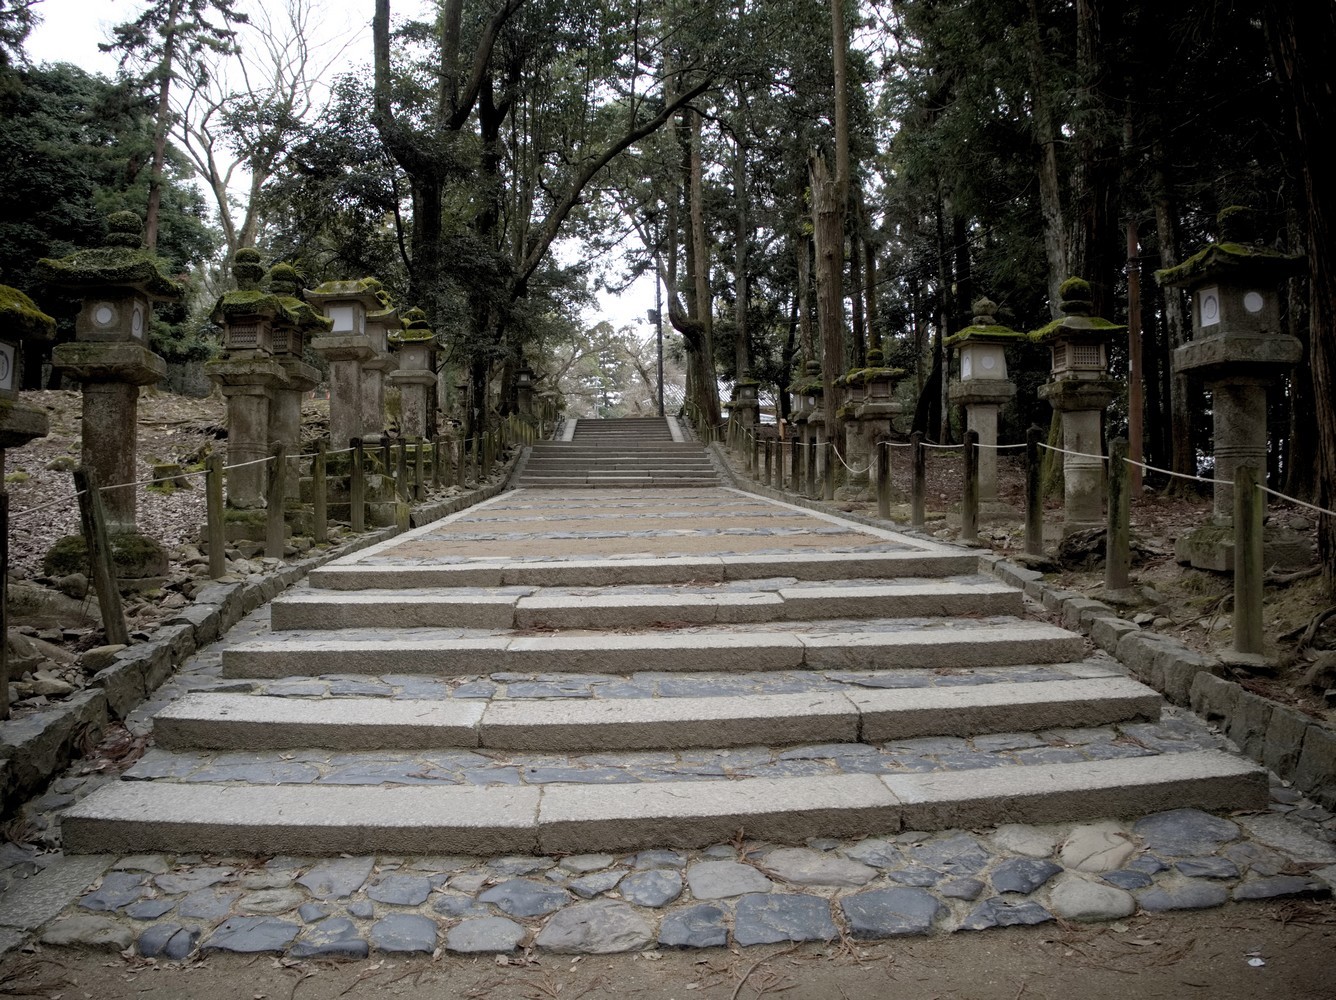
When going out of the station, make a stop at the tourist office in order to get a map of the park and ask for the must-see sites. Then you’ll have to walk along a pretty nice street that leads to the park. It takes about 15 minutes. Almost at the end of that road, on the left you’ll see a large staircase that leads to Kofuku-ji temple. Over there you could see a pretty 5-storied pagoda and also some deer.
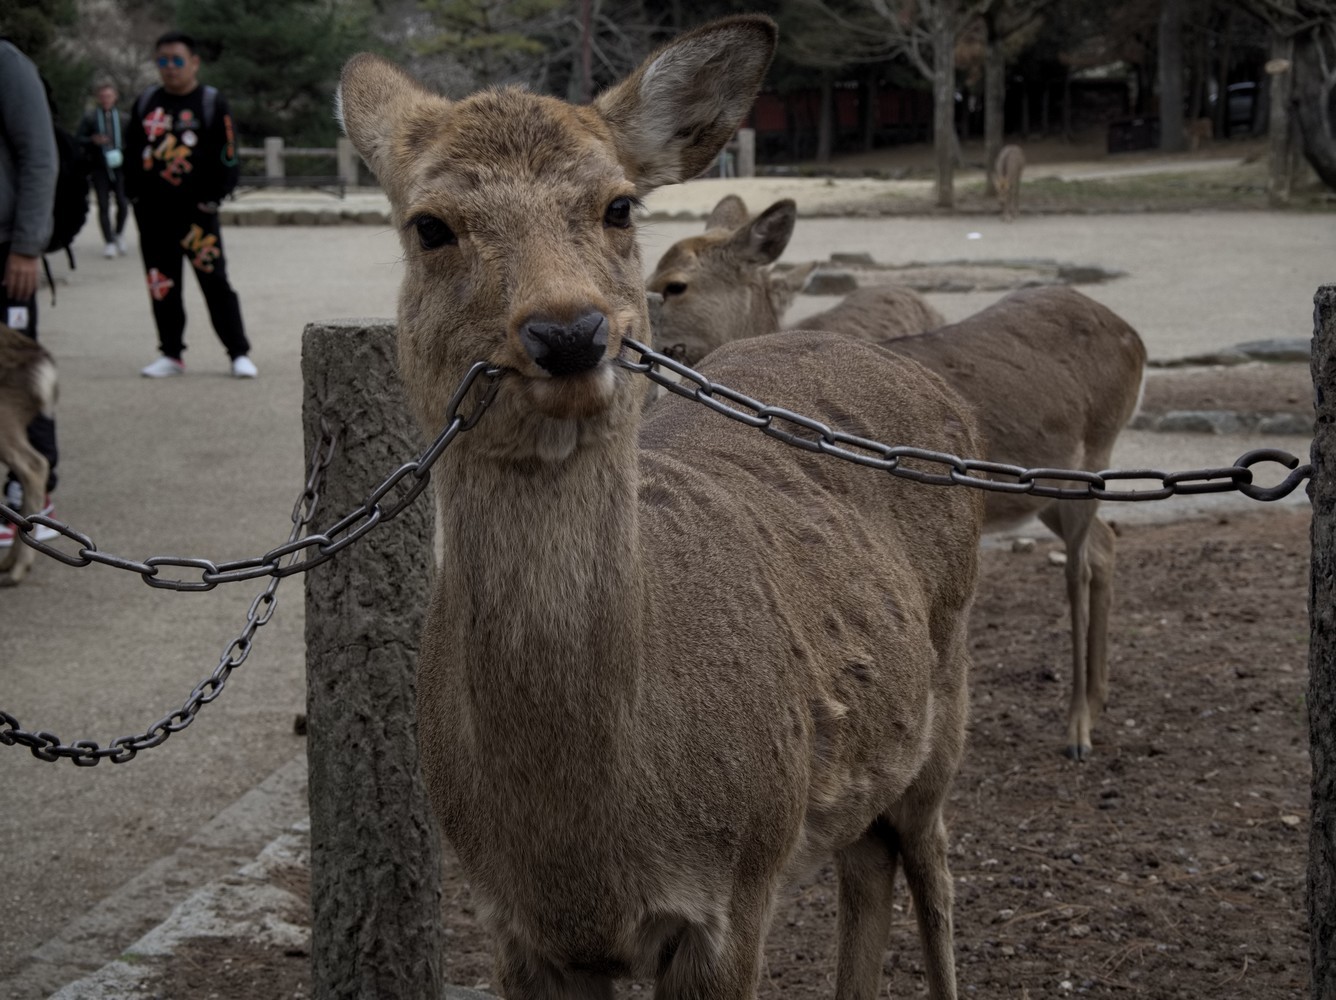

Then continue walking towards Nara Park. On the way, you’ll see more and more deer, and when you’ll get into the park, you’ll see that they are everywhere. You can even buy « deer-crackers » in order to feed them, but be careful because they will jump on you! And don’t forget that deer are wild animals. For example, when I was there, a little boy was bugging a deer and he ended up getting hit several times.
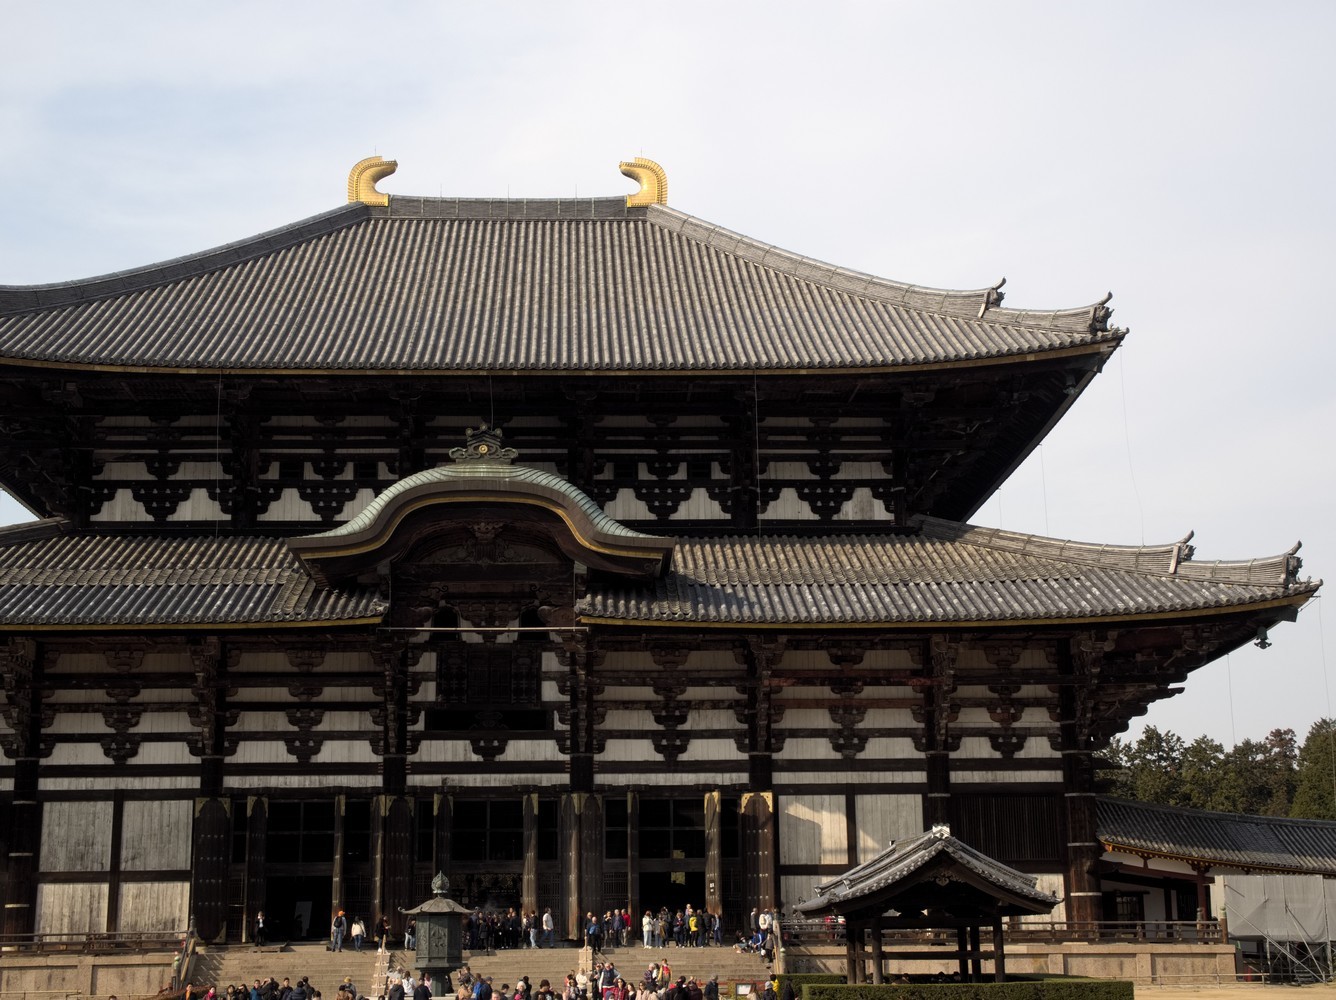
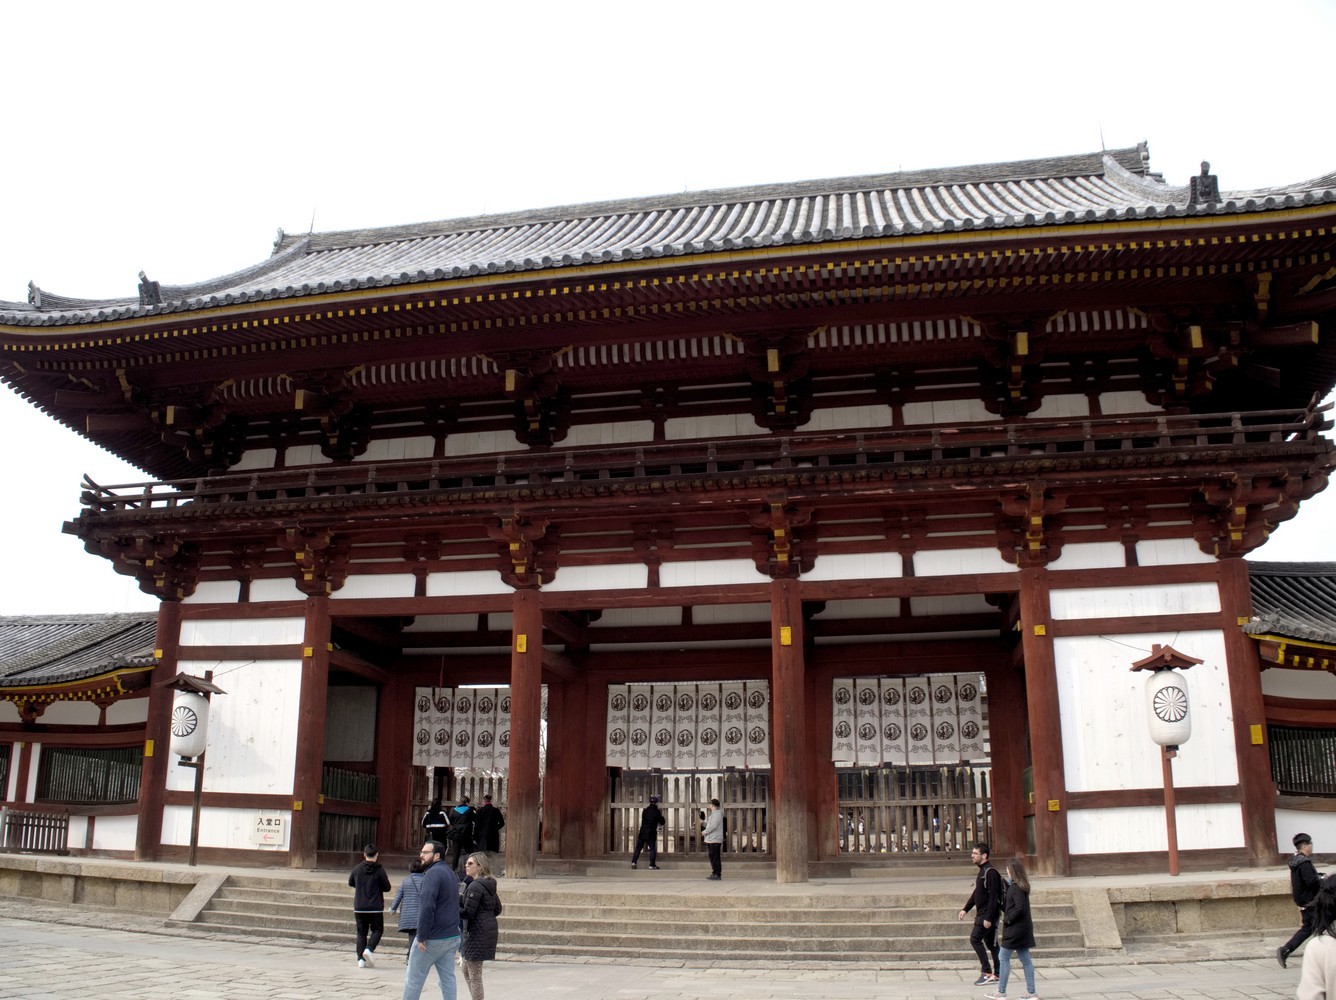

Once in the park, you can go to see:
- Todai-ji: a temple with a large bronze Buddha
- Nigatsu-do: made up of several buildings and one of them offers a nice view of the city
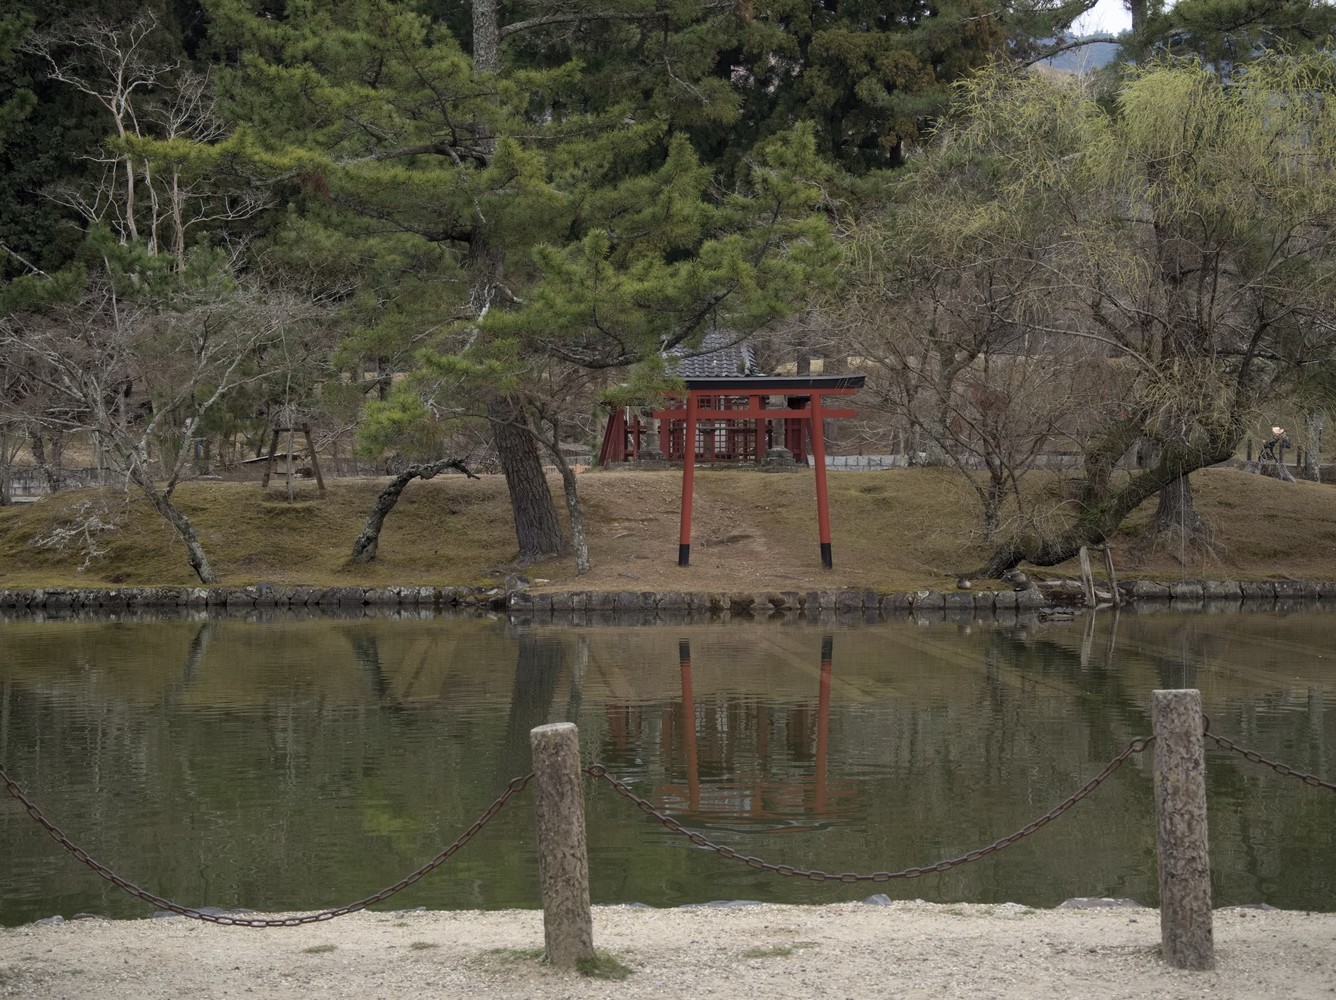
- Tamukeyama Hachimangu: a small shrine
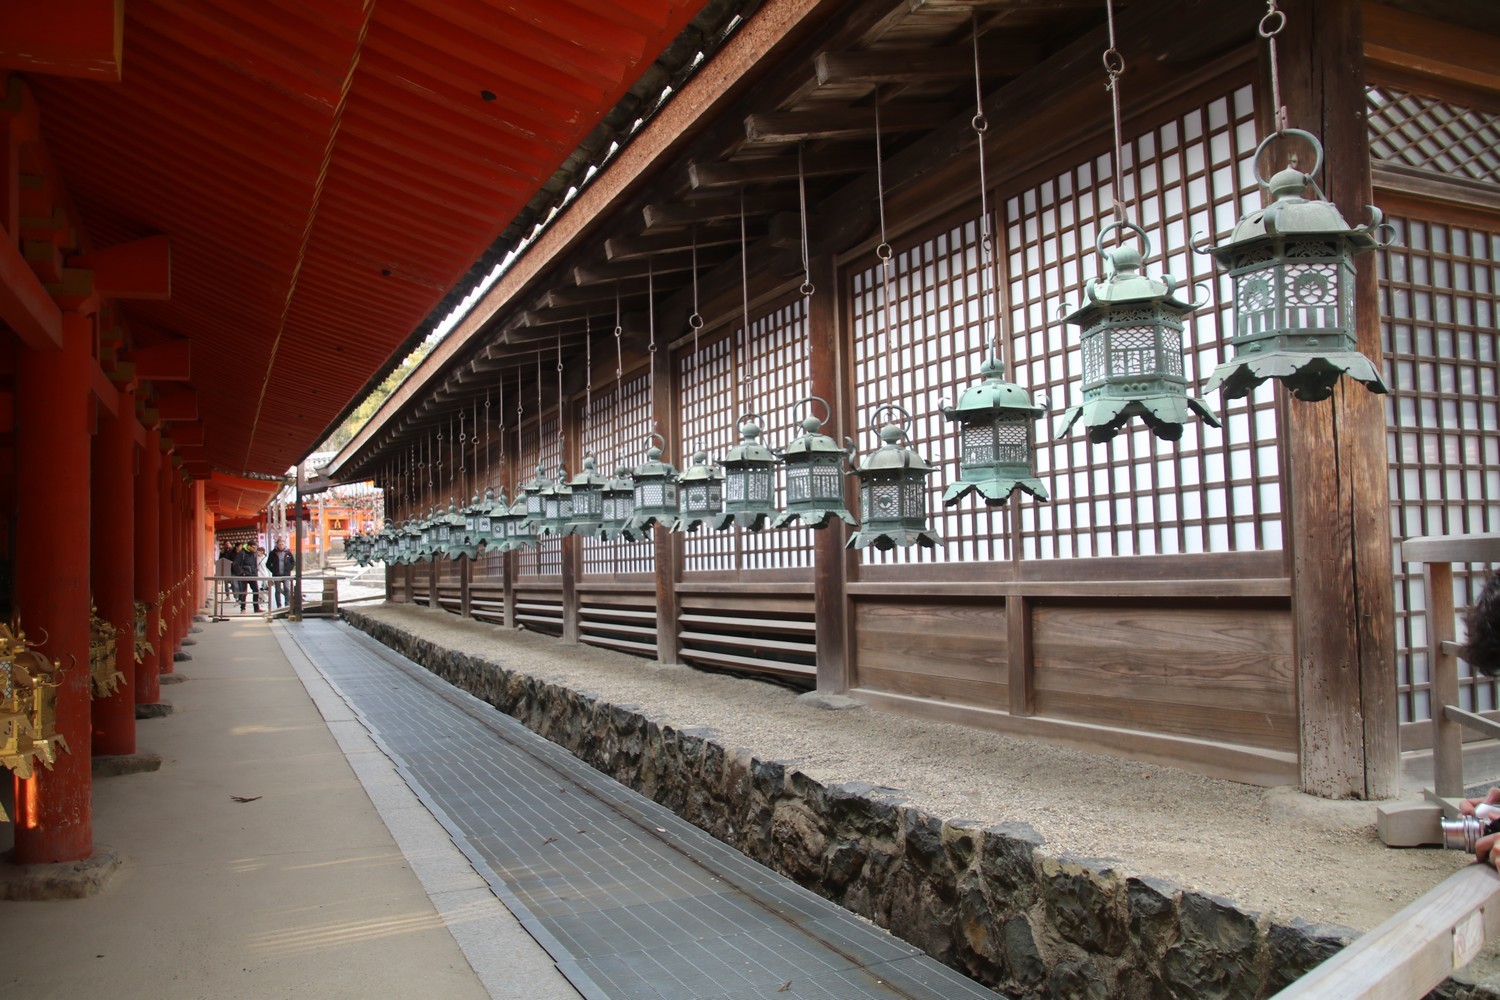
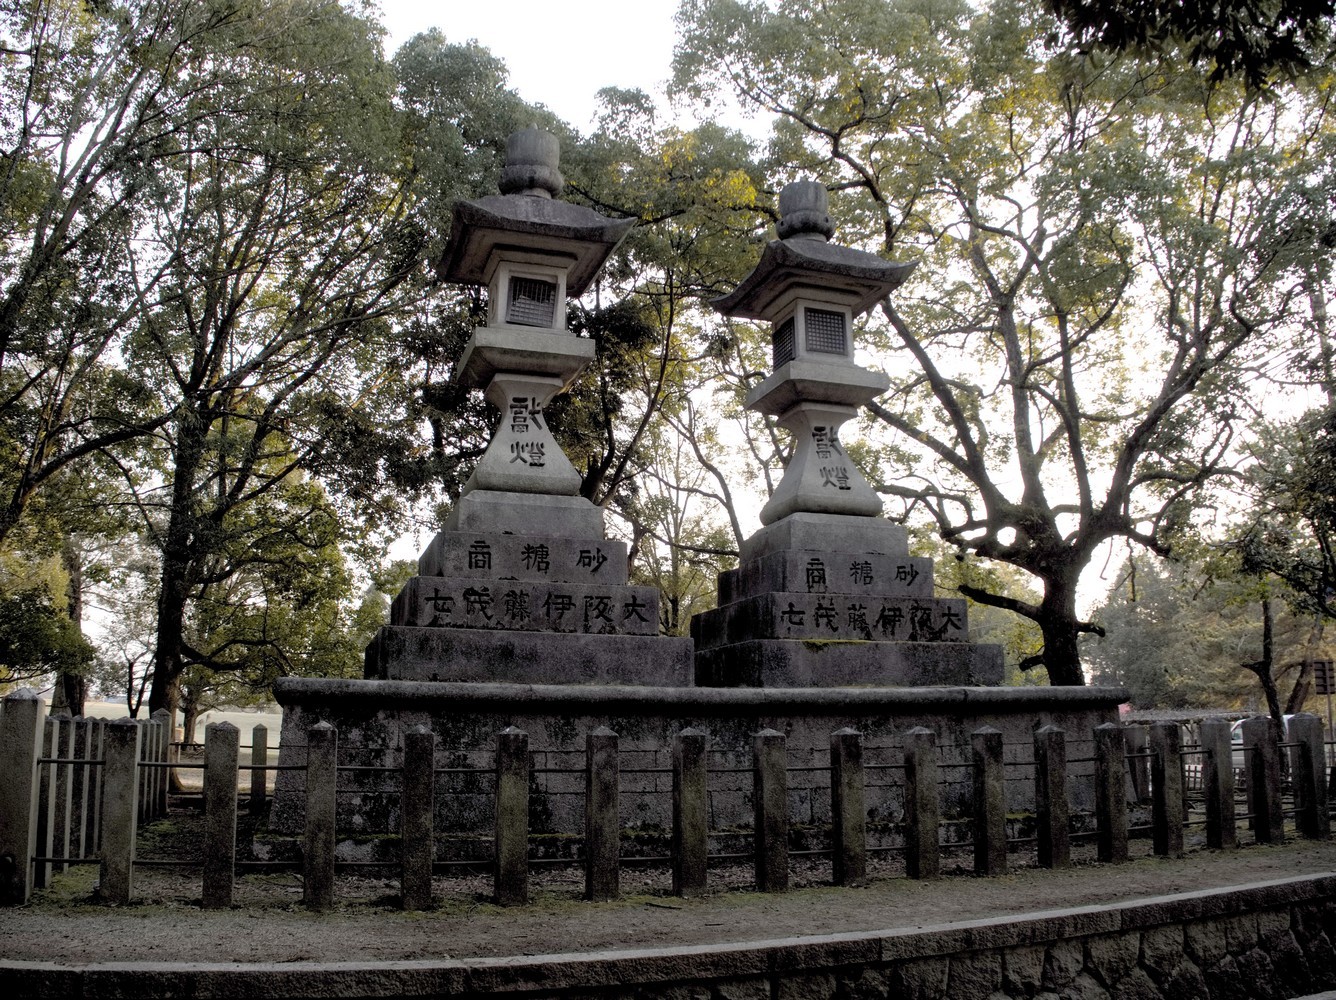
- Kasuga Taisha: you’ll see many lanterns there
At the end of the day, take a train to get back to Kyoto. But for this trip, there is only one express train per hour, so back then, I took the 5:57 p.m. train. Otherwise there is another train at 6:12 p.m. but the journey takes 75 minutes instead of 50 minutes. Once back in Kyoto, go to pick up your suitcases at the hotel before taking a train to go to Osaka.
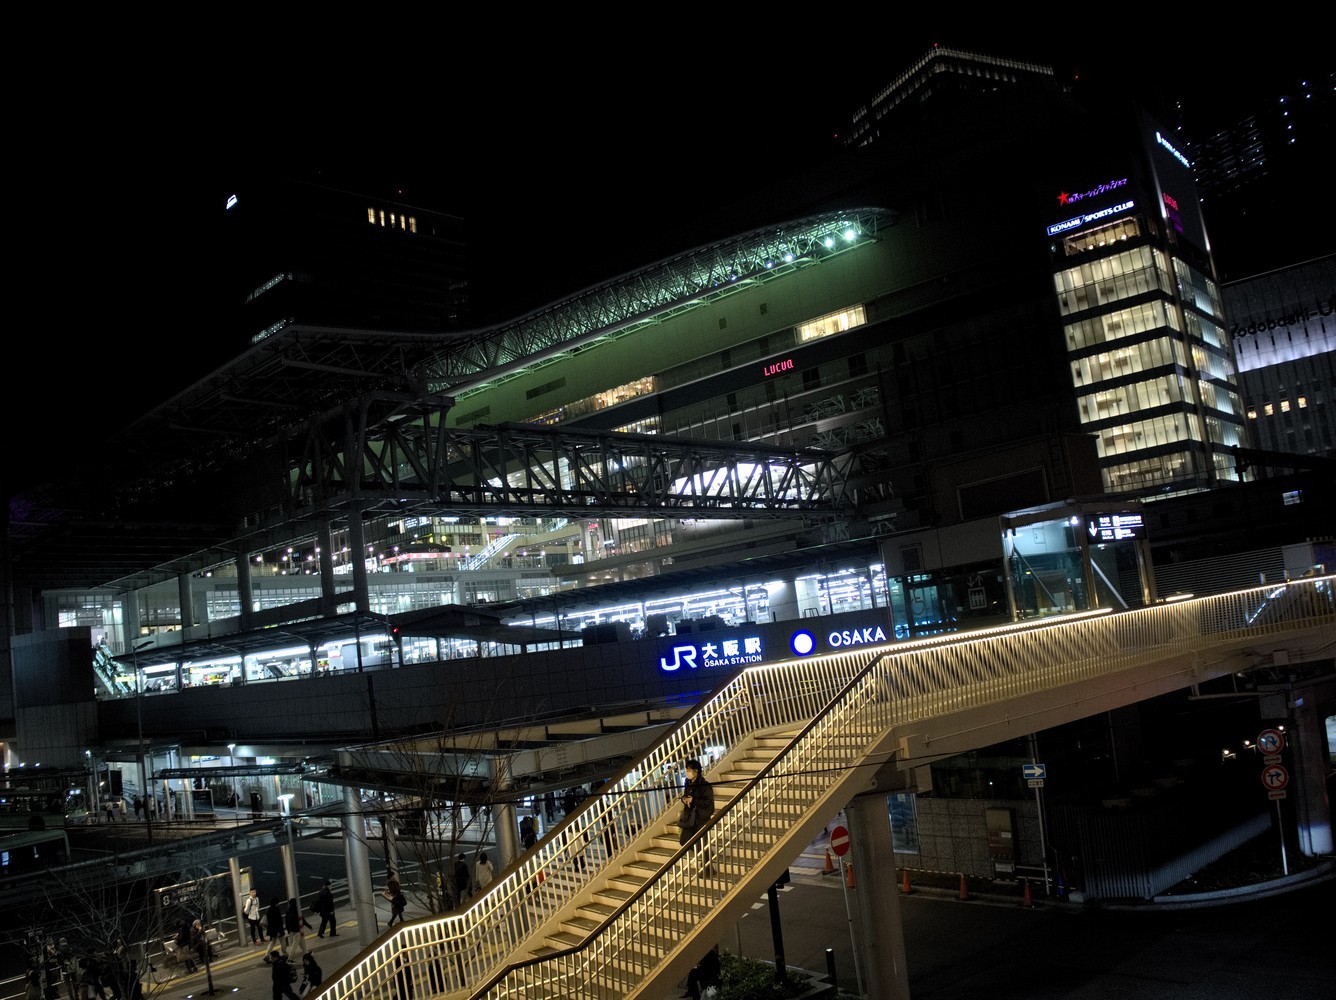
Tip: be careful, there are two JR stations in Osaka, the Shinkansen station which is called Shin-Osaka, and the train station located in the city, which is called Osaka. 4 minutes by train separate the two stations.
Back then, because I booked a hotel in the city centre of Osaka, I took a direct JR train in order to reach Osaka station. The journey takes 30 minutes. The Shinkansen takes only 14 minutes, but because it’s not direct and that you have to take another train between Shin-Osaka and Osaka stations, you won’t save time. Trains are quite frequent, for example, back then I took one at 8:11 p.m., and the next one was at 8:14 p.m. Otherwise, I really recommend visiting hyperdia.com to look at the timetables.
Tips
Money
Japanese yen
When going to Japan, the best thing to do is to get yen in cash, as credit cards are not accepted everywhere. To do so, you’ll have to go to the money exchange office, you can either bring cash to change it over there, or either change it before leaving. And if you need money at the airport, just change what you need there, you’ll change the rest in town.
Transportation
Bus
In Kyoto, the subway is not well developed. However, the bus network will allow you to reach all the sightseeing places of the city! And honestly speaking, it’s pretty simple, you just need to get a map of the entire network, and it should be OK.
The first thing to know is that there are two types of buses in Kyoto, some that run downtown and some that run further. For the downtown buses, they run into a flat fare zone, and have the number of the bus printed on a colored background. These buses apply a flat fare of ¥230 per trip, and you have to board from the rear and exit from the front (except for the bus # 100 because you have to board and exit from the front). Payment is also made at the front, you need to insert coins into a box by the driver’s seat. If you need change, there is a machine that gives change on the ¥1,000 bills. However, there is a « One-Day Pass » that costs ¥600, so if you are planning on making more than 2 trips in the day, you should definitely take it. It gives you one day’s unlimited travel on Kyoto’s buses within the flat fare zone. This pass can be purchased in many ways, but the easiest way is to purchase it at the Kyoto Municipal Transportation Bureau, a small office located outside the north exit of Kyoto station. At the time of purchase, there is no date on the pass. It’s on your first trip of the day, when getting off the bus, when inserting the pass into the machine that the date of the day will be printed. For your next trips, when getting off the bus, you’ll simply have to show the date printed on your pass to the driver.
Buses that don’t run into the flat fare zone have a black number printed on a white background, and the fare is calculated according to the number of stops traveled.
Tip: like Hyperdia for trains, there is a website that allows you to plan your bus trips in Kyoto. It’s arukumachikyoto.jp and you can also download the mobile application « Arukumachi ». I personally didn’t use it on my trip because to me, the map was more than enough, but it’s up to you.
Hyperdia
It’s a website that gives train timetables and that allows you to plan all your trips. The information provided is very accurate and the website gives not only the timetables but also the type of train, the journey time, and also the most important information, the platform number. You’ll see that in the train stations in Japan, there are a lot of trains and therefore just as many platforms. So for sure you could look for your train and its platform number on the TVs, but with the website, you’ll have these information right away and even before arriving at the station. This will save you a lot of time. And the best thing to do is to search the itinerary on your phone, on the way to the station, that way you’ll find out the platform number as soon as you arrive and could directly go to wait for the train. There is also a mobile app, but the mobile website was more than enough for me on my trip.
Tip: I had also used it a lot while planning my trip. Since you’ll be traveling by train from city to city, it’s quite important to have a rough idea of the train times available for each route. Especially since sometimes, for half an hour sooner or later, the length of the journey can go from simple to double. If you follow the route I took, I would give you the schedules of the trains I took, in each post about the different cities.
About the search, it’s quite simple, after going to the website hyperdia.com, all you have to do is to enter the departure and the arrival stations, as well as the desired date and time of departure. Just before clicking on « Search », click on « More options » to uncheck « Airplane », « Airport Shuttle Bus » et « NOZOMI / MIZUHO / HAYABUSA (SHINKANSEN) ». In the search results, the website will suggest several routes, it is up to you to select the one that suits you best. But the first one is usually the best.
Direction
To find your way in Japan, to get to all the sightseeing places, I highly recommend using Google Maps, especially if you take the data SIM card. But if you don’t, don’t worry because it works even without having an internet connection, it’s just that the « walking » routes won’t be available, you’ll only have the « driving » routes. But it’s still quite OK because it gives you a rough idea of the location, depending on your position. To do so, you have to save the map before going, or even while there, as long as you have an internet connection. On your smartphone, in the application, click on your profile picture at the top right of the screen, and then click on « offline maps ». Then click on « select your own map » and zoom out the map until you see the area you want to save. If the area to be saved is too large, then you’ll have to repeat the operation several times.
Tip: for your trip, I highly recommend getting a prepaid data SIM card which allows unlimited access to high-speed internet through your phone in Japan. And don’t worry, it comes pre-cut with all available formats (standard, micro, and nano SIM). And of course tethering is allowed. It’s not that expensive and it’s really convenient, it costs $23 for 8 days (there are different rental periods available with decreasing prices). This not only allows you to use Google Maps to find your way, but also to use the Hyperdia website, that gives real time train timetables (more details just down below). And I didn’t have any connection troubles during my trip.
In my opinion, Pocket Wifi is not an option to consider, because in addition to being much more expensive than the data SIM card, while providing exactly the same service, it makes an additional box to charge and carry around everywhere.
Remember to download the activation guide in order to set-up the SIM card.
Restaurants
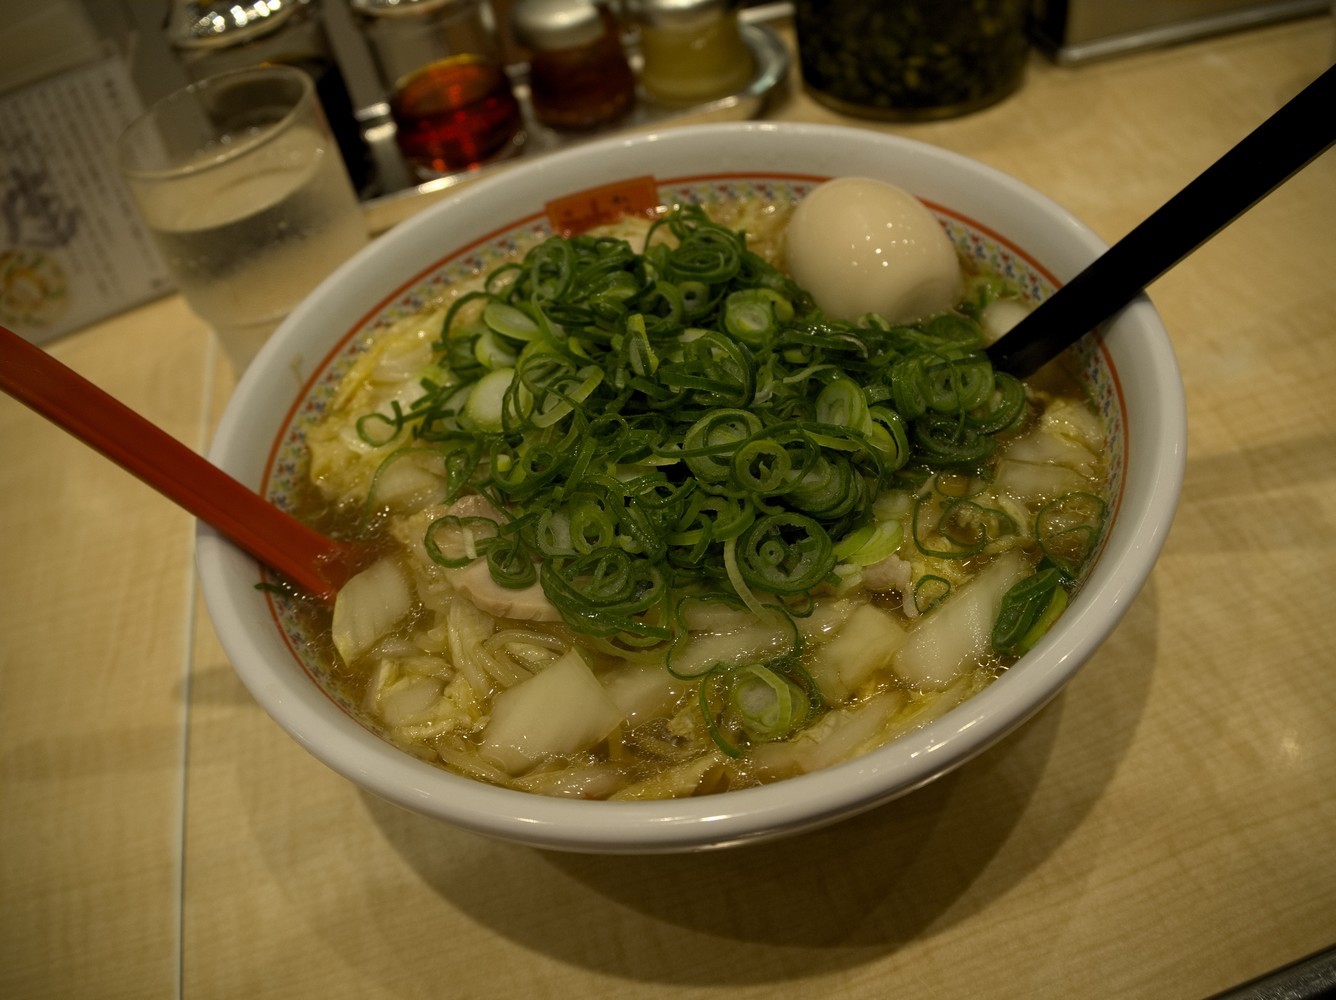
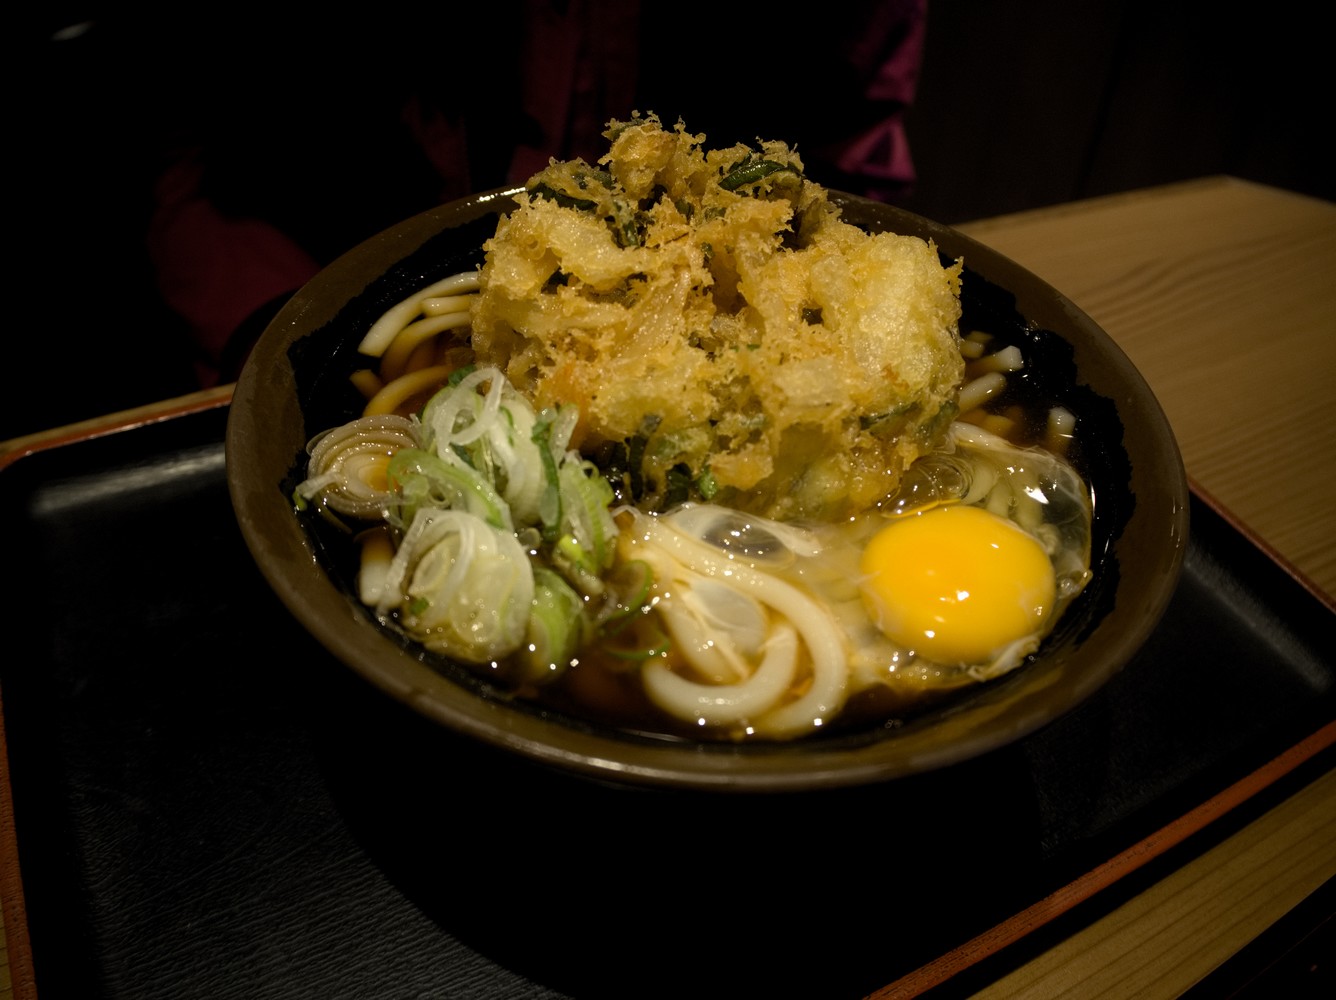
In Japan, in restaurants, food is not much more expensive than in France. The special thing is just that you’ll always find the miniatures of the dishes on display in front of each restaurant, which is very convenient for choosing where you want to eat. You’ll also see that there are some kinds of noodle fast food restaurants, where you can find all kinds of noodle bowls at rock bottom prices. And this is the perfect place if you are in a hurry, because in front of the restaurant there is an order kiosk, you make your choice, you pay, and when you enter the restaurant, your order is usually already available! You’ll also notice that the Japanese gulp down their bowls of noodles at breakneck speed.

Tip: NEVER leave tips in Japan, the Japanese would consider it rude and insulting!
You could also try small nibbles you can find in some small stalls located on the edge of streets.

Hotels
I highly recommend booking a hotel located close to Kyoto Shinkansen station because it’s really convenient. Not only for your arrival and departure, because you can reach your hotel or the station on foot, but also for sightseeing, because the bus station is adjacent to the train station, so whether to take the bus or the train you will be directly at the right place.
During my trip, I stayed at CMM Crystate Kyoto which is an apartment hotel. It’s clearly a place that I recommend because it’s pretty cheap, located right next to Kyoto station and it’s also very convenient as you’ll find a small kitchen and a washing machine. And the best part is that they provide (free of charge), in each room, a sort of smartphone with Internet and calls, a « handy phone ». And you can take it with you outside.
Description: rooms are not that big, but like everywhere in japan. However, there is also a small lounge area with a coffee table. In the bathroom, you’ll find a bathtub and high tech toilet. There is also a small kitchen area with a fridge, sink, hob and crockery. And a washing machine is available in the room. But the most interesting point is really the «handy phone»! It’s available in each room at no extra charge. It’s like a normal smartphone with data and calls, and of course you can take it with you outside. If you prefer using your own smartphone, for example to use Google maps, Hyperdia or other things, you can use tethering. I didn’t know that this service was available when I made my booking, and found out when I got there. In the end, it helped me out, because staying 10 days in Japan, I only took the 8-day data SIM card and not the 16-day data plan. So thanks to the «handy phone» I was able to make up for my 2 missing days.
Price: about €40 per night for 2 people, in March.
Location: the apartment hotel is located close to Kyoto Station, but on the south exit, that is to say not on the Kyoto Tower side but on the other side. You just have to cross the station to go from the north exit to the south exit. Once on the south exit, you can reach the hotel in only 3 minutes on foot.
How to get there: when leaving the station on the south exit, you’ll see a big brown building, the « Kyoto AVANTI ». The apartment hotel is located just behind it. So take the street located on the right side of the « Kyoto AVANTI » building, and when you pass the building, immediately turn left, and you’ll be there.
| Pros | Cons |
|---|---|
| comfortable: kitchen, handy phone ... | - |
| good value for money | - |
| very convenient location | - |
| free Wi-Fi in the rooms | - |
| free left-luggage service | - |
Thanks for reading :)


